


One-Ingredient Banana Nice Cream Recipe (Without An Ice Cream Maker)

Banana nice cream is one of those simple yet magical treats that will make you wonder why you haven’t tried it sooner. It’s made with just one main ingredient—frozen bananas! All you have to do is blend them up in a high-powered blender with a little plant milk, and you’ve got a creamy, dairy-free dessert that’s just as satisfying as ice cream. Plus, it’s completely customizable, so you can make it as sweet or as indulgent as you want.
This frozen banana nice cream is made with one single ingredient, tastes like soft serve ice cream, and is also a great way to use up ripe bananas. You can add in fun mix-ins like vegan chocolate chips, berries, or even peanut butter for a twist on the classic flavor. Whether you’re craving something sweet or looking for a healthy snack, banana nice cream is a perfect go-to option!
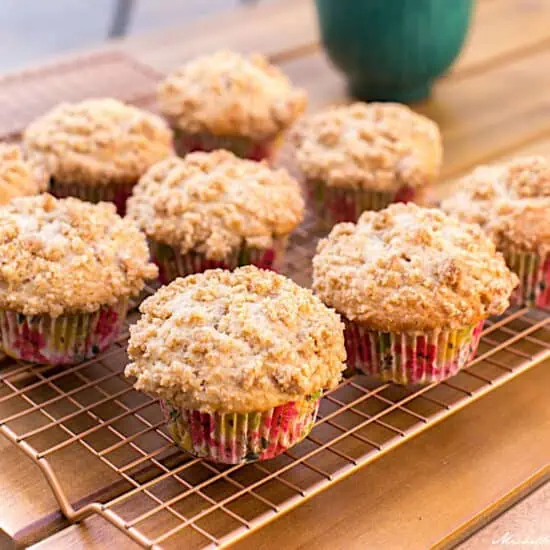
If you’re ready to dig in for breakfast, lunch, dinner, or even as a late-night snack without the guilt, let’s get started! For even more banana-licious recipes, take a peek at this luscious dairy-free milkshake with chocolate and these super satisfying crumb muffins—perfect for snacking!
Delightful Banana Nice Cream Flavor Variations
The beauty of this recipe is that the bananas form a beautiful base that can be spun in many different directions by adding additional ingredients. Simply by adding some chopped fruit, nut butter, cocoa powder, or extracts, you can make:
- Chocolate Banana Ice Cream
- Peanut Butter Banana Ice Cream
- Chocolate Peanut Butter Banana Ice Cream
- Vanilla Ice Cream
- Peppermint Ice Cream
- Mango Banana Ice Cream
- Strawberry Banana Ice Cream
…and so much more. This dairy-free ice cream making technique is versatile and you really can’t go wrong!
Tempting Toppings for Your Nice Cream
Ice cream is always better with toppings, so layer them on! Here are a few of our favorites:
- Vegan Sprinkles (there are several brands that carry really fun vegan sprinkles)
- Chopped Nuts (peanuts, candied pecans, sweet roasted walnuts, etc.)
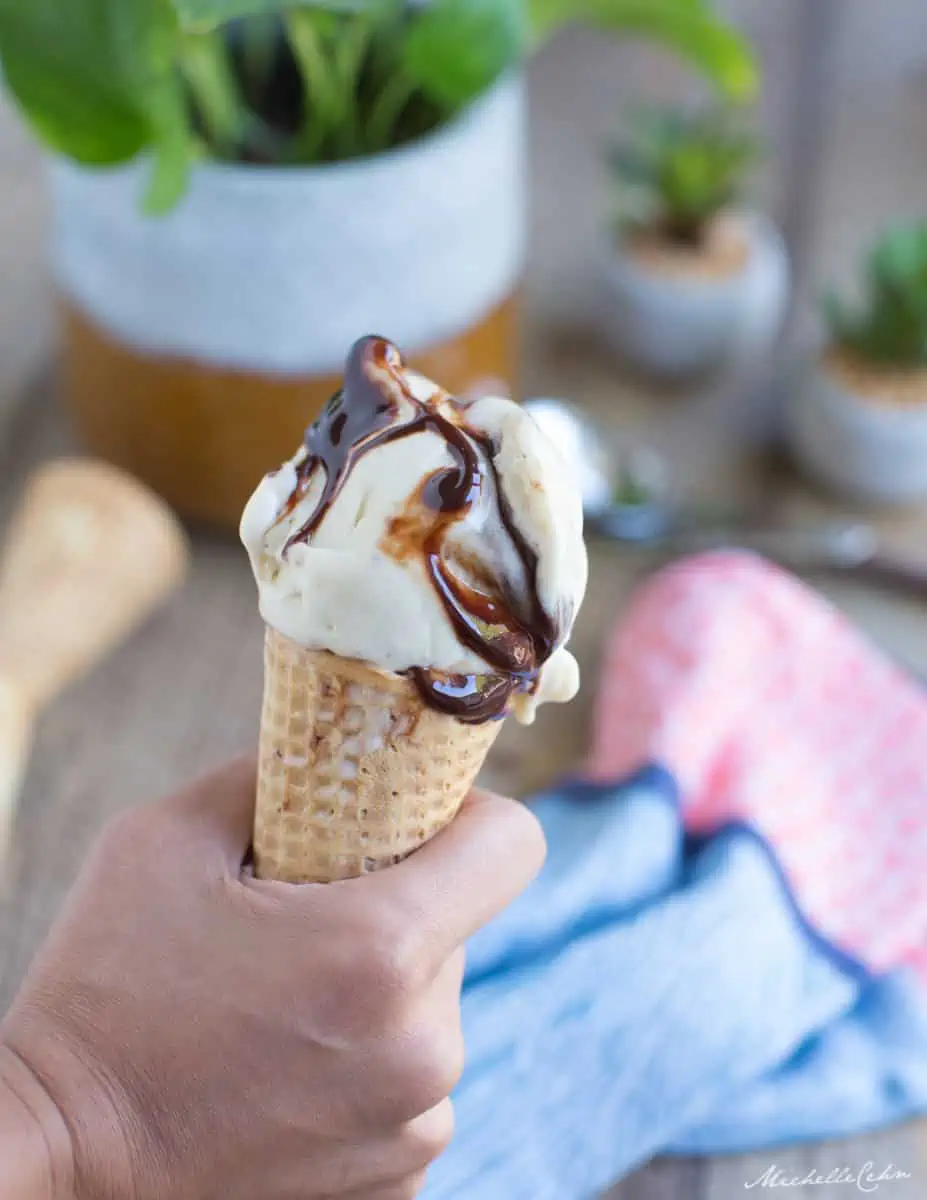
- Vegan Chocolate Sauce
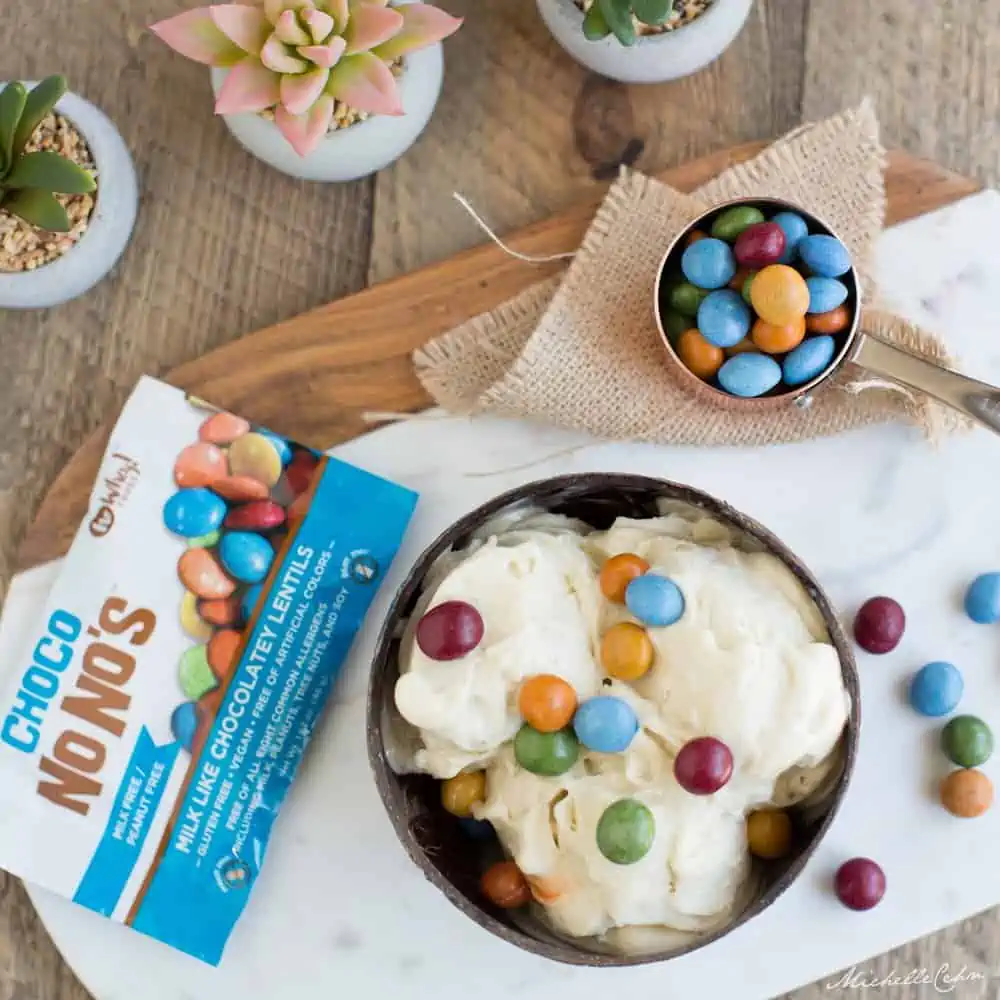
- Chocolate Chips or Chocolate Shavings
- Coconut Flakes
- Dried Fruit (raisins, goji berries, mulberries, etc.)
- Warm Peanut Butter Drizzle
- Strawberry Sauce
- Coconut Whipped Cream
- Aquafaba Whip
- Vegan Honey
- Vegan Nutella
- Crushed Oreos (yes, Oreos are vegan!)
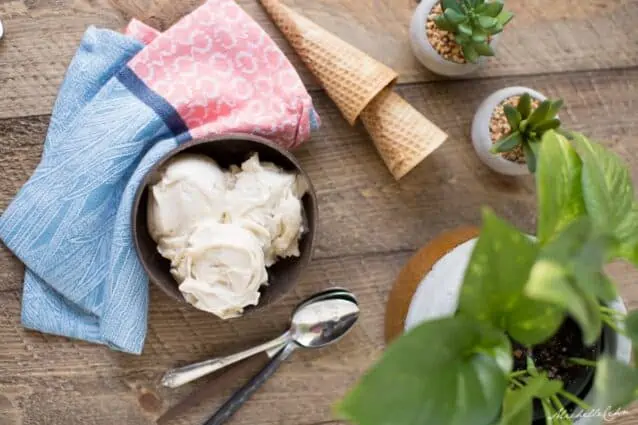
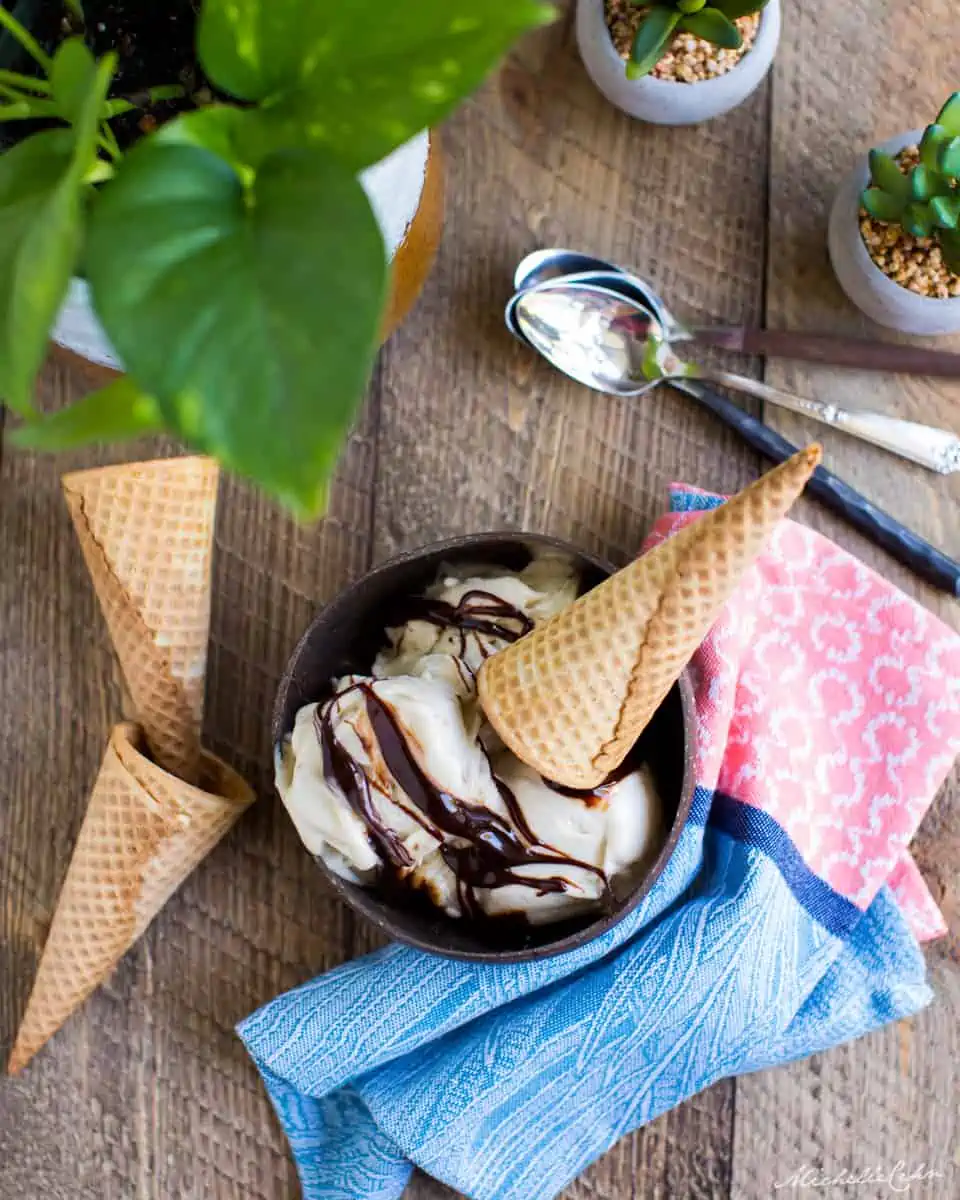
You can serve this vegan ice cream in a bowl (I love using coconut bowls or even better—edible chocolate bowls or these whimsical chocolate fruit cones), in a cup, in a cone, or serve it up smoothie-bowl style!
How to Make Banana Ice Cream
Making banana nice cream is super easy and totally delicious! Just blend frozen bananas with a splash of plant-based milk for a creamy, dairy-free treat. You can even add your favorite mix-ins, like chocolate chips or berries, to make it extra tasty!
Step 1: Use Super-Ripe Bananas
While any frozen bananas will work for this recipe, your banana ice cream will taste best if you use super-ripe spotty bananas. Bananas can be nearly all brown, and they will still work beautifully in this recipe. The longer bananas ripen, the sweeter they get.
Peel and slice up your ripe bananas and freeze them for at least 24 hours before making your nice cream. I keep frozen bananas in the freezer all the time, so banana soft serve is always just moments away!
Step 2: Blend in a Food Processor (or High-Powered Blender)
If you have a food processor, use that. A food processor is designed to blend up thicker foods without much liquid, whereas most blenders demand a lot of liquid to get things moving. You can toss your frozen bananas into your food processor and blend them without any milk, which creates the thickest creamiest banana ice cream! If you’d like to add a splash of milk, or any add-ins (like cocoa powder), just add them into the food processor with the bananas.
Note: Hold your food processor down with your hand while you’re blending, because at the beginning the frozen banana chunks will fly wildly around. Soon enough, they will get chopped up and become a soft cream. Continue blending until the banana ice cream turns a lighter color, which you’ll see happen quickly.
If you have a high-powered blender with a tamper, such as a Vitamix, that will work too! Although you will still have an easier time blending if you add a splash of your favorite plant-based milk (soy milk, almond milk, oat milk, coconut milk, cashew milk, etc).
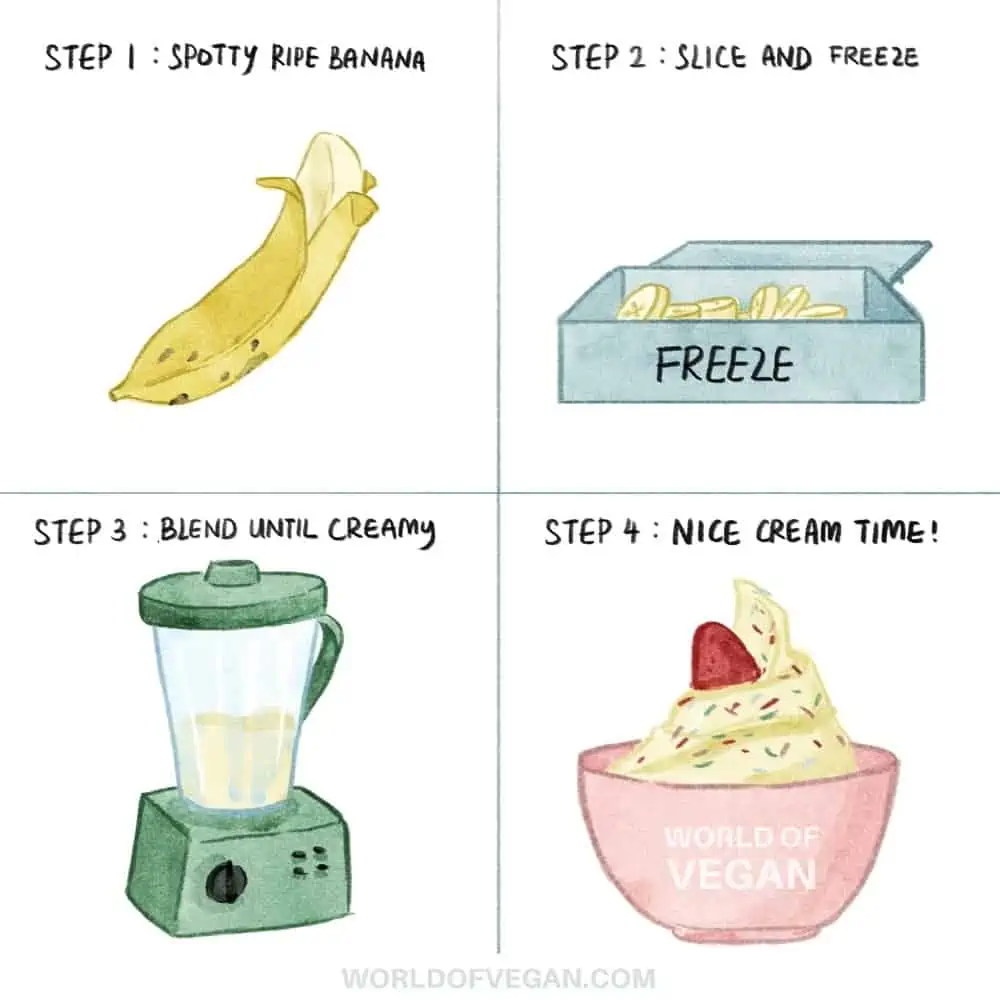
Finally, Step 3: Serve Up Your Nice Cream!
Once it’s ready, the dairy-free banana ice cream will be a soft serve consistency. It should be thick and velvety smooth without any chunks. Scoop it into a bowl or an ice cream cone, add your favorite toppings, and enjoy immediately!
Banana ice cream does not store or save well, so lap up every last bit! It’s healthy, so you don’t have to worry about over-indulging. Go back for seconds or thirds guilt-free! The best healthy dessert ever.
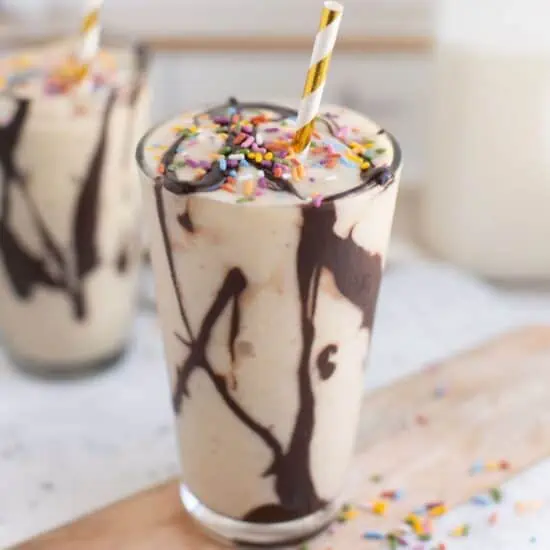
Make This Banana Nice Cream Recipe Into a Milkshake
If you’d prefer to drink your ice cream, you can easily turn this into a sippable vegan milkshake by adding some plant-based milk. Soymilk, handmade almond milk, cashew milk, coconut milk, flax milk—any type of milk will work, and you just need a bit! The more you add, the less thick your homemade dairy-free milkshake will be. Easy peasy! Peanut butter lovers will adore this dairy-free peanut butter milkshake recipe!
Banana Ice Cream FAQs
Yes, you can still make banana nice cream without a food processor or high-powered blender. But, it will take extra work. You will need to chop the frozen bananas into smaller pieces to make blending easier, but a regular blender may work. If it’s a bit tricky, you can also mash the bananas by hand and mix in some plant-based milk until it reaches a creamy texture. It will probably take a bit more effort, but it’s doable!
If your bananas aren’t ripe yet, no worries! You can speed up the process by placing them in a paper bag for a day or two to help them ripen faster. If you’re in a real rush, you can even pop them in the oven at a low temperature (around 300°F) for 15-20 minutes to soften them up. Just make sure to let them cool before freezing—then you’re good to go!
Your banana nice cream will last about 1 to 2 weeks in the freezer. Just make sure to store it in an airtight container to keep it fresh. If it gets too hard, you can let it sit out for a few minutes to soften up before scooping and enjoying!
More Yummy Vegan Banana Recipes


Print me! Did you know you can easily print our recipes? Just tap the “Print Recipe” button in the recipe card. You can keep a stack of new recipes to try in your kitchen—or better yet—create a recipe binder where you keep all your favorites!

Homemade Banana Nice Cream Recipe

Ingredients
- 2 ripe, spotty bananas, peeled, sliced and frozen
- splash of plant-based milk, if needed
Optional add-ins
- cocoa powder
- peanut butter
- fresh or frozen fruit
Instructions
- Advance Prep: Allow bananas to ripen and get spotty, and then peel, chop, and freeze them.
- In a food processor or high-powered blender, add the frozen chopped bananas. You’ll need at least two bananas for this to work. You may be fighting your appliance in the beginning, but keep going—it will be worthwhile! Pulse or blend until you have a thick, creamy ice cream. Scoop into a bowl or ice cream cone, garnish with your favorite toppings, and enjoy immediately.
Notes
- Don’t have a food processor or Vitamix blender? A regular blender will do the job, with some extra effort. You’ll most likely need to add a few splashes of soymilk to get things moving. Add one tablespoon of soymilk at a time so you’re not adding more than you need. The more milk you add, the thinner the ice cream will be.
- Storing Tips: Your banana nice cream will last about 1 to 2 weeks in the freezer. Just make sure to store it in an airtight container to keep it fresh. If it gets too hard, you can let it sit out for a few minutes to soften up before scooping and enjoying.
Nutrition
You may also like...


")


Enter to Win Our Monthly Giveaway!
New winner every month! Drop your name below for a chance to win hundreds of dollars of vegan prizes from our brand partners. You’ll also receive our weekly e-newsletter with plant-based recipes galore!
Leave a Comment
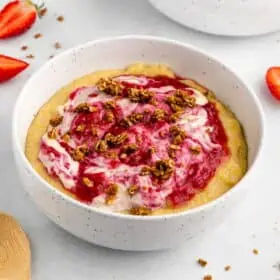
Banana ice cream is naturally sweet, creamy, and super refreshing
Everyone at the World of Vegan team loves banana nice cream, too. You get the feel of a treat, but it’s also full of fiber, vitamins and minerals. A win-win!
I loveeee nice cream! I’ve got frozen bananas in the fridge ready to go for this one!!
Banana nicecream is the best sweet treat! I like adding some cacao powder and peanut butter to mine 🙂
Banana Nice cream!!!! for the Win! It’s the best sweet tooth craving fix
Delicious and healthy at the same time? This is really a dream dessert and I love that you can add different flavorings and toppings. Never boring and always so good! I keep frozen bananas in my freezer at all times – yum!
The best best best dessert! We eat this ALL the time. I most often make it in my food processor because I find that easier than the blender—even with a high powered vitamix with a tamper.
This is the easiest dessert to make, ever! So good and economical!