Aquafaba Whipped Cream
 xr:d:DAF4ZClIWLU:4,j:8518972547014522191,t:23122921
 xr:d:DAF4ZClIWLU:4,j:8518972547014522191,t:23122921
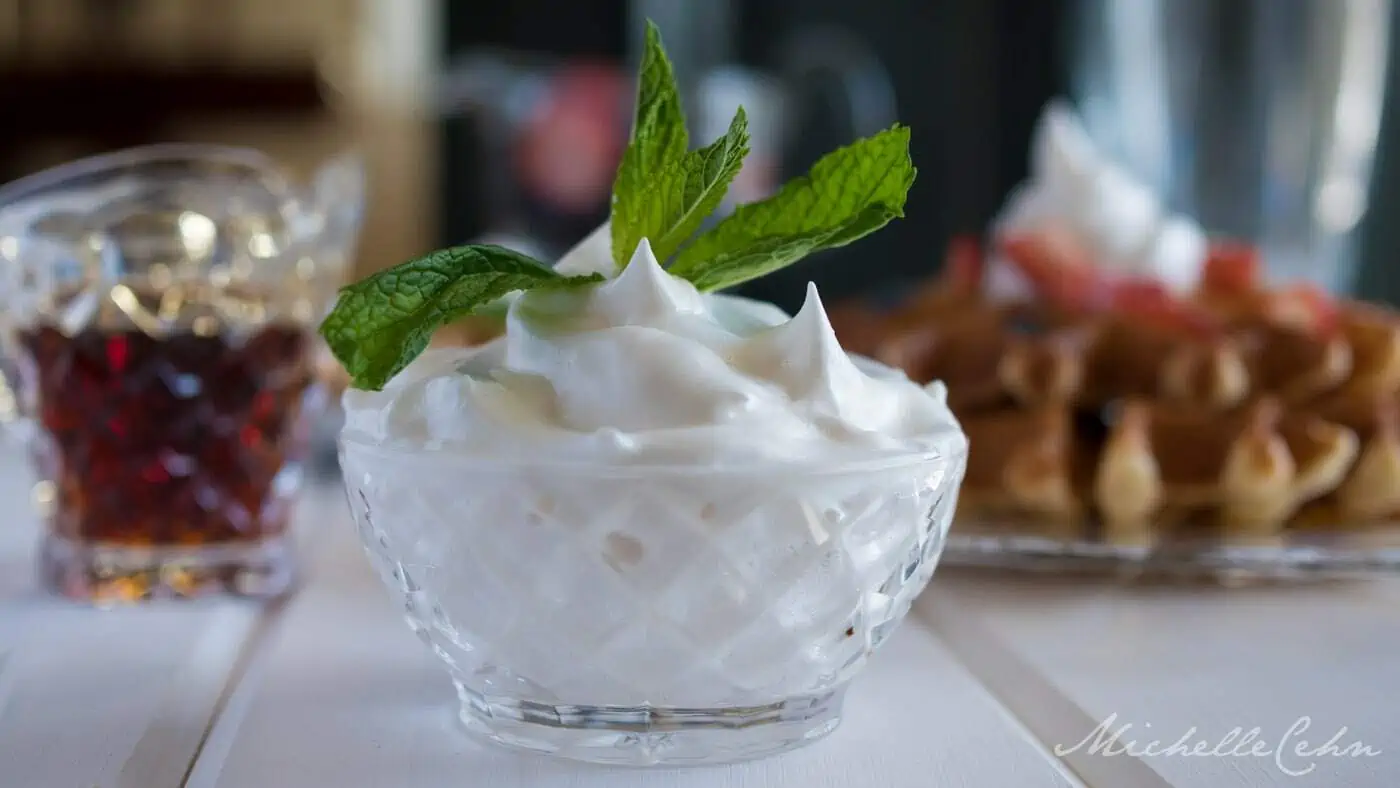
Every once in a while we come across a food phenomenon that truly blows us away. This aquafaba whipped cream is one of those. Aquafaba is a new and growing food trend that has been sweeping across the web.
If you’re unfamiliar, aquafaba is simply the liquid from a can of garbanzo beans (chickpeas). This liquid has a slight bean taste that can easily be masked, and can be used in the same way egg whites are used.
While you can make whipped cream with vegan heavy cream, in this recipe, I show you how to transform aquafaba into the most fluffy, sweet, delicious vegan whipped cream!
Table of Contents
Why You Should Make Aquafaba Whipped Cream
After enjoying a can of chickpeas, what could be more satisfying than topping off your meal with a dessert made of the very brine that held them? There are several reasons why you should make this awesome aquafaba whipped cream, including but not limited to:
- Zero Waste Whipped Cream – This aquafaba whipped cream calls for the very brine that is leftover from a can of drained chickpeas. You could also use your own leftover water from homemade chickpeas but it is recommended to use it from the can. Additionally, you no longer need to worry about creating waste from store-bought vegan whipped creams!
- Difficulty Level: Low – No need to enroll at a fancy cooking school to be able to whip up this wonderful whipped cream! All you need is the right mixer and ingredients and you’ll be all set. This is also a great recipe to get your kids involved with! They’ll love watching the little peaks form and will be eager to be taste testers in the kitchen.
- Improve Your Dessert Game – While a dessert can be amazing on its own, there’s not much that can’t be improved by a little dollop of vegan whipped cream. Plus, it’s an easy thing to make at home if you want to add a homemade touch to something else that’s store-bought.
Expert Tips
- If you’re having trouble getting the aquafaba whipped cream to become thick and fluffy, keep whipping! It can take 10-15 minutes with a stand mixer or handheld mixer to get stiff peaks.
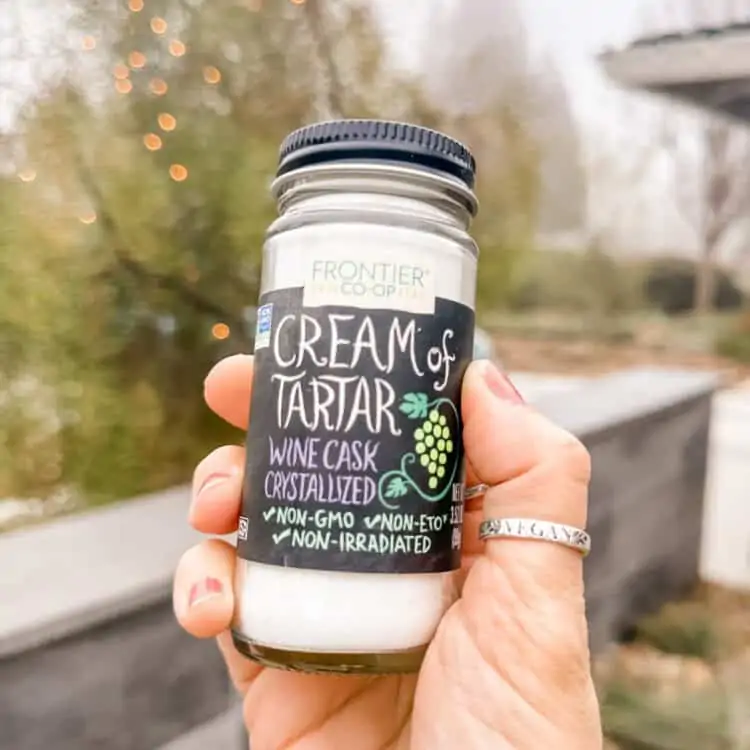
- Don’t skip the cream of tartar. This helps the cream to hold its shape better.
- Chill your cans of chickpeas. Chilling the cans before use can help with the whipping process. If you’re struggling to whip your aquafaba into thick, fluffy peaks, try placing the cans of chickpeas in the refrigerator at least 2 hours beforehand.
How To Make Aquafaba Whipped Cream
- Separate the liquid from the cans of chickpeas. Add the Cream of Tartar and mix together.
- Add the vanilla and sugar, then whisk for 10-15 minutes using a stand mixer or handheld mixer.
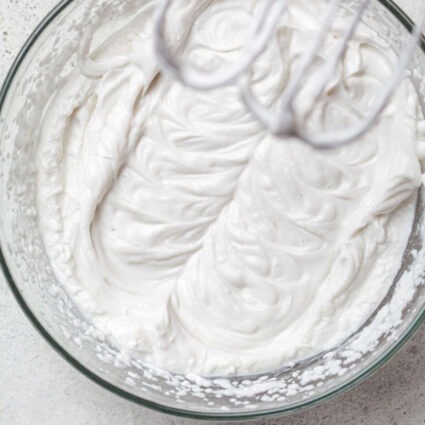
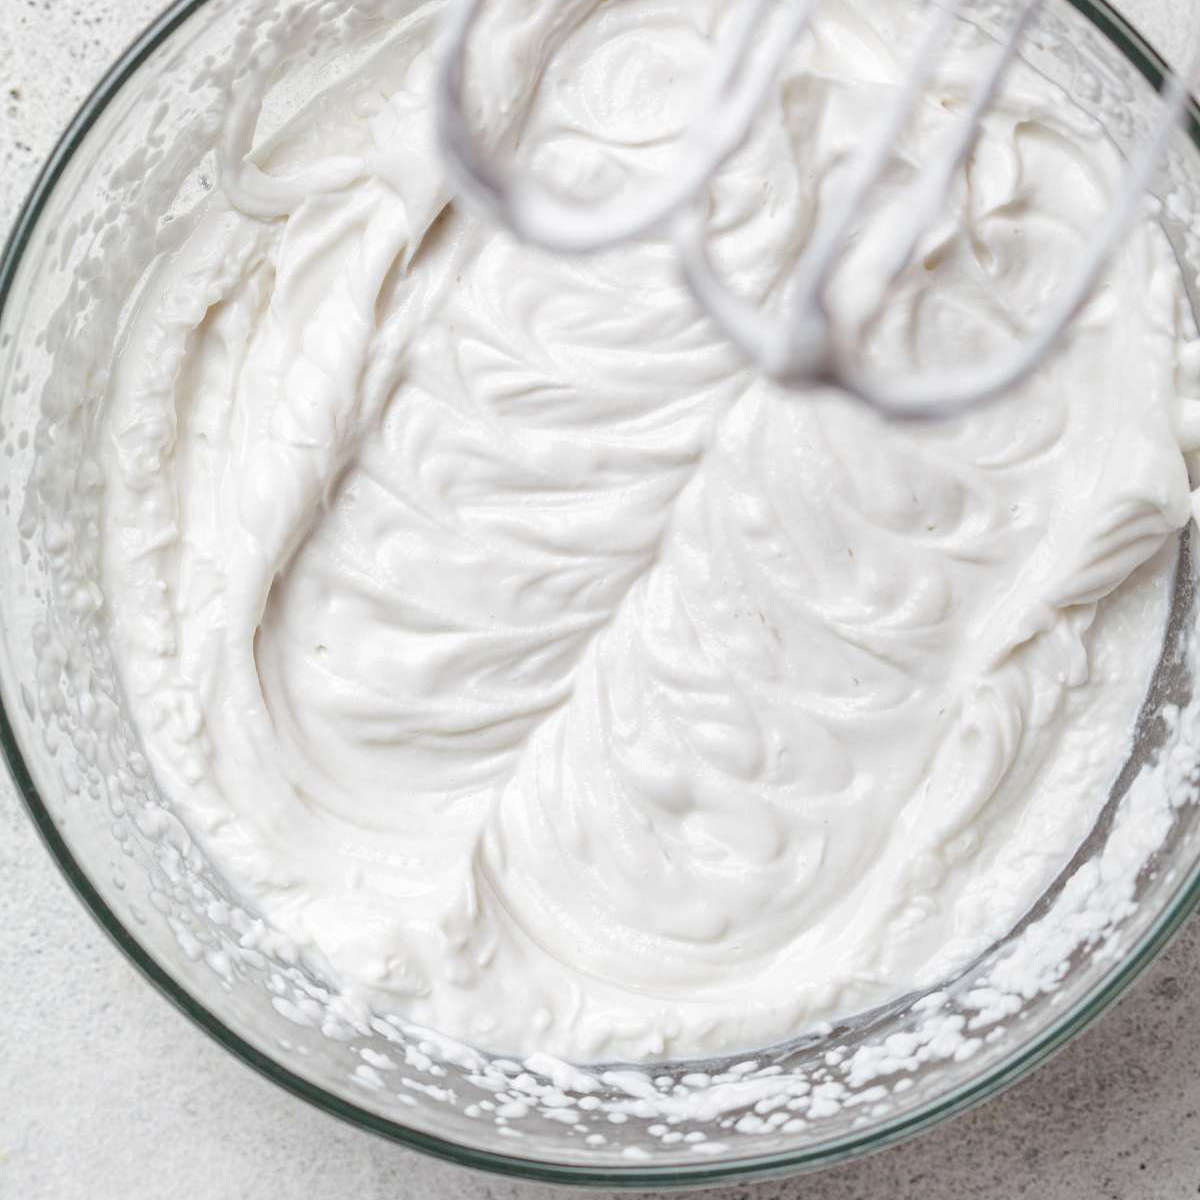
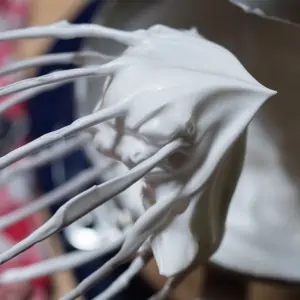
- The aquafaba is ready once it reaches a fluffy consistency and the peaks hold shape.
How To Use This Whipped Cream
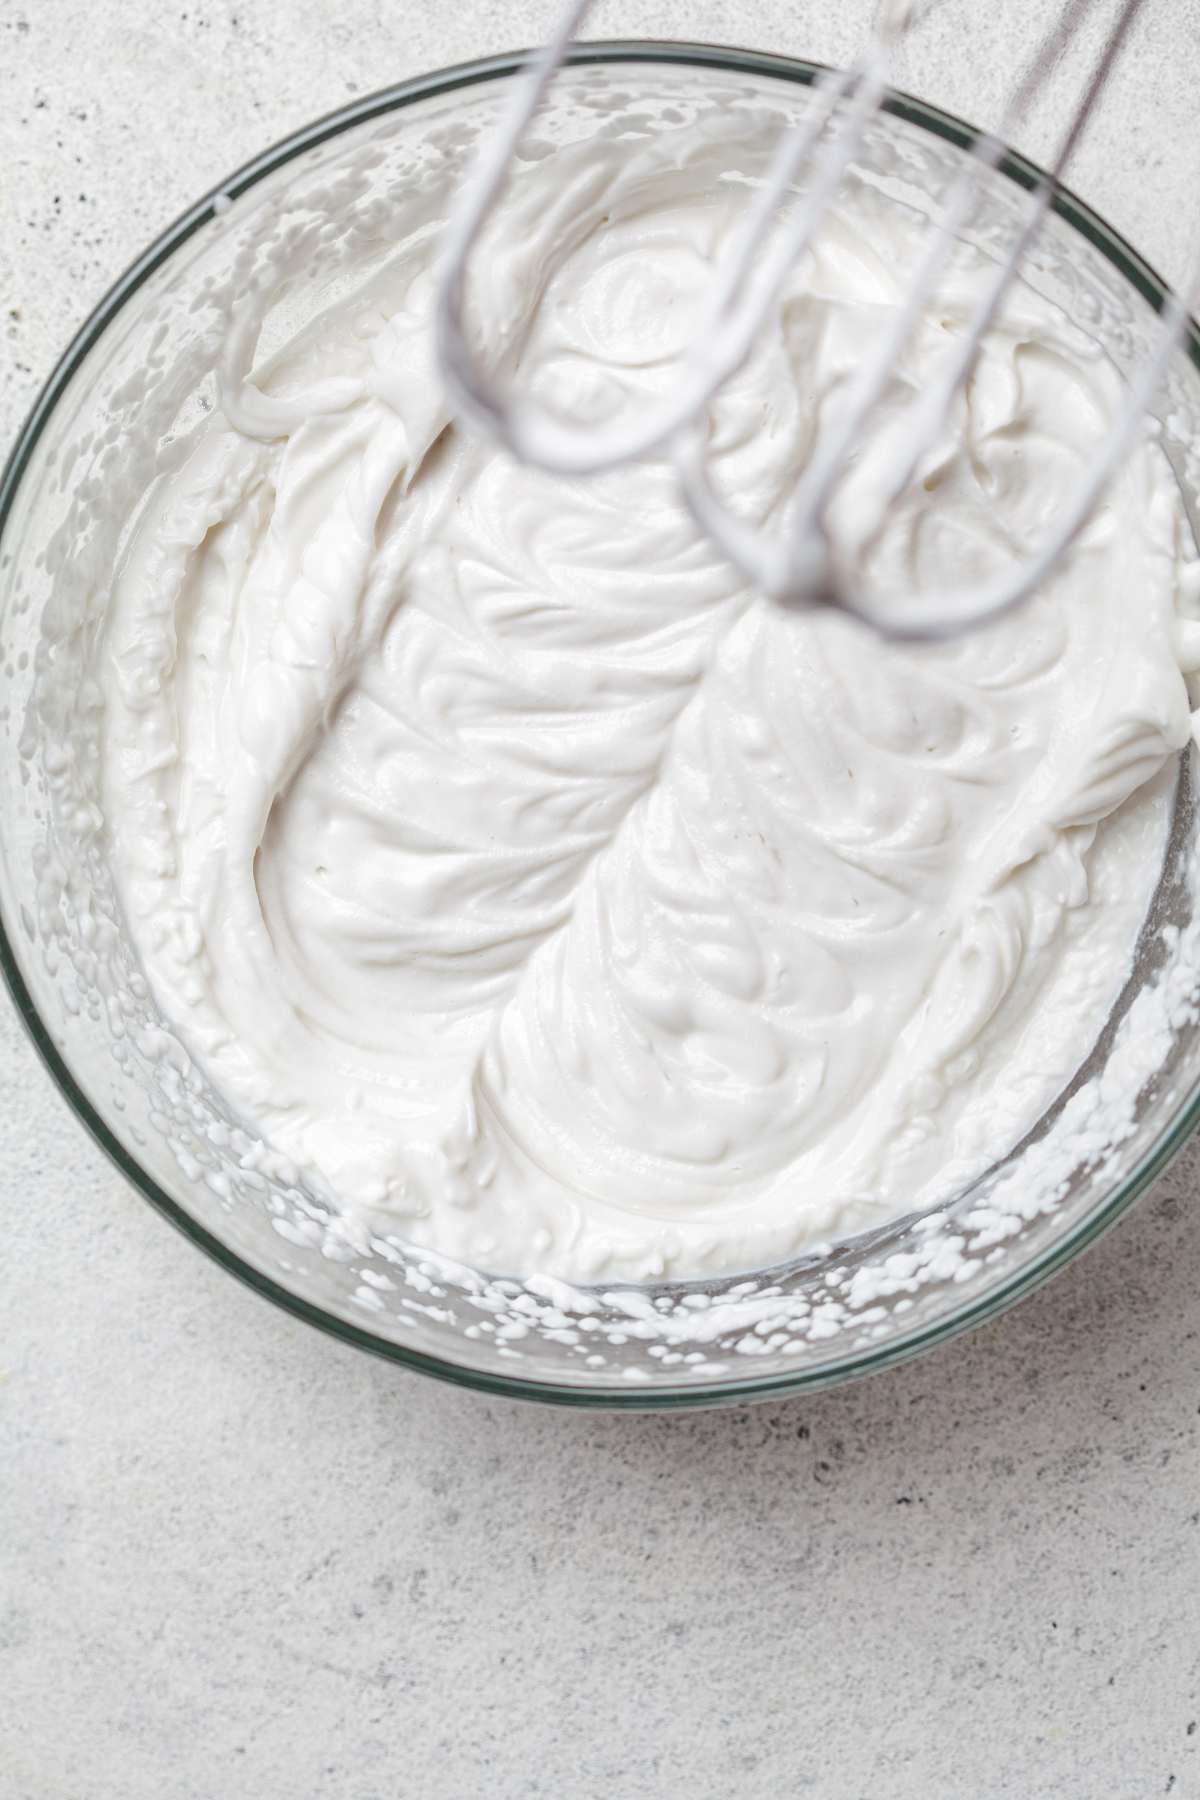
So now that your aquafaba has been whipped, you could just eat it straight out of the bowl if you so desire. Or, you could serve it atop a delicious vegan treat! Below is a list of just a few desserts that would go decadently with this aquafaba whipped cream:
- Try adding a dollop of it on top of vegan strawberry shortcake, no bake chocolate pie, or vegan lemon olive oil cake. Or even strawberries and cream overnight oats is absolutely perfect with whipped cream!
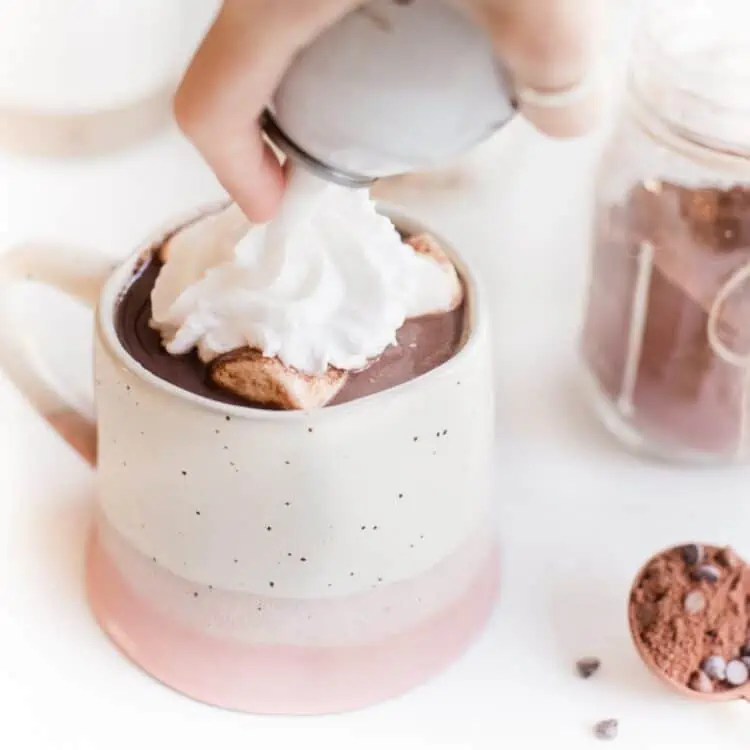
- It’s amazing on drinks too! For cocoa lovers, add it to dairy-free hot chocolate, vegan Mexican hot chocolate, or this cozy spiced vegan hot chocolate.
- Prefer cold drinks? Try it on this banana milkshake, pumpkin milkshake, or peanut butter banana vegan milkshake!
- Make a fun fruity dessert. Sure, fruit is plenty delicious on its own. But when you add it to a chocolate dipped cone and top it off with some whipped cream, you’ve just done yourself a huge favor.

Storing Your Aquafaba Whipped Cream
While this whipped cream would be best enjoyed fresh from the mixer, it will last up to five days when stored in an airtight container in the fridge! You could also freeze it for up to three months.
Frequently Asked Questions
Aquafaba literally translates to bean (faba) water (aqua) and is the water drained from cooked beans, most notably garbanzo beans. That starchy liquid from a can of chickpeas that you usually pour down the sink is actually a coveted ingredient that can be used to make all sorts of stuff. Vegan meringues, latkes, a plethora of vegan baked goods—and fluffy vegan aquafaba whipped cream!
No, you can use dried chickpeas and use the liquid from that to make this aquafaba whipped cream. You can also use liquid from any type of canned beans. Cannellinni or navy beans would both work fine. A white bean is best since the liquid will have a lighter color and more neutral taste.
Yes, aquafaba is the liquid from a can of chickpeas. It’s the liquid the chickpeas were cooked it and resembles egg whites. However, any bean liquid can work.
More Amazing Vegan Recipes to Try
- Vegan Hazelnut Nutella
- Coconut Whipped Cream
- Spectacular Spiced Maple Cream Sauce
- Vegan Cupcakes With Matcha Buttercream Frosting
- Vegan Easter Cupcakes With Lemon Buttercream Frosting

Vegan Aquafaba Whipped Cream
Equipment
- Handheld Mixer or Stand Mixer
Ingredients
- Liquid brine drained from 2 cans of chickpeas
- ¼ heaping teaspoon of Cream of Tartar
- 2 teaspoons vanilla extract, could could also add additional almond extract
- 1 cup white sugar, finely ground
Instructions
- Drain the liquid from the cans of chickpeas. Add the Cream of Tartar and mix together. Then add the vanilla and sugar and mix together for 10 to 15 minutes using a stand mixer or handheld mixer. The aquafaba should fluff up and the peaks should hold—then you know you’re done!
Video
Notes
- This makes a giant batch—but you can easily halve the recipe.
- The aquafaba should be served soon after it is made (within a few hours). If you refrigerate it overnight, it will turn back into a liquid. You can re-whip it again and again though!
- Don’t use a single-blade immersion blender—this won’t work.


Leave a Comment
It’s like striking gold for those with high cholesterol avoiding cream! Can you give approximate quantity of aquafaba in a can of chickpeas? Already froze it in ice cube tray.
It can vary between brands but is usually around 1/2 cup.
Chickpeas are the gift that keeps on giving!
Whipped cream is the best!!! This recipe is so good and so sweet!
This magical fluff STILL blows my mind!!! SO GOOD and fun to make. I need to make vegan meringues soon!
I keep saving aquafaba to make this and never get to do it! but its so simple I just need to do it.
A dream come true! I love how fluffy and light this whipped cream is! Definitely a kitchen staple recipe 😀
Can’t believe all the amazing things you can do with chickpea brine! Love this 🙂
This is so much fun to make! Yum!