


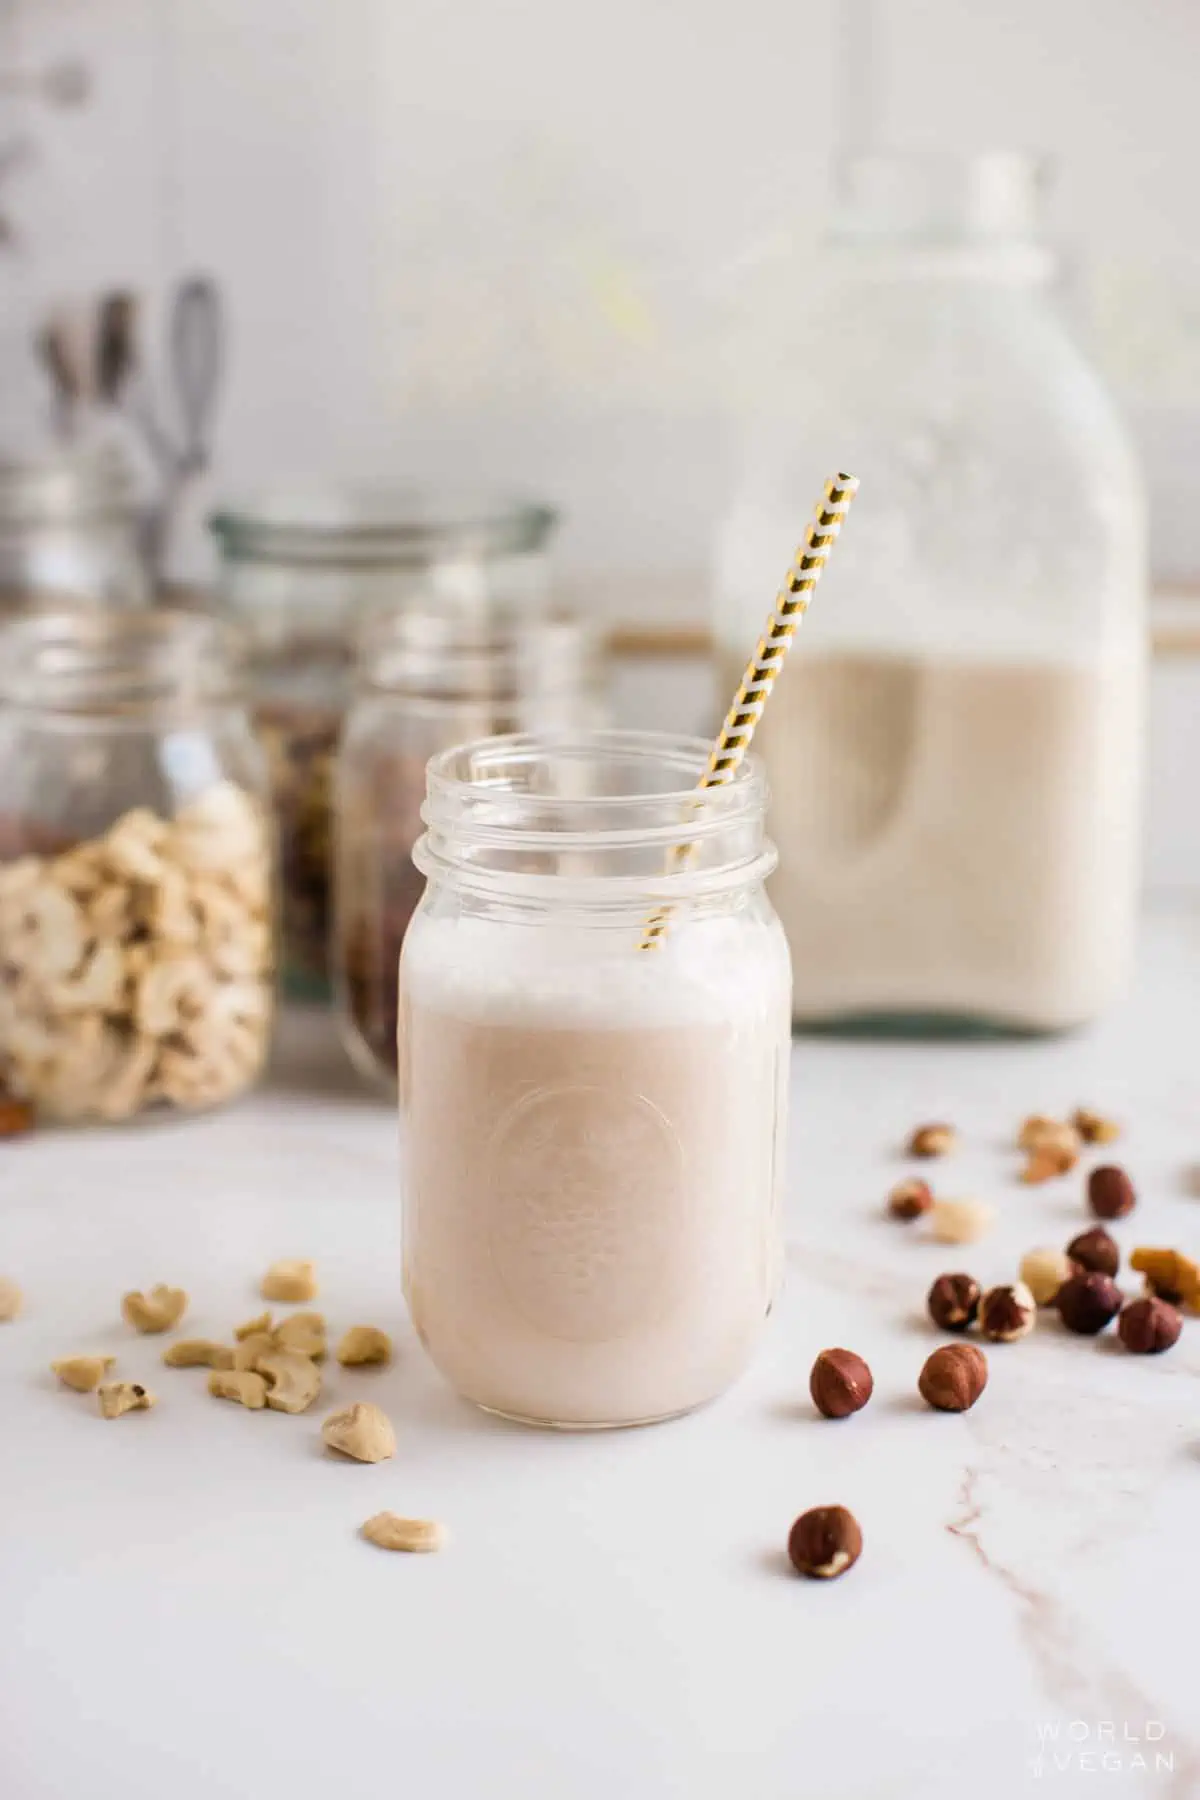
Almond Milk Recipe

Ever found yourself staring at the aisle of plant milks, wondering if there’s a simpler, tastier, and more cost-effective way to enjoy it? Enter this homemade almond milk recipe—the hero your morning coffee, cereal, and smoothies have been waiting for. With just a handful of ingredients and a bit of blender magic, you can create a creamy, dreamy almond milk recipe that can be a great alternative to store-bought options.
This plant-based milk is also a breeze to make, budget-friendly, and a win for the environment. No more mysterious additives or excess packaging—just pure, rich, almond goodness. Ready to milk this recipe for all it’s worth? Grab your almonds and let’s get blending!
If you love making dairy-free milks from scratch, you have to try these DIY peanut butter milk and creamy cashew milk recipes!
Why You’ll Love This Recipe
Why settle for the store-bought stuff when you can whip up your own almond milk recipe that’s fresh, fabulous, and full of flavor? Making your own almond milk isn’t just a fun kitchen project; it’s a smart, sustainable, and delicious choice. Let’s dive into the perks of going DIY with this dairy-free staple!
- Save Some Green: Making your own almond milk recipe can be more cost-effective in the long run. A bag of almonds goes a long way, giving you more bang for your buck.
- Eco-Warrior: Reduce packaging waste and your carbon footprint with every homemade batch. Fewer cartons mean less plastic and paper waste clogging up the environment.
- Ingredient Control: No more deciphering ingredient lists—you know exactly what’s in your milk. This means no hidden preservatives or unwanted additives—just pure almond goodness.
- Freshness Factor: Enjoy almond milk that’s healthy, always fresh, and never processed. Store-bought almond milk often contains stabilizers and preservatives. This homemade version is fresh, clean, and simple.
- Flavor Fusion: Add flavors like vanilla or cinnamon for a personalized twist. Tailor the sweetness to your taste with your favorite sweeteners, like a hint of maple syrup or a touch of agave. You’re in control of the flavor!
- No-Waste Wonder: The leftover almond pulp can be used in baking or smoothies! Nothing goes to waste here.
Key Ingredients
Creating this homemade almond milk recipe is both simple and rewarding. With just a few basic, budget-friendly ingredients, you’ll be sipping on a creamy, delicious, and totally completely customizable beverage. Here’s what you’ll need:
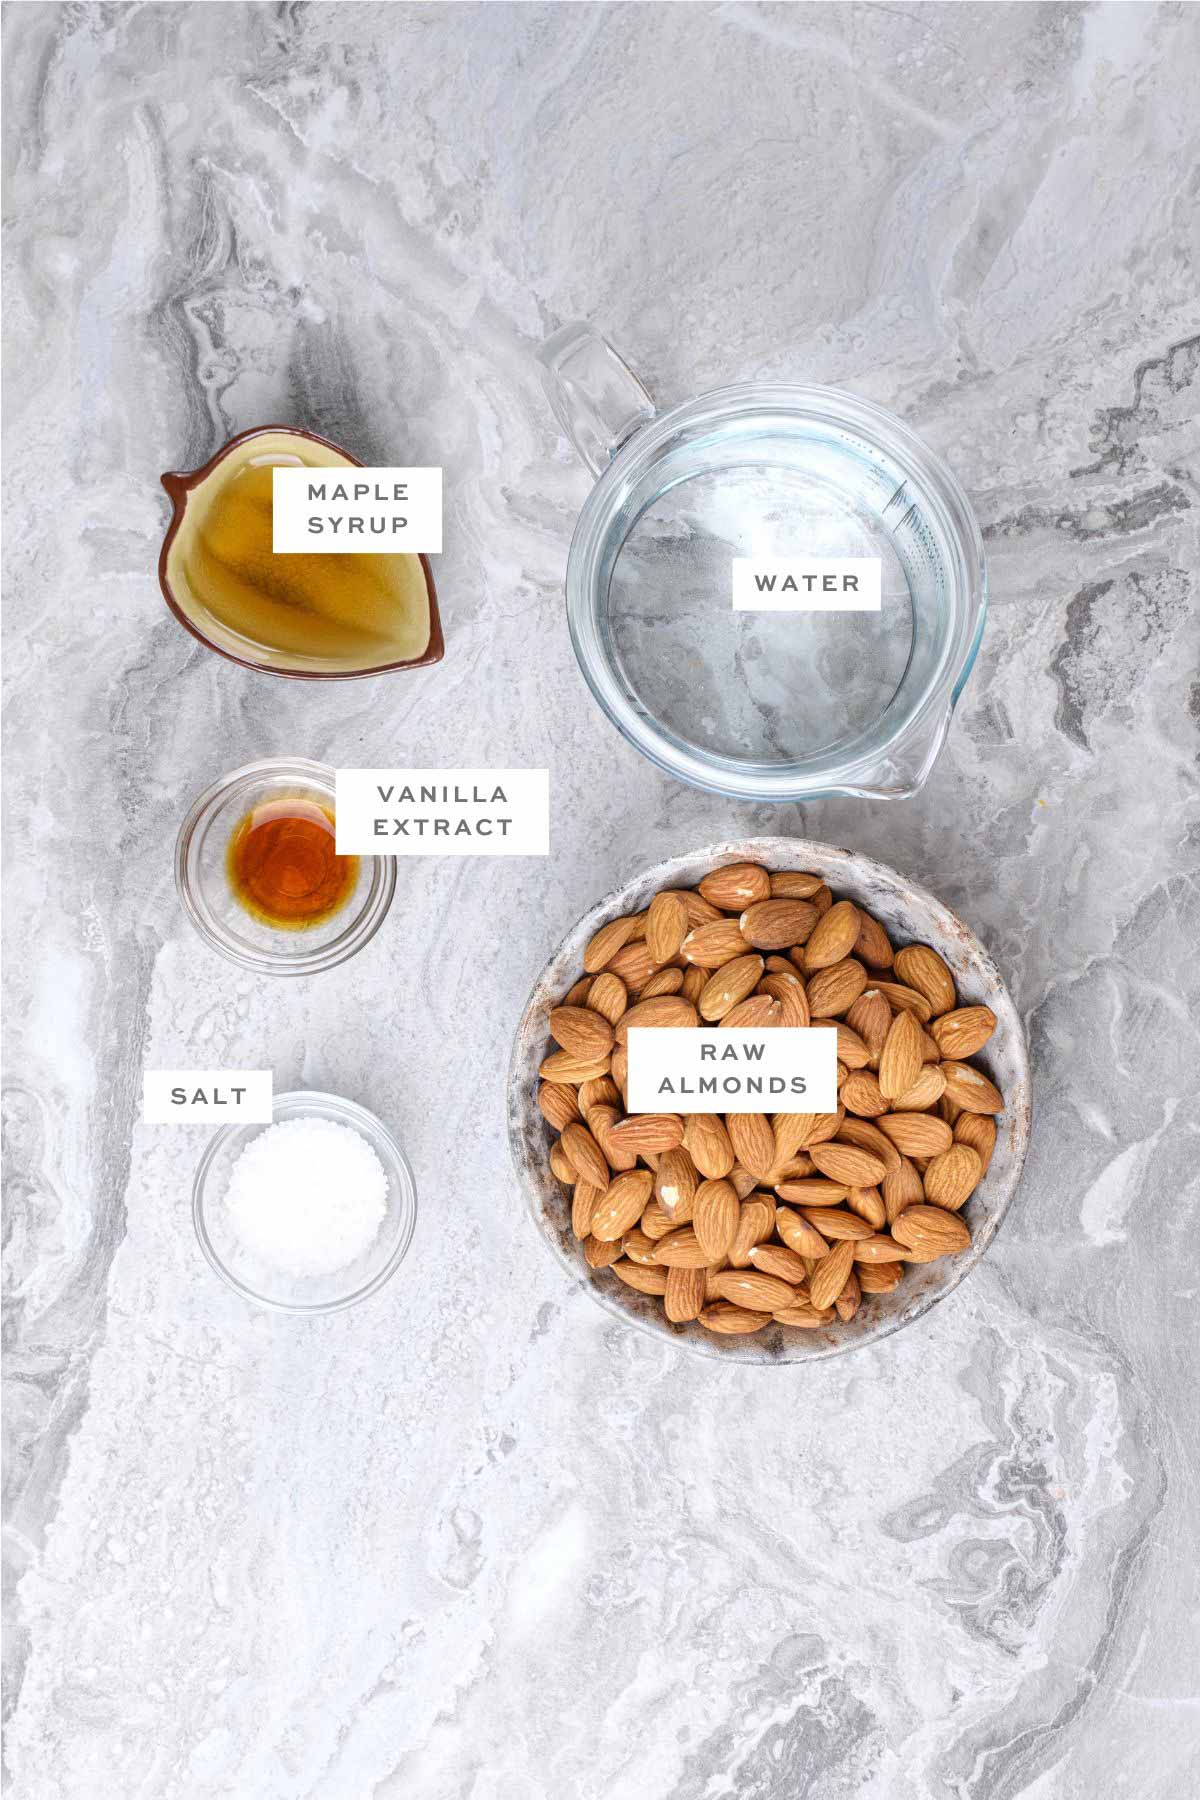
- Raw almonds: The foundation of your almond milk. Using raw almonds is crucial because they are unprocessed and retain their natural oils and nutrients, resulting in a richer, creamier milk. Soaking them overnight not only softens them but also activates enzymes that make them easier to digest and blend smoothly.
- Maple syrup or your favorite sweetener: This adds a touch of sweetness to balance the natural nuttiness. Whether you choose maple syrup, agave nectar, dates, or a splash of coconut nectar, it’s all about tailoring the flavor to your liking.
- Vanilla extract: A concentrated liquid derived from vanilla beans, it infuses your almond milk with a warm, rich aroma and a subtle sweetness that rounds out the flavor profile beautifully.
- Salt: Just a pinch is all you need to enhance the other flavors. It brings out the sweetness and depth of the almonds, making this almond milk recipe taste more balanced and full-bodied.
Creative Twists for Your Dairy-Free, Homemade Almond Milk
Why stick to plain almond milk when you can have a little fun with it? With a few simple additions, you can slightly vary this almond milk recipe or add a punch of flavor for a dairy-free beverage that is all your own. Here are a few ideas to get you started:
- Strawberry Dream: Blend in a handful of fresh strawberries for a sweet, fruity twist that turns your almond milk recipe into a refreshing strawberry milk.
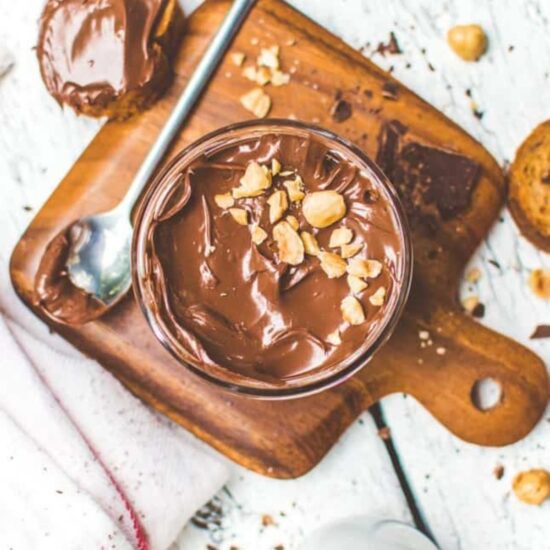
- Choco-Loco: Add a bit of vegan chocolate for a rich and decadent chocolate almond milk that’s perfect for satisfying your sweet tooth.
- Cinnamon Swirl: Mix in a teaspoon of ground cinnamon for a warm, cozy flavor that pairs perfectly with your morning coffee.
- Nutty Delight: Stir in a spoonful of almond butter for an extra nutty and creamy texture that takes your almond milk to the next level.
- Golden Glow: Sprinkle in a bit of turmeric and a dash of black pepper for a homemade golden milk with anti-inflammatory benefits and a warm, earthy flavor.
How to Make
Ready to transform those humble almonds into something extraordinary? Making your own almond milk is a simple and satisfying process that will have you wondering why you ever bought it from the store. Let’s dive into the steps and get you blending like a pro! Here’s what you’ll do:
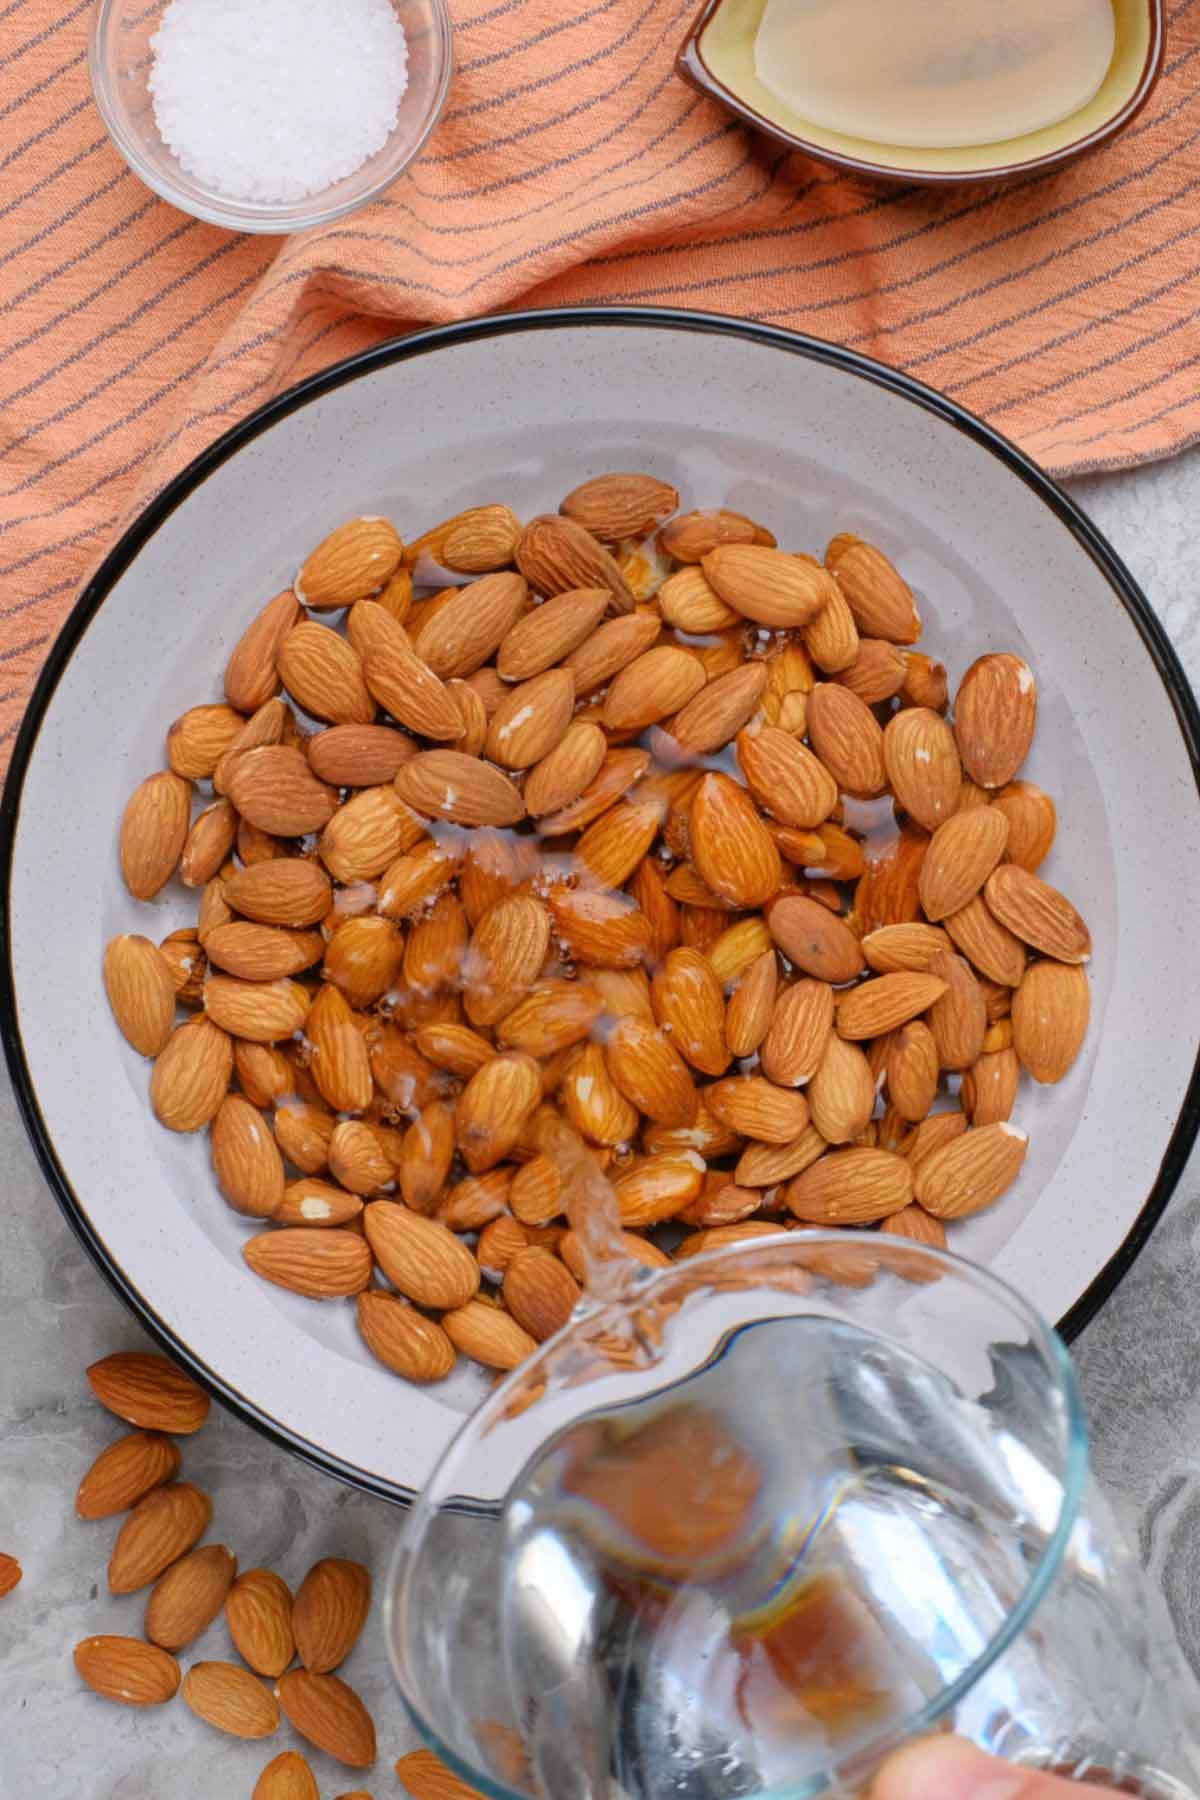
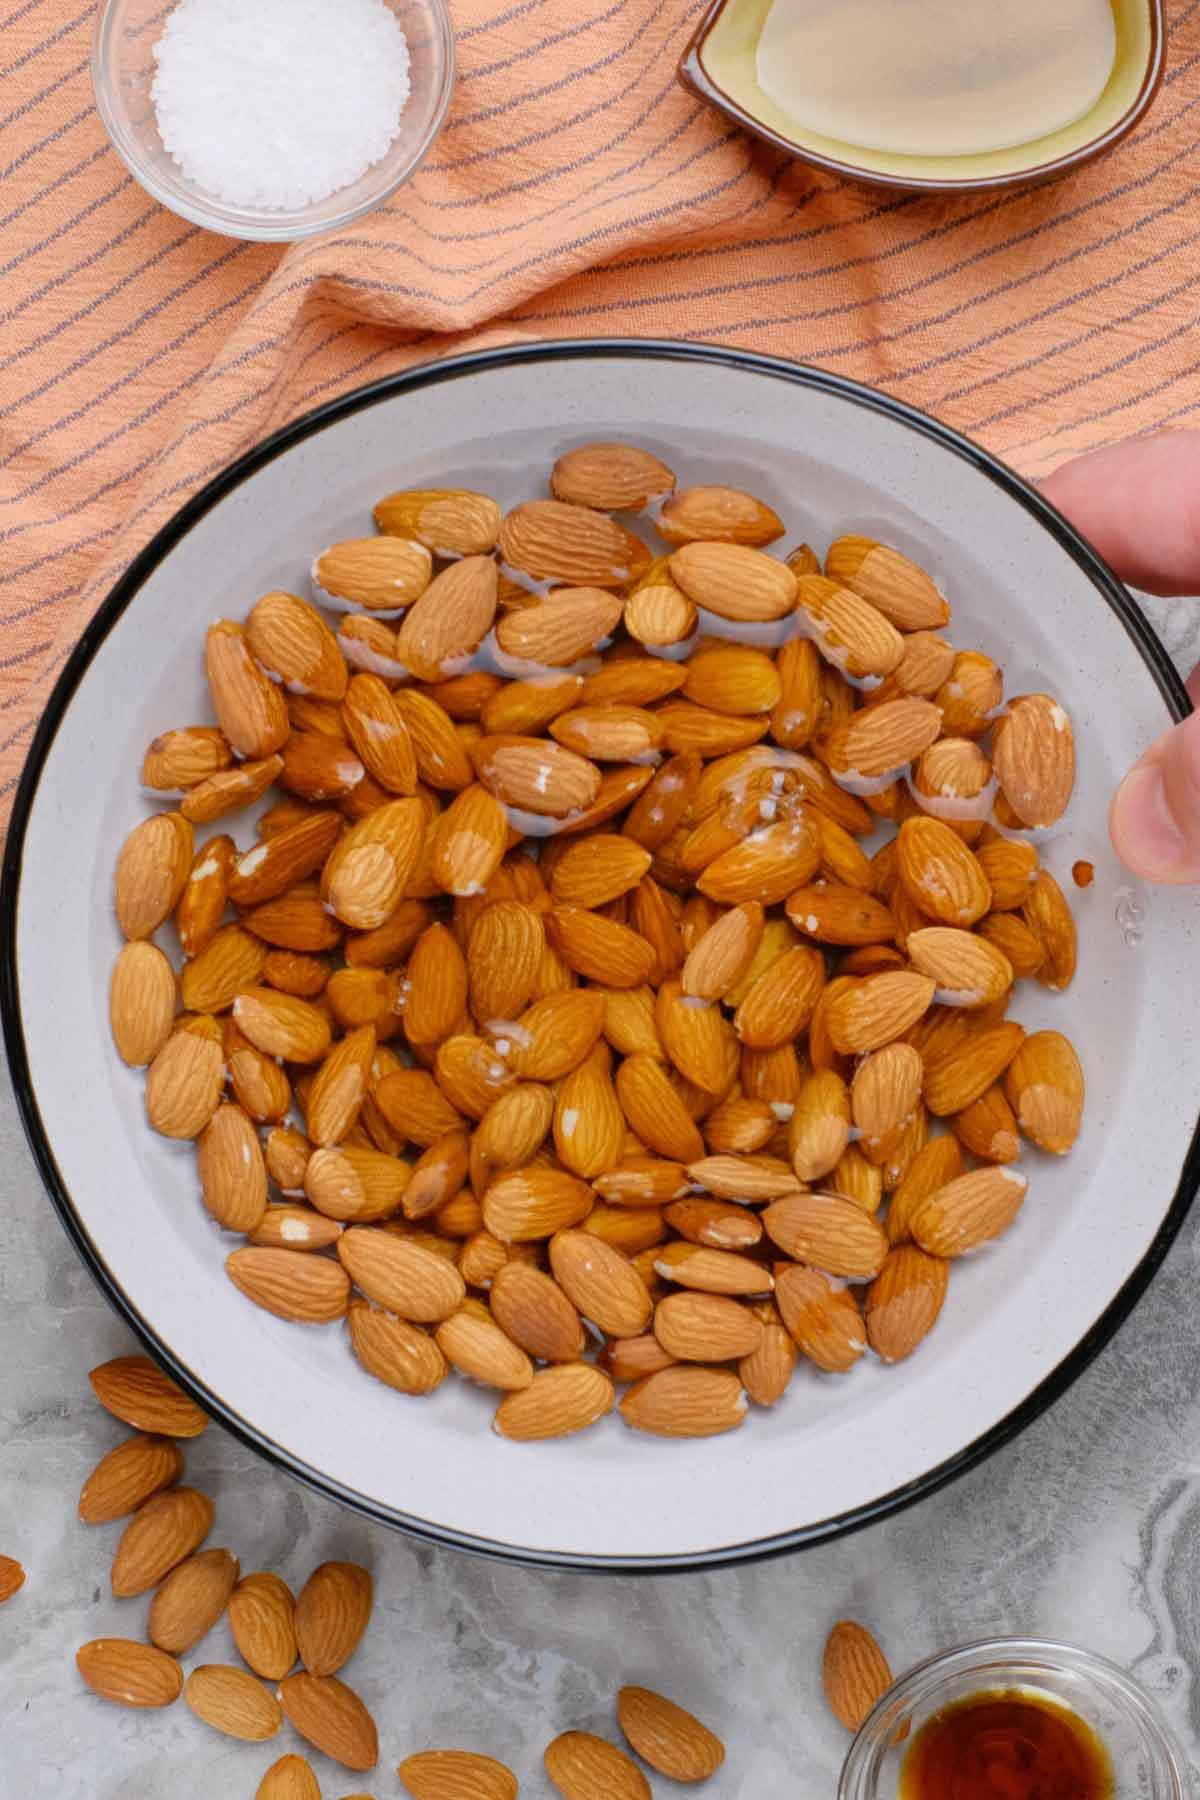
Step 1: Soak the Almonds – Start by soaking one cup of raw almonds in water overnight or for at least 3 hours. Soaking softens the almonds, making them easier to blend and improving the texture of your almond milk.
Step 2: Rinse and Drain – After soaking, drain and rinse the almonds thoroughly under running water. This helps remove any residual phytic acid and enzyme inhibitors.

Step 3: Blend with Water – Place the soaked almonds in a high-powered blender and add filtered water. For creamier milk, add less water, and for thinner milk, add more.
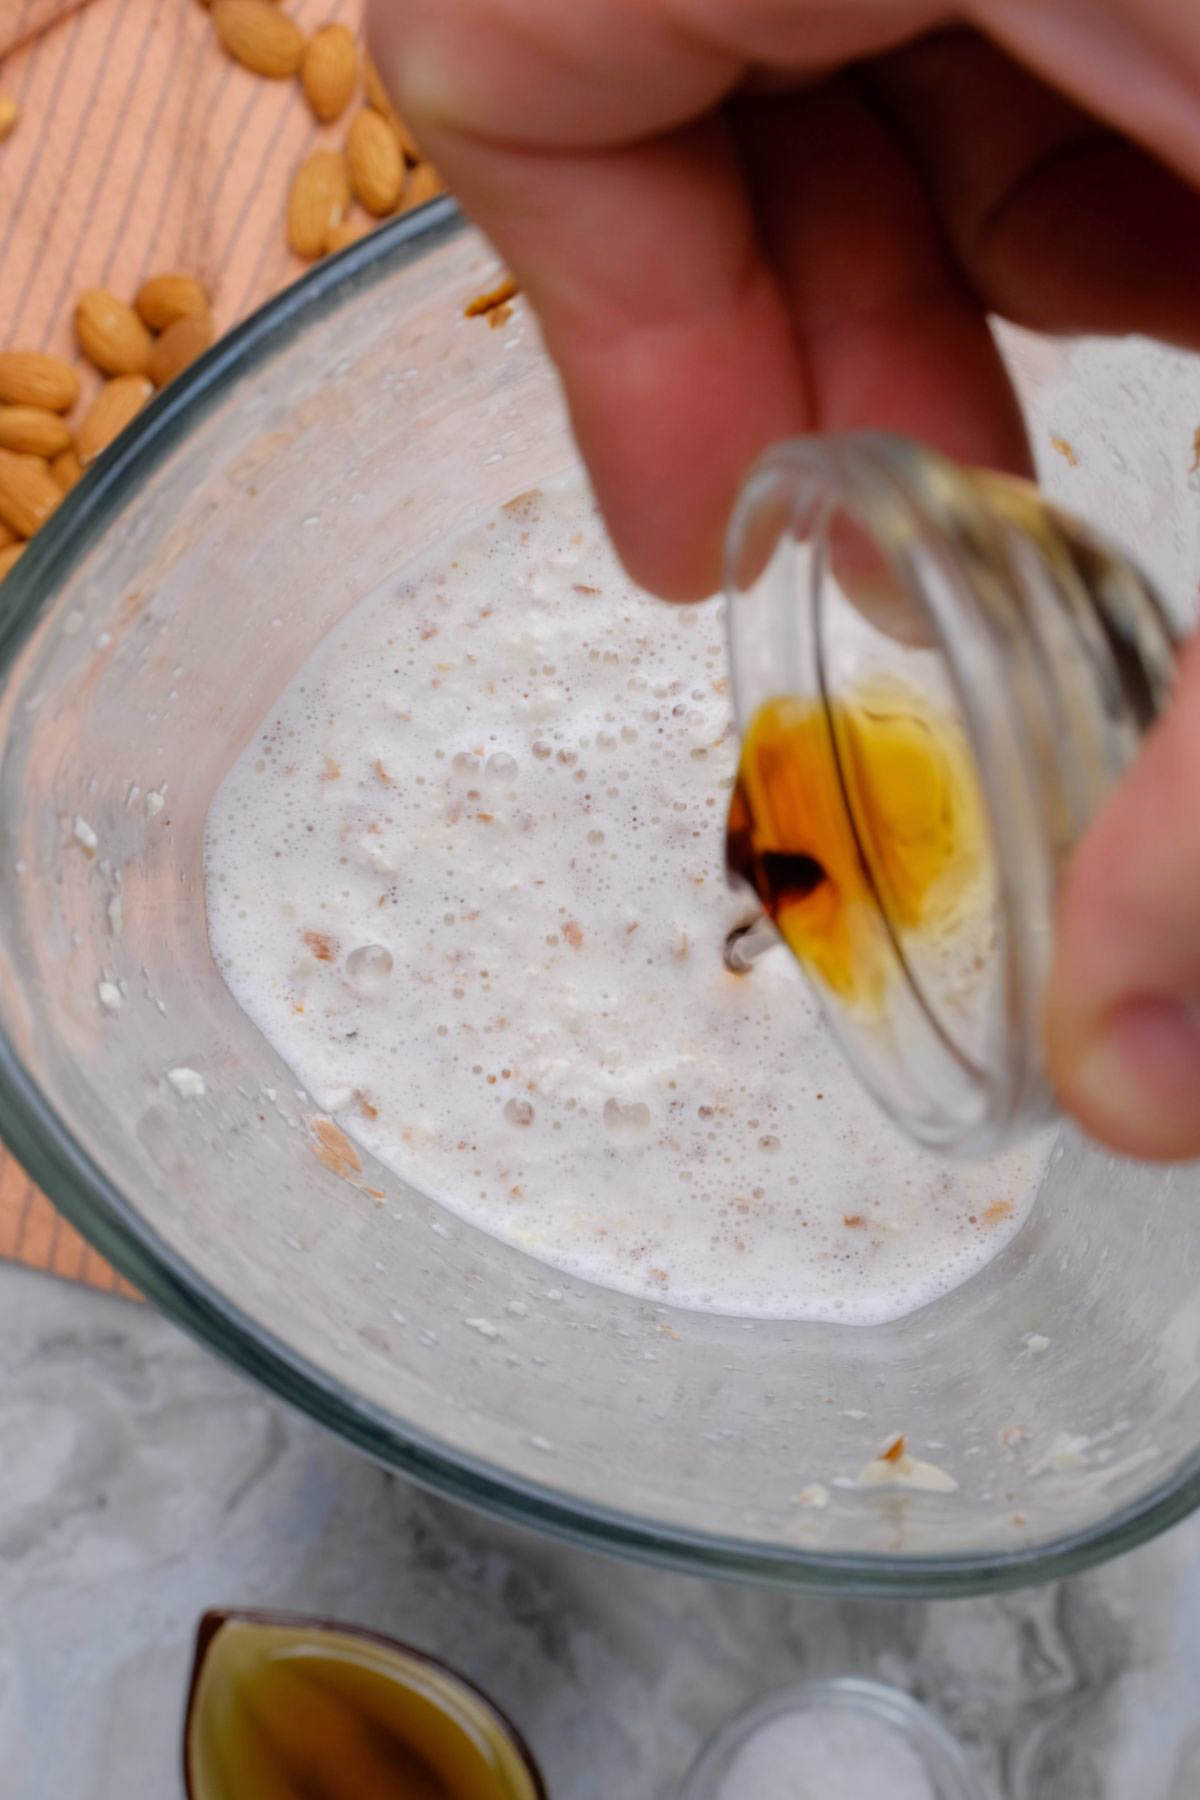
Step 4: Sweeten The Deal – If you’d like sweetened almond milk, you can also add sweeteners (such as maple or agave syrup), then add the vanilla extract, and salt.

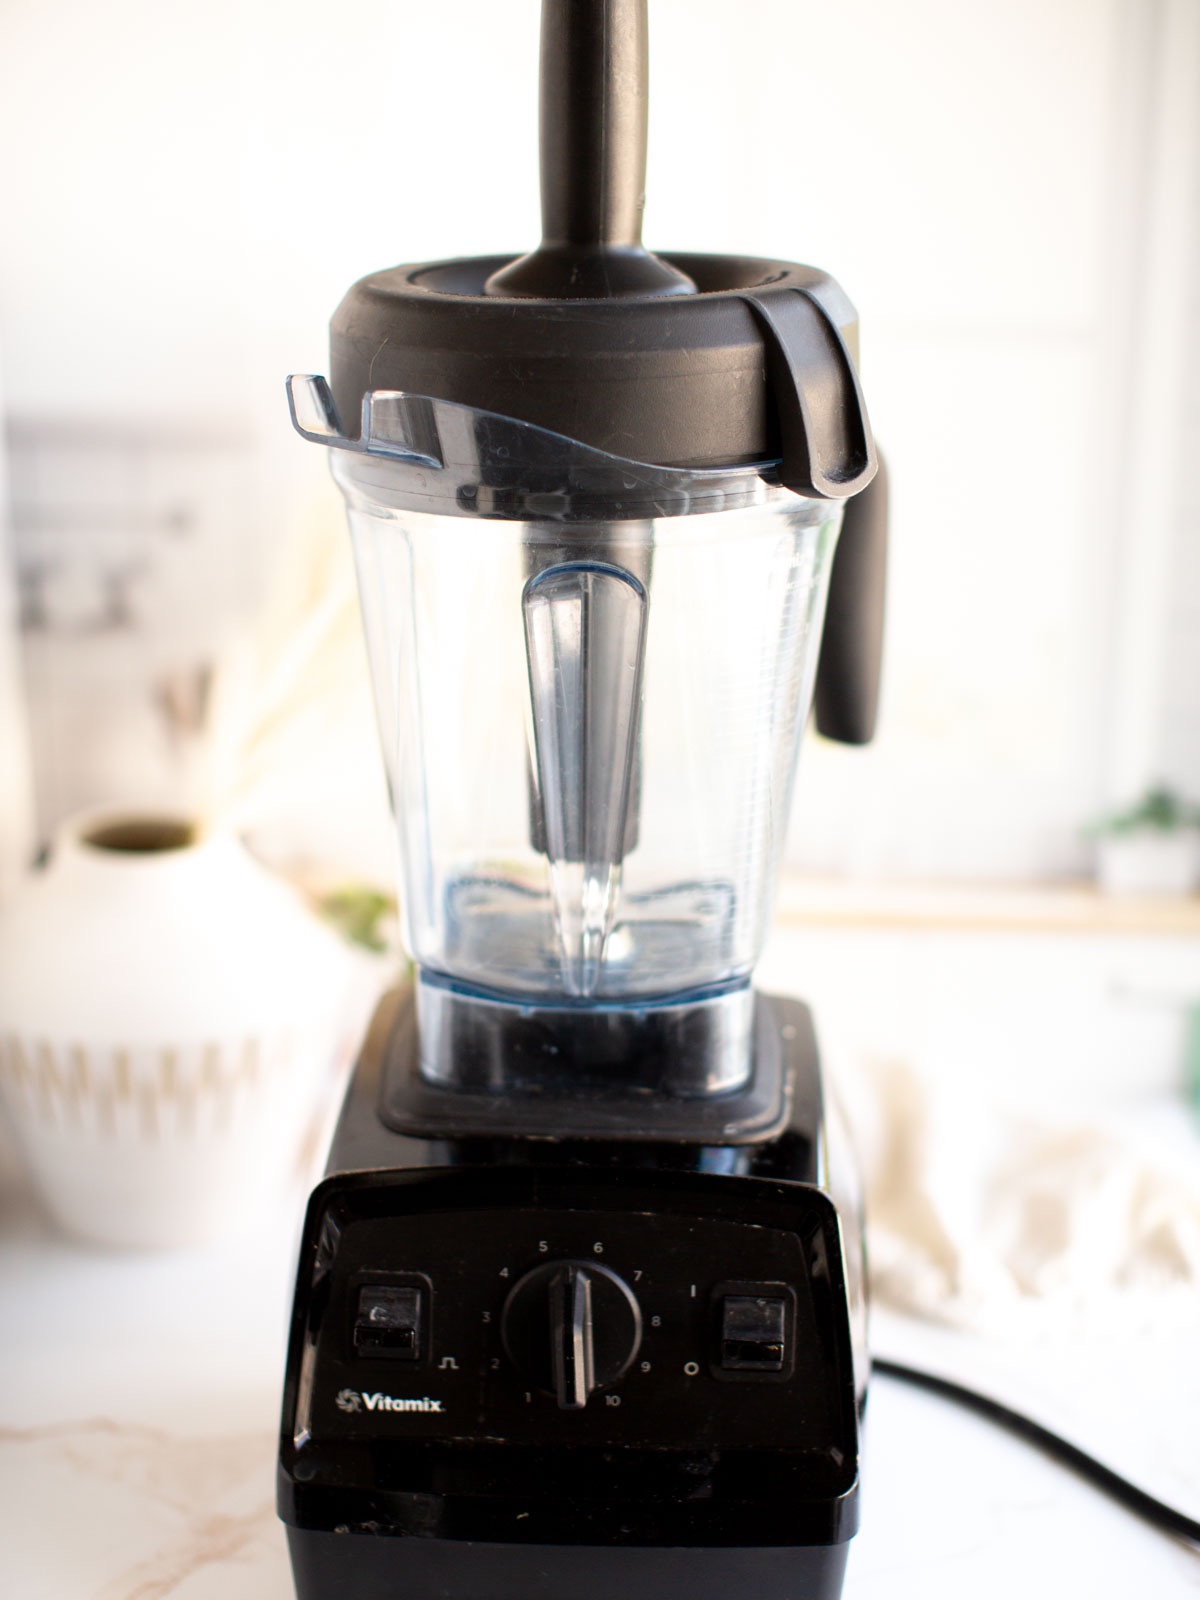
Step 5: Blend Thoroughly – Blend the mixture on high speed until it becomes creamy and completely smooth. This may take a couple of minutes. Using a high-powered blender like a Vitamix is crucial here as it ensures a smoother and more consistent texture. The powerful motor can break down the almonds more effectively, resulting in better almond milk.

Step 6: Strain the Mixture – Place a nut milk bag or cheesecloth over a bowl or pitcher, and carefully pour the blended almond mixture through it. Squeeze and press the bag or cloth to extract as much liquid as possible. This process separates the almond milk from the almond pulp.

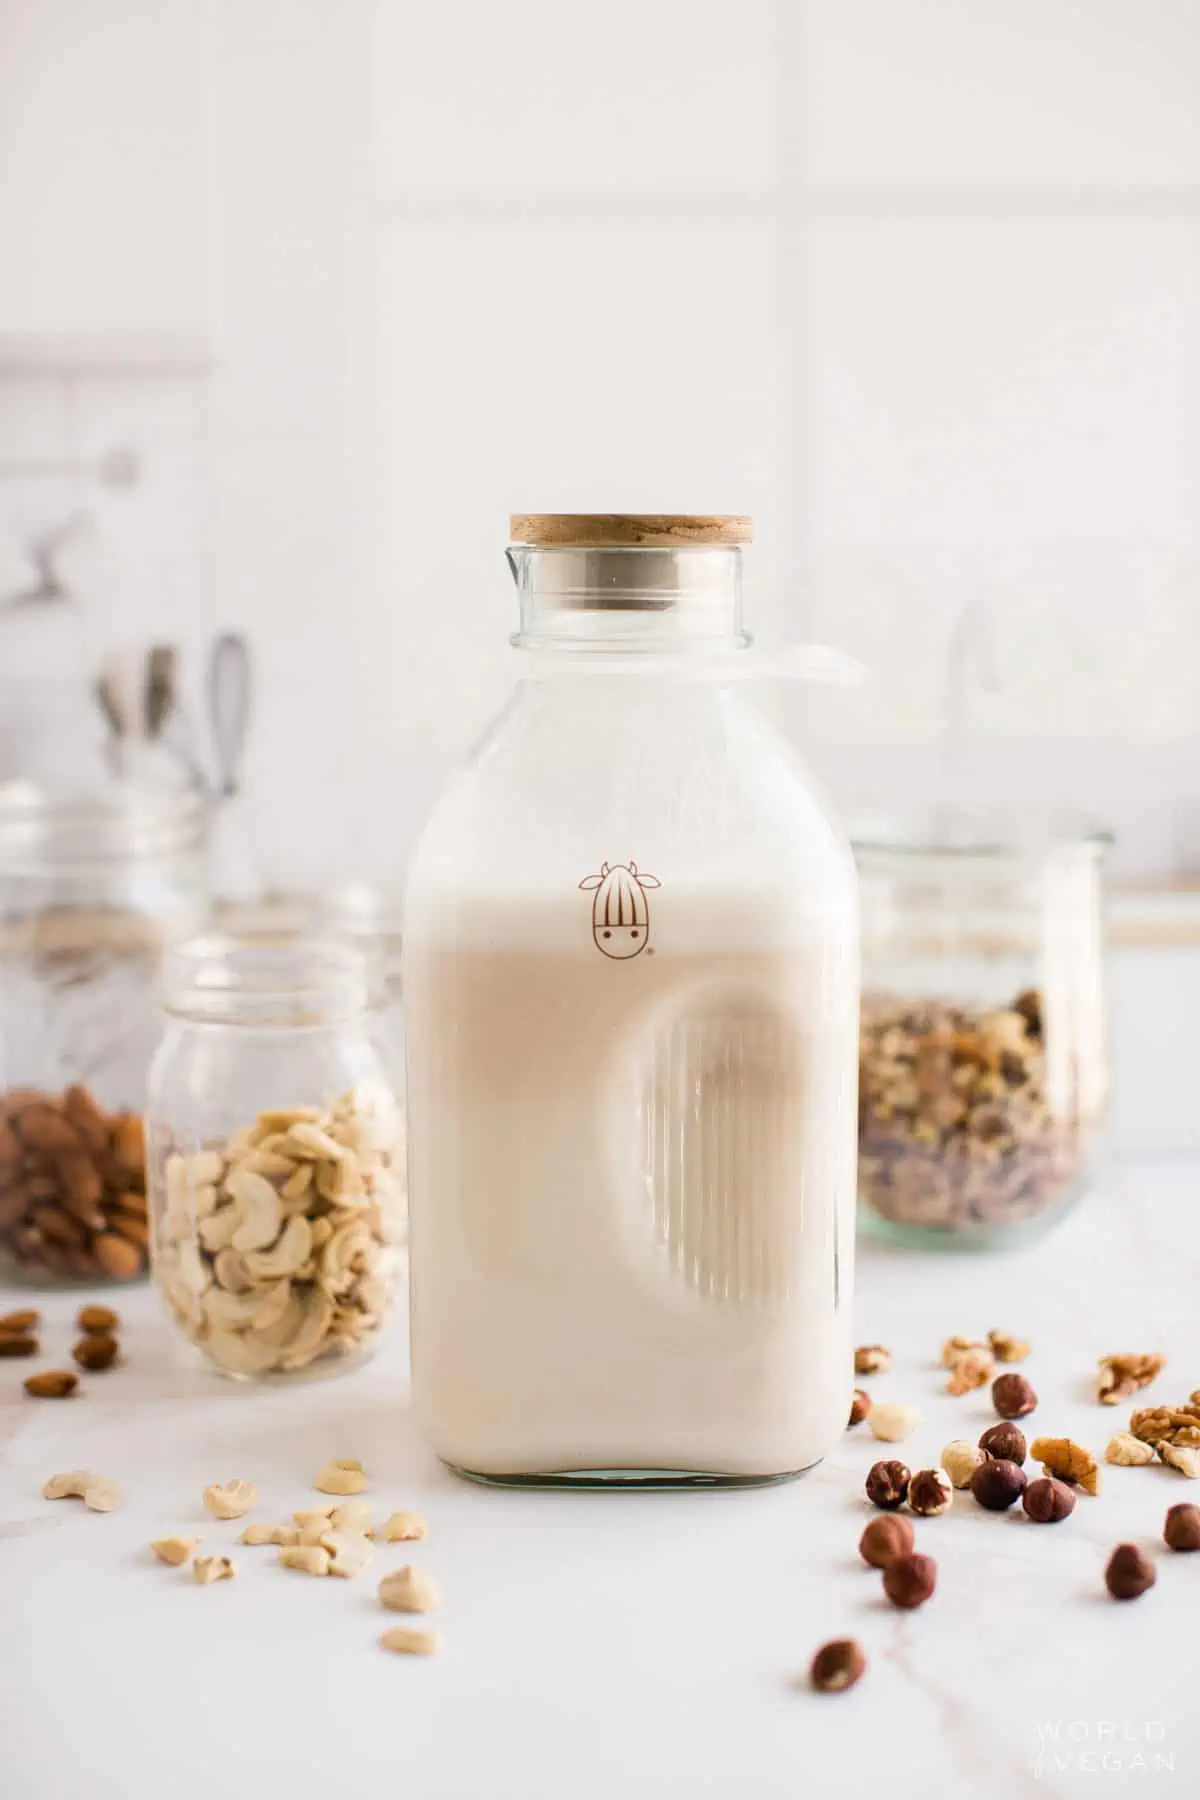
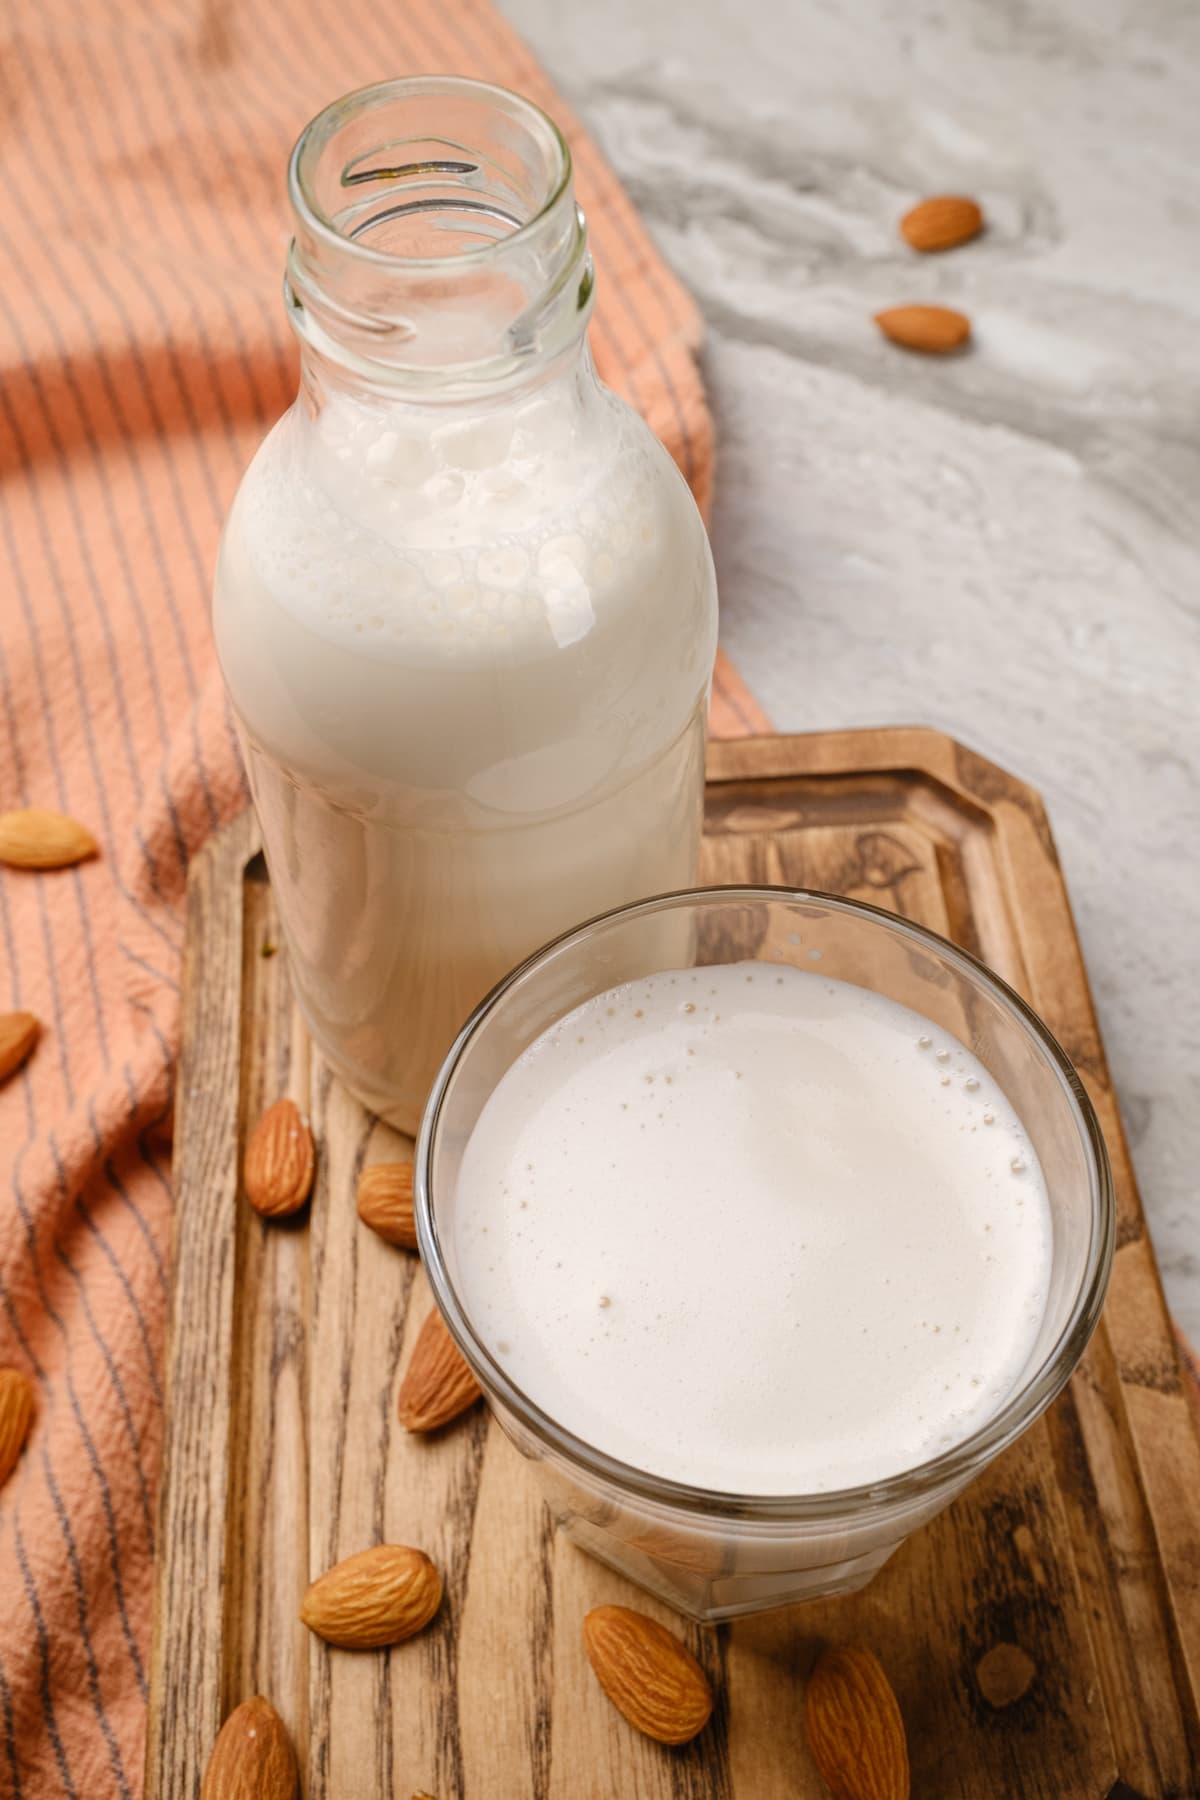
Step 7: Store Your Almond Milk – Transfer the strained almond milk to a clean container or bottle. Homemade almond milk can be stored in the refrigerator for up to 4 days. Be sure to shake or stir it before using, as it may naturally separate over time.
Your homemade almond milk is now ready to use in coffee, your favorite vegan cereal, smoothies, or as a dairy milk substitute in your favorite recipes.
Helpful Tips For Making The Tastiest Plant-Based Milk
To make your almond milk truly amazing, a few handy tricks can go a long way. Here are some pro tips to ensure your homemade almond milk recipe is always fresh, flavorful, and perfectly creamy.
- Stock Up Smart: Buy almonds in bulk when they are on sale and store them in tight glass containers in the fridge or freezer to keep them fresh.
- Water Wisdom: Try using cold, filtered water for the best taste.
- Shake It Up: Store the milk in a bottle with a tight lid so you can give it a shake every time it separates inside the fridge.
- Patience Pays Off: If you’ve got the patience, slip off the skins before blending (it’s kind of fun!). Doing this creates a much smoother, silkier plant-based milk after blending.
- Raw vs. Roasted: Experiment with both raw and roasted almonds. Raw almonds are healthier for sure, but roasted almonds have a really lovely flavor when made into milk. Give them both a try and see which one you like better.
- Texture Tricks: For a thicker texture, try varying the amount of water that you add. Use 3 cups for the lightest liquid, 2 cups for a “half and half” substitute, or a single cup for more of a coffee creamer consistency. Adjusting the water allows you to customize the milk to your preferred thickness.
While making your own homemade almond milk is rewarding, it’s not always possible. To find the best store-bought options, check out our guide to plant-based milk brands!
How To Serve
You’ve made a batch of fresh, creamy almond milk—now what? This versatile, nutty beverage can be used in countless delicious ways. Here are some of our favorite ideas to get you started:
- Cereal Bliss: Pour your almond milk over your favorite plant-based cereal or nutty, homemade granola for a classic breakfast treat. It’s a simple yet satisfying way to start your day with a bit of nutty goodness.
- Chia Power Pudding: Mix up a batch of indulgent vanilla chia pudding using almond milk. It’s a healthy treat with omega-3 goodness and an amazing texture!
- Smoothie Magic: Blend almond milk into your smoothies for a creamy, rich texture that water just can’t achieve. Try our creamy almond milk smoothie, sweet apple banana smoothie, and our refreshing banana peach smoothie to start!
- Latte Love: Create dreamy lattes and cozy hot chocolate with your homemade almond milk. It’s ideal for making delicious, frothy drinks right at home. Try a comforting vegan peppermint mocha or your favorite latte blend for a café-style treat.
- Baking Buddy: Use almond milk in your baking recipes to keep them dairy-free and delicious. From pancakes to muffins, almond milk adds a subtle nutty flavor that enhances your baked goods.
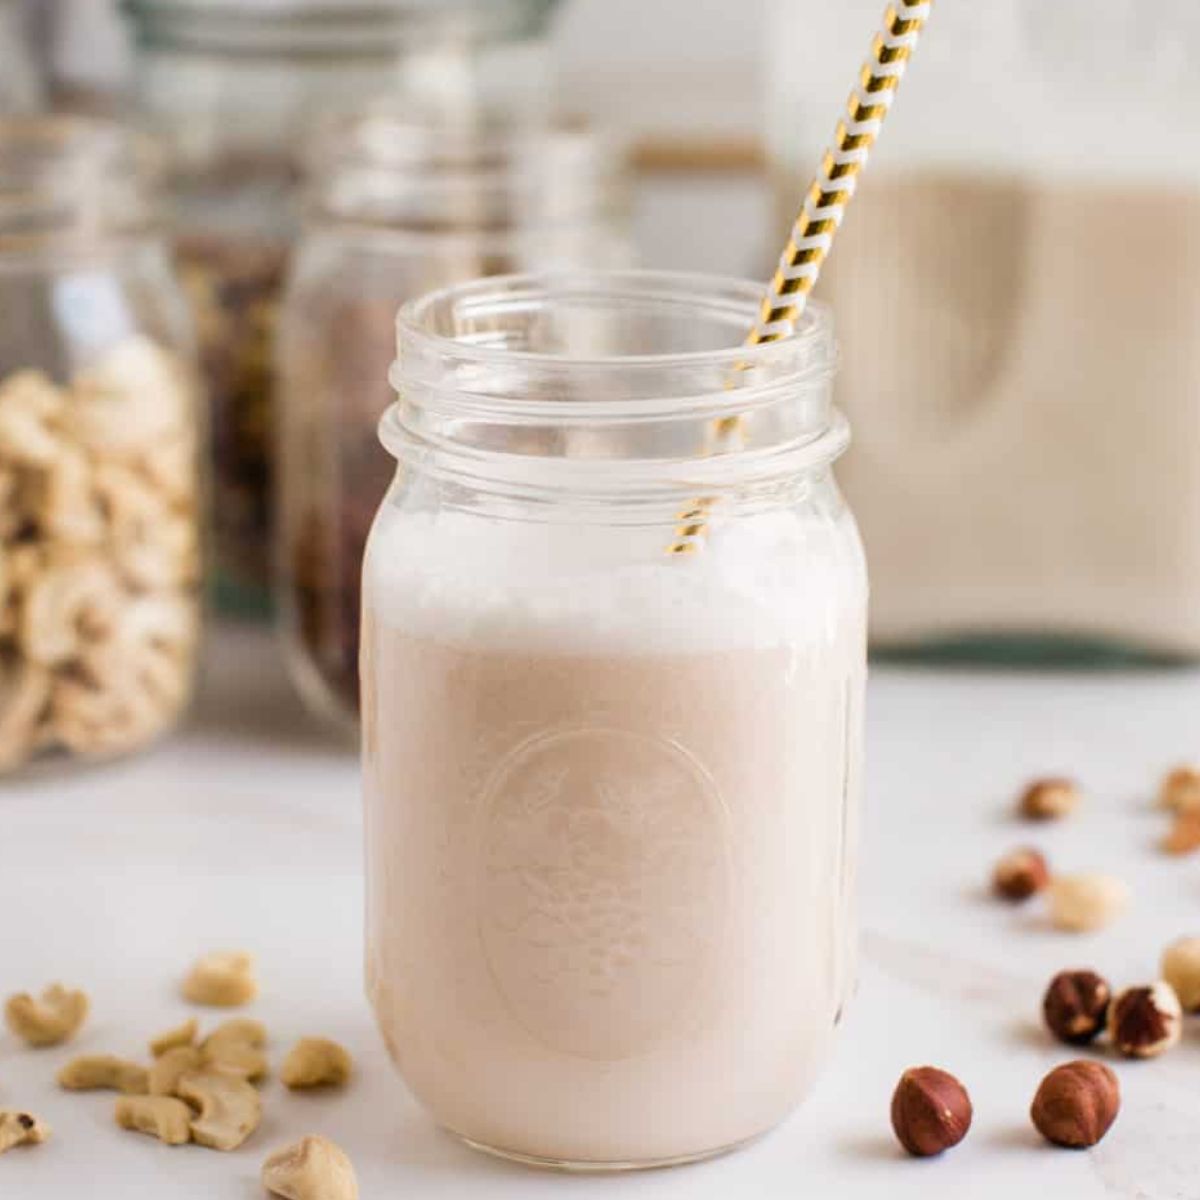
- Straight-Up Sipping: Of course, sometimes simplicity is best. Pour yourself a glass of chilled almond milk and enjoy its creamy, nutty flavor straight from the glass.
Essential Equipment
For the best homemade almond milk, a high-speed blender and nut milk bag will yield the best results. Let’s go over why, as well as some other equipment that will also work for this almond milk recipe!
High-Powered Blender
- Why It’s Best: A high-powered blender ensures the almonds break down thoroughly, resulting in the smoothest, creamiest milk.
- Alternative – Regular Blender: If using a regular blender, blend longer and in shorter intervals to avoid overheating. The milk might be slightly grainier, but will still be tasty.
While a high-powered blender is an investment, it’s a valuable tool for those who frequently make homemade nut milk and other blended recipes, offering consistent and superior results.
Nut Milk Bag or Cheesecloth
- Why It’s Best: A nut milk bag is perfect for straining almond milk, allowing you to squeeze out every last drop of creamy goodness.
- Alternative – Cheesecloth or Clean, Thin Dish Towel: Double up on cheesecloth for similar results. In a pinch, a clean, thin dish towel can work, though it might be a bit messier.
Using a high-powered blender and a nut milk bag will give you the best results. However, with these alternatives, you can still enjoy delicious homemade almond milk that’s creamy and satisfying.
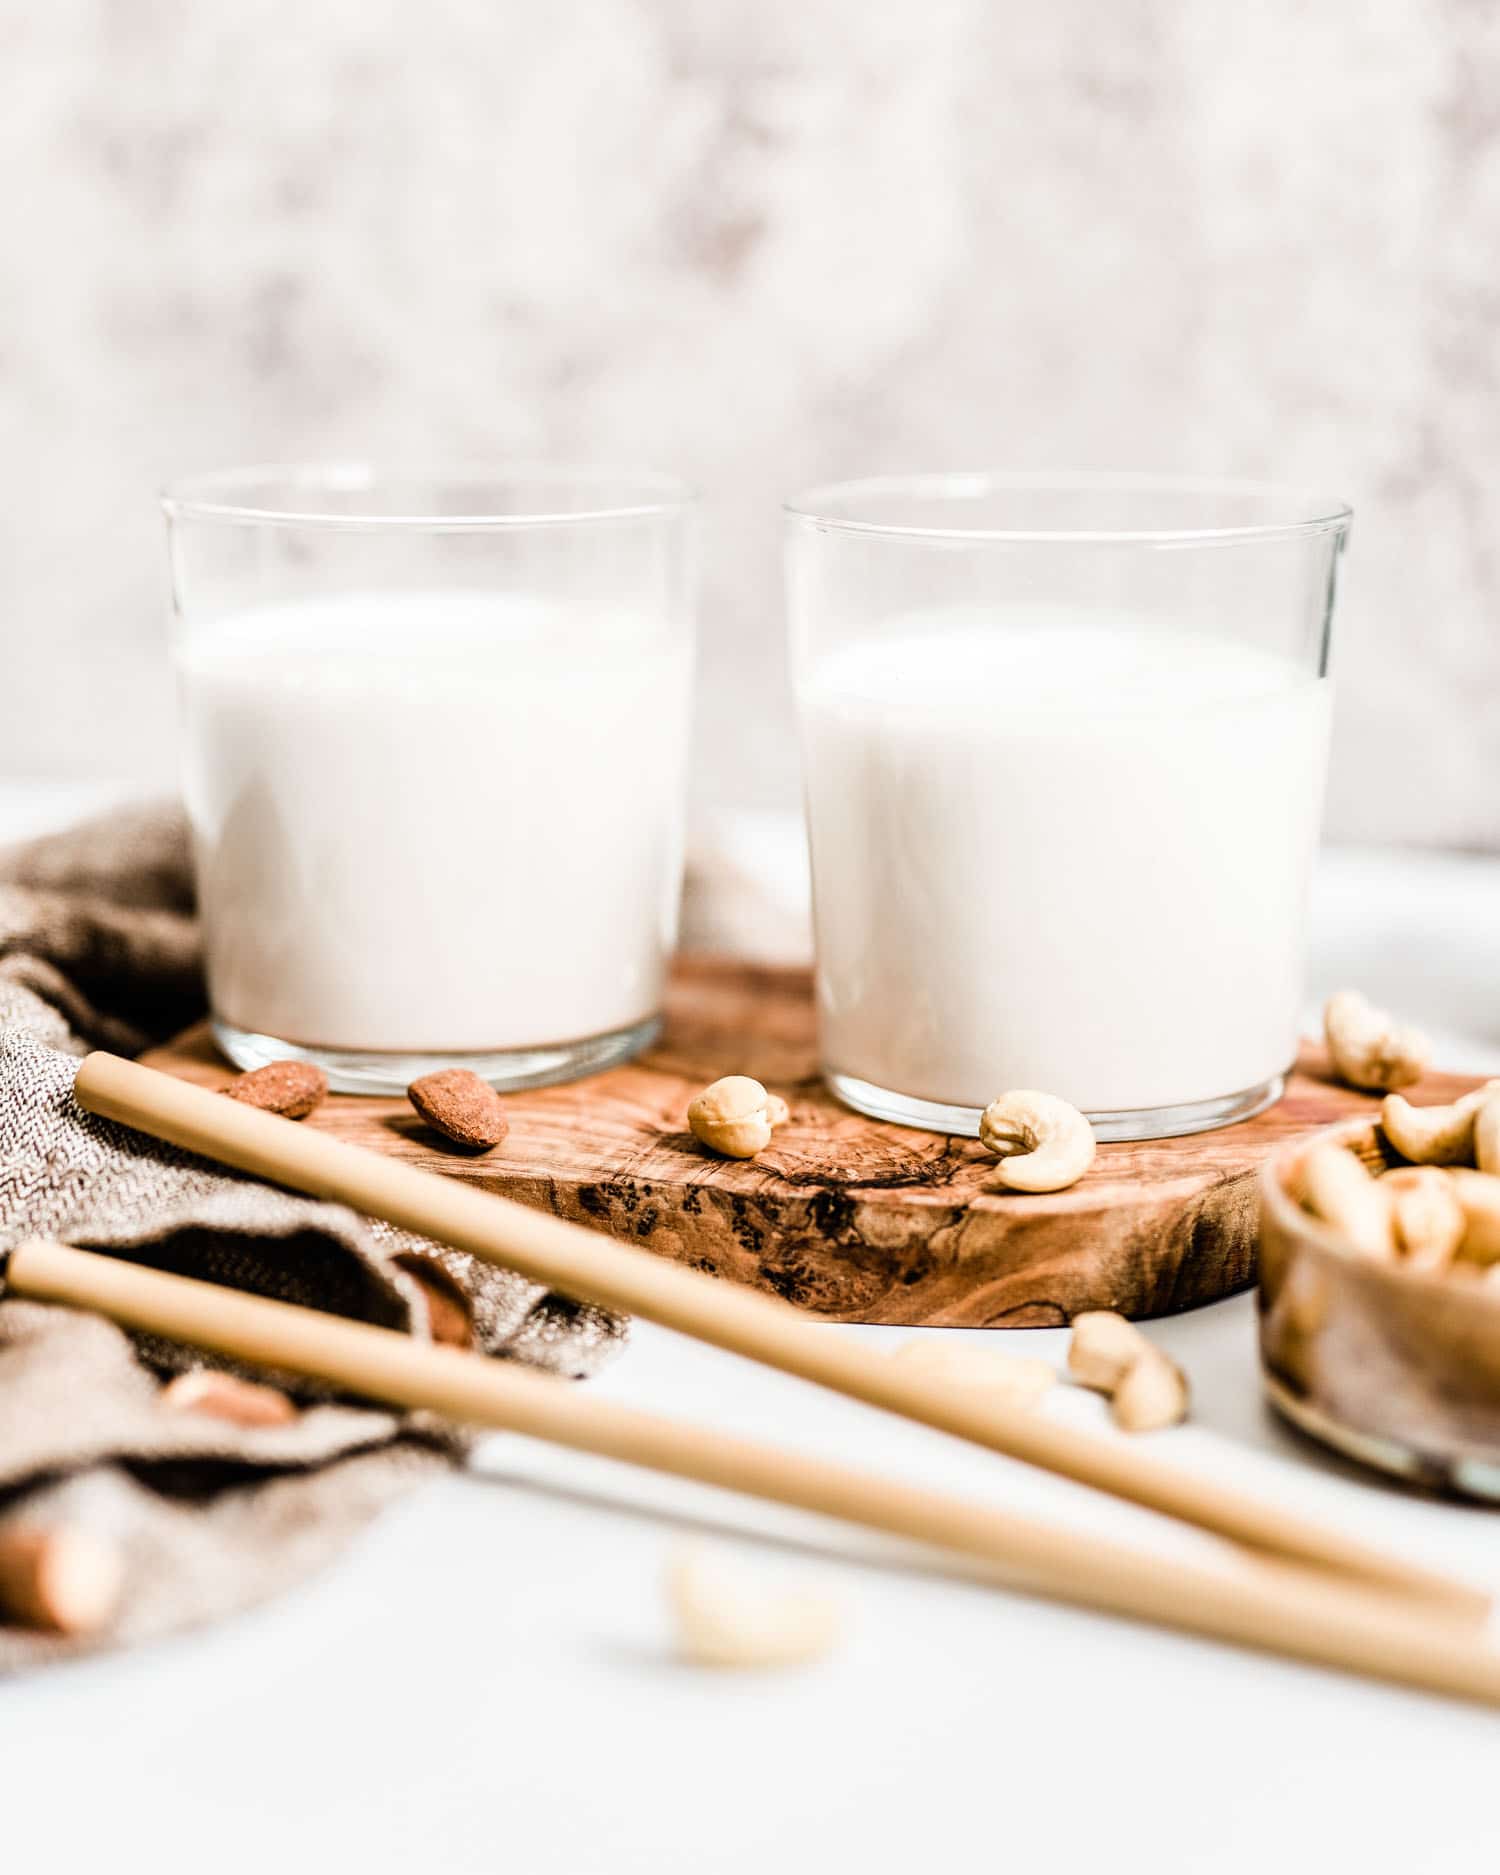
Experimenting with different nuts for homemade nut milk is not only fun but also allows you to tailor your milk to your taste preferences and dietary needs. Whichever nut you choose, you’ll be adding a healthy and dairy-free alternative to your culinary arsenal.
Making Almond Milk with a Nut Milk Maker
Making almond milk at home has gotten even easier, thanks to the convenience of nut milk makers. These innovative kitchen appliances are designed to simplify the process of turning nuts into creamy, delicious nut milk. Simply add water to the basin, add your nuts or seeds and any other additions (sweeteners, extracts, fruit, cocoa powder, etc), and at the touch of a button you’ll have fresh creamy nut milk.
What Do Nut Milk Makers Actually Do?
Nut milk makers are specialized machines that streamline the nut milk-making process. They typically follow these steps:
- Soaking: Many nut milk makers have a built-in soaking feature that allows you to soak your almonds or other nuts for the recommended amount of time to soften them.
- Blending: After soaking, the nuts are blended with water to create a smooth, homogenous mixture. Nut milk makers have powerful blades that ensure thorough blending.
- Straining: The blended mixture is then automatically strained to separate the nut pulp from the liquid. This results in smooth, pulp-free nut milk.
- Heating (Optional): Some nut milk makers also offer a heating function, allowing you to enjoy warm nut milk straight from the machine.

Popular Nut Milk Maker Brands
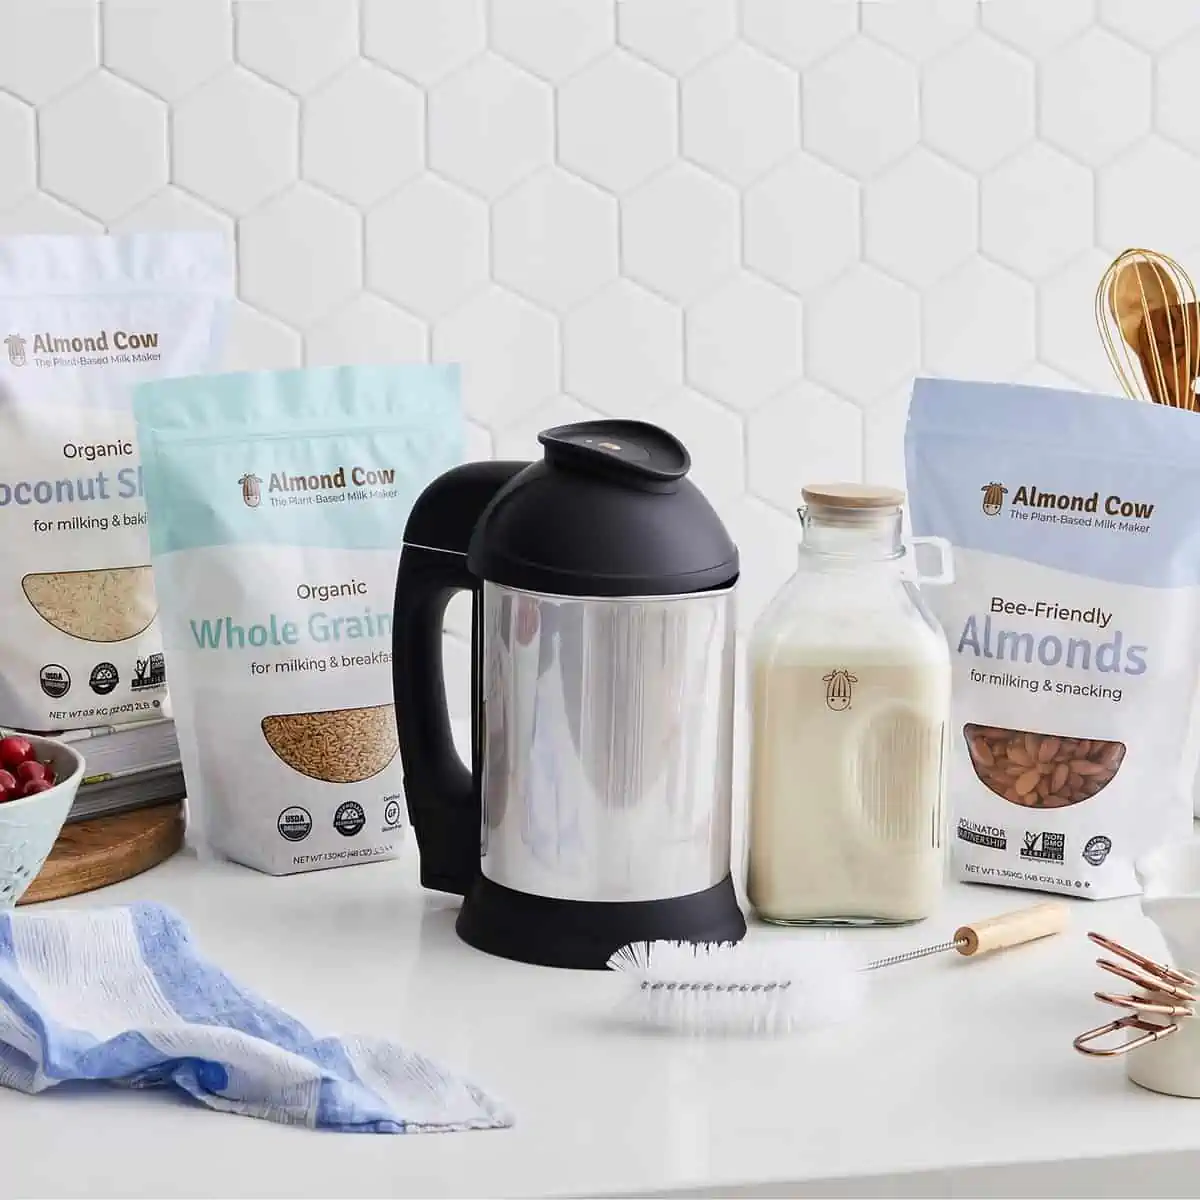
Almond Cow: Almond Cow is a well-known nut milk maker brand that specializes in almond milk but can also make other nut and seed milks. It offers various settings to customize your milk, and it’s known for its user-friendly design. The Almond Cow is designed to make a full jug of milk with each cycle, so it’s ideal for families who drink milk regularly and are looking for a more eco-friendly option than store-bought milk.
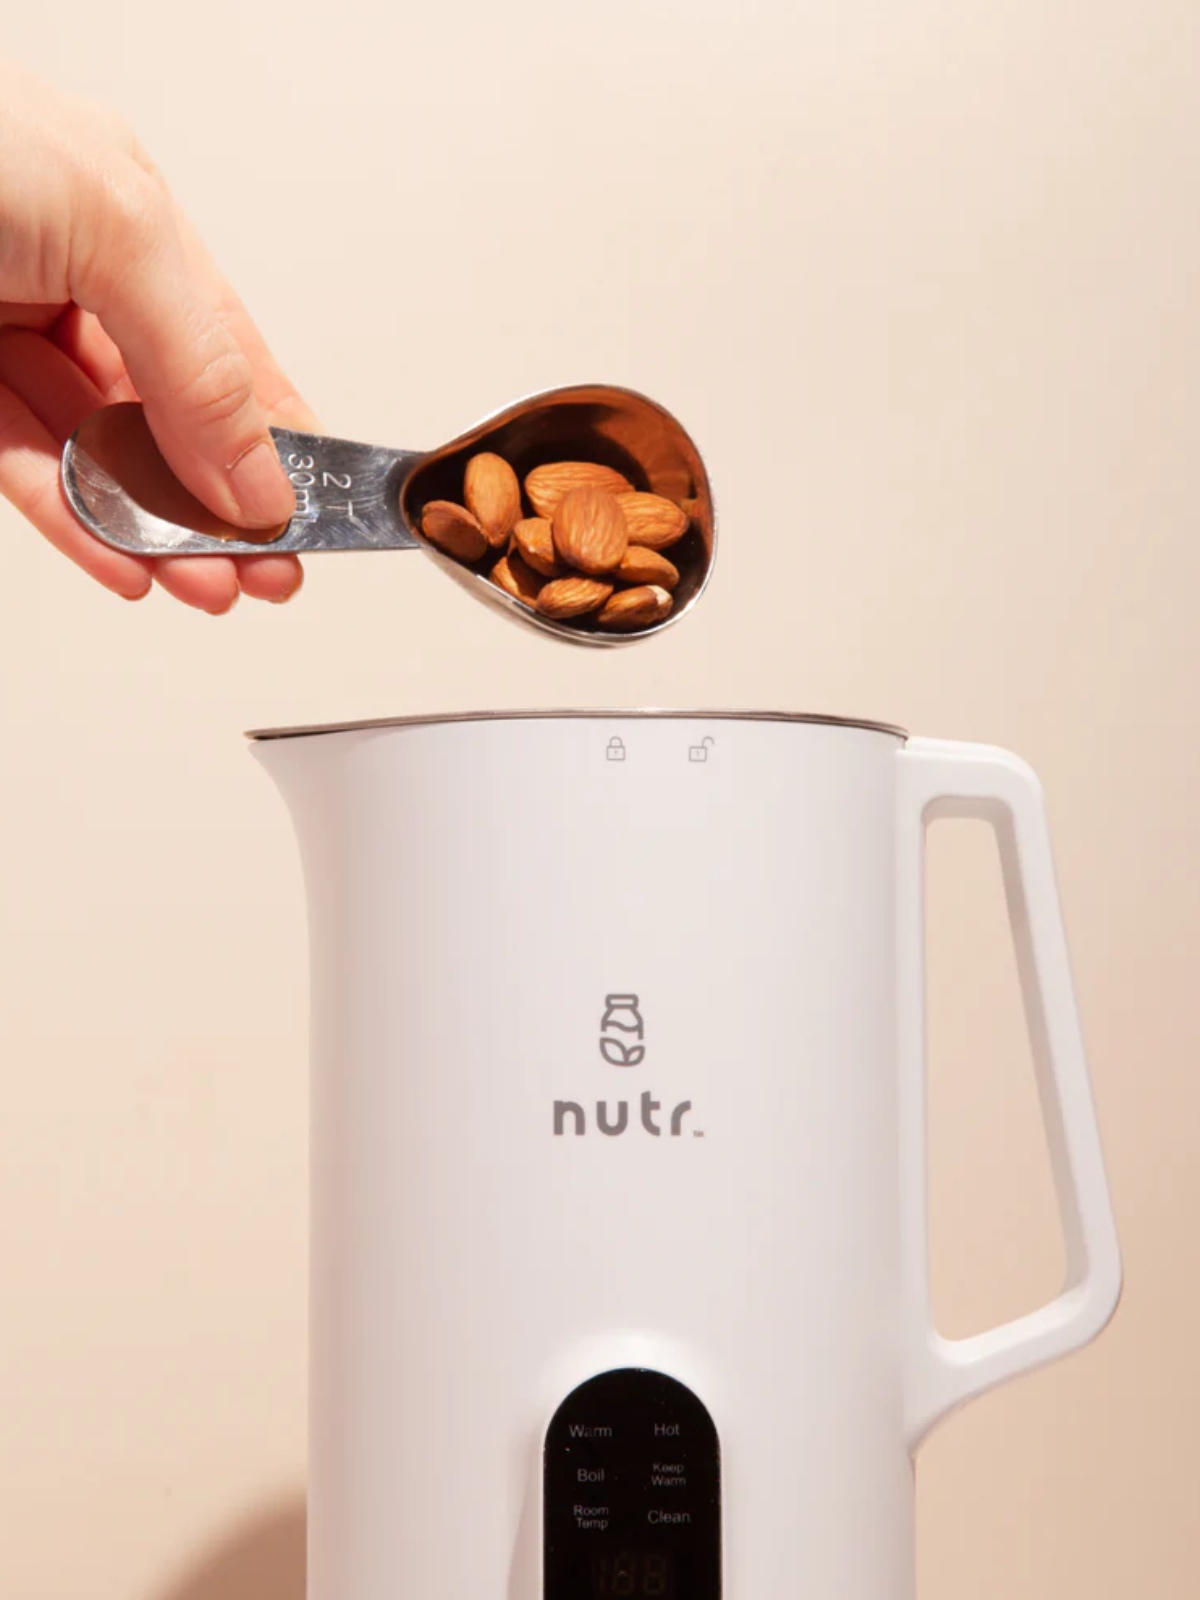
Nutr: This is another popular choice with a versatile approach to nut milk making. It allows you to make a wide range of nut milks, nut butters, and even nut-based flours. It’s appreciated for its convenience and durability.
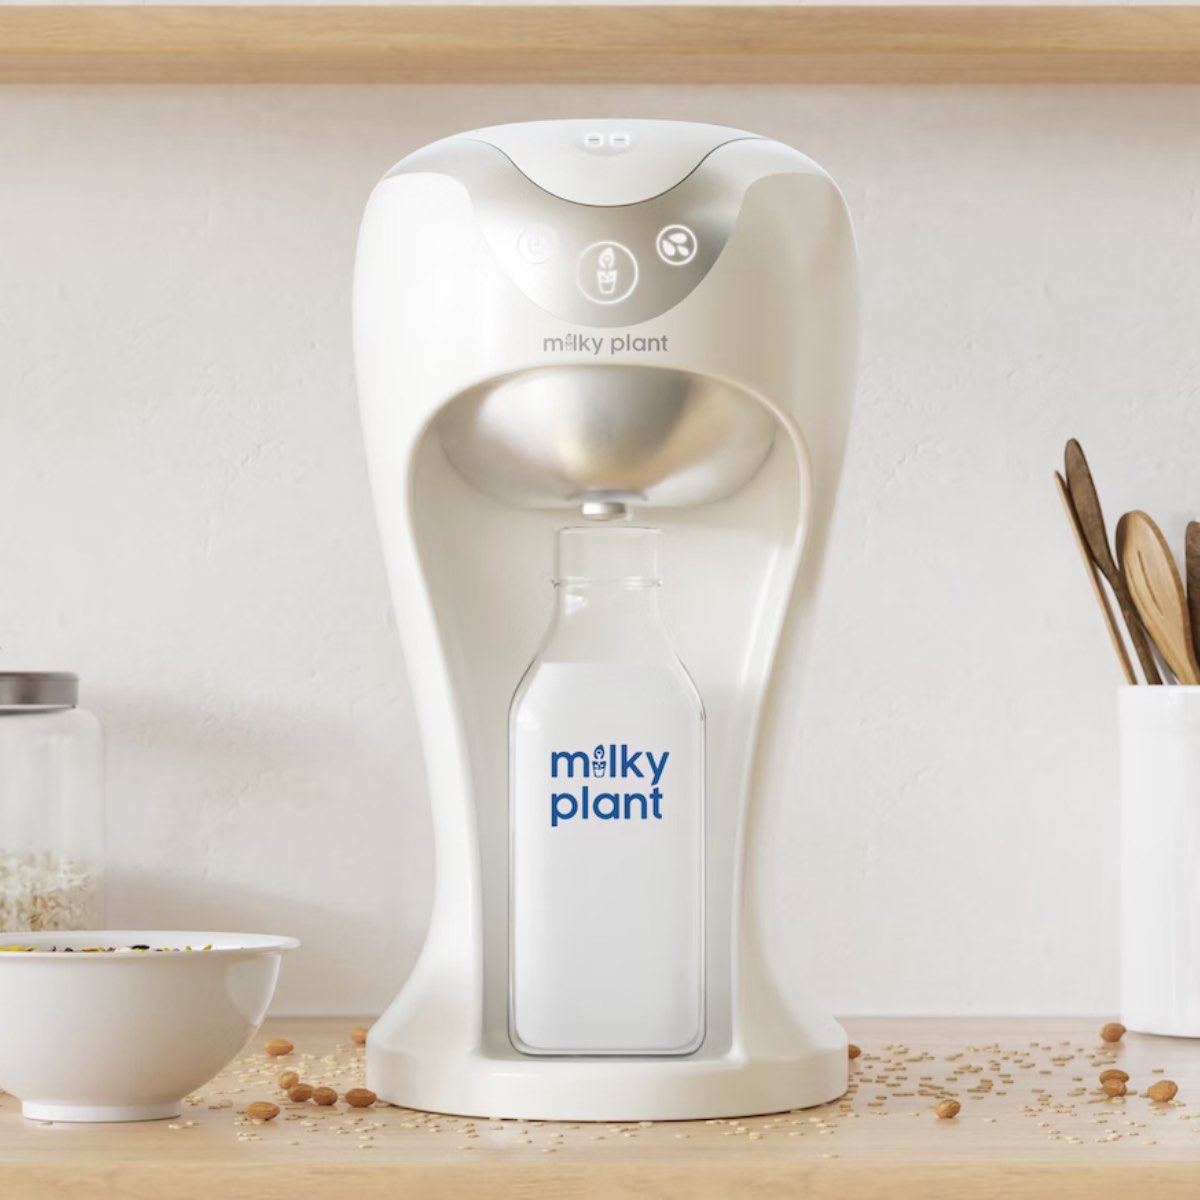
Milky Plant: Milky Plant focuses on simplicity and ease of use. It’s designed to make nut milk quickly and efficiently, perfect for those who want a straightforward approach to homemade nut milk. The milky plant is designed to make a small bottle of milk at a time, so it’s best for individuals who don’t consume a lot of milk, or who want freshly made milk each day.
When choosing a nut milk maker, consider factors such as capacity, ease of cleaning, and additional features like heating options or the ability to make nut-based spreads. With a nut milk maker, you can enjoy fresh, preservative-free almond milk and explore other nut and seed milk varieties in the comfort of your own kitchen.
FAQs
Substituting almond milk for dairy milk is straightforward. Use a 1:1 ratio, meaning if a recipe calls for 1 cup of dairy milk, use 1 cup of almond milk. Keep in mind that almond milk has a slightly nutty flavor and a thinner consistency, which may subtly alter the taste and texture of your dish.
To make almond milk, start by soaking 1 cup of raw almonds in water overnight. Drain and rinse the almonds, then blend them with 3 cups of fresh water until smooth. Strain the mixture through a nut milk bag or cheesecloth to separate the milk from the pulp, and enjoy your fresh, homemade almond milk!
For the best results, soak almonds for at least 8 hours or overnight. This softens the almonds, making them easier to blend and resulting in a smoother, creamier almond milk. If you’re short on time, a quick soak for 3-4 hours can work, but overnight is ideal.
More Homemade Staple Recipe Ideas


If you make this almond milk recipe, please leave a star rating below and let me know what you think in the comments! I love reading your comments!

Homemade Almond Milk Recipe
Ingredients
- 1 cup raw almonds, soaked in water overnight
- 3 cups water
- 2 tablespoons maple syrup, or your favorite sweetener
- 1 teaspoon vanilla extract
- pinch salt
Instructions
- Advance prep: add 1 cup of raw almonds to a bowl, fill with water, and place a cloth on top. Allow the almonds to soak overnight (or for at least 3 hours). Remove the cloth, drain the water, and proceed to the next step.
- In a high-powered blender, add the soaked almonds and 2 cups of water and blend on high until smooth.
- Add the remaining 1 cup of water, maple syrup, vanilla extract, and salt, and blend on high for one minute or until you have a silky smooth milk. There should be no remaining chunks of almond.
- Place your nut milk bag in a large bowl and slowly pour the blended milk into the bag. Using your hands, squeeze the milk through the nut milk bag, allowing the liquid to seep through as the almond pulp remains inside the bag. Continue until only a crumbly clump of almond pulp remains. Set the pulp aside (you won’t be using it for this recipe, but can use it in other recipes or add it to your morning smoothies).
- Pour almond milk into a container (such as a milk jug or mason jars) and store in the fridge until you’re ready to enjoy. Shake well before using and use within 5 days.
Video
Notes
- Customize Your Creaminess: If you prefer a lighter (less creamy) milk, simply add more water. For a creamier milk or a perfect coffee creamer, use less water. Feel free to adjust the maple syrup and vanilla extract to suit your taste.
- Fresh is Best: Store your homemade almond milk in a covered glass bottle or mason jar in the fridge for up to 4 days.
- Freeze for Later: Got leftovers? Pour your almond milk into an ice cube tray and freeze overnight. Once frozen, store the cubes in freezer bags or sealed containers for up to 3 months. Perfect for adding to smoothies, iced tea, or coffee!
Nutrition
You may also like...
")


Enter to Win Our Monthly Giveaway!
New winner every month! Drop your name below for a chance to win hundreds of dollars of vegan prizes from our brand partners. You’ll also receive our weekly e-newsletter with plant-based recipes galore!
Leave a Comment
Its so easy to make homemade recipes and fun too!
So simple and refreshing!
Love this almond milk recipe! I can’t believe it’s so simple and easy to make your own plant milk – yay!
I’ve been wanting to make my own! Thanks for this easy recipe!!
Homemade almond milk is so delicious. Its easy and fun to make and always impresses people that you’ve made your own!!!
This is such a fun, easy, and tasty recipe! Yay for homemade almond milk 🙂
Oh how I love making my own almond milk! I recently got an Almond Cow which makes it even easier 🙂