


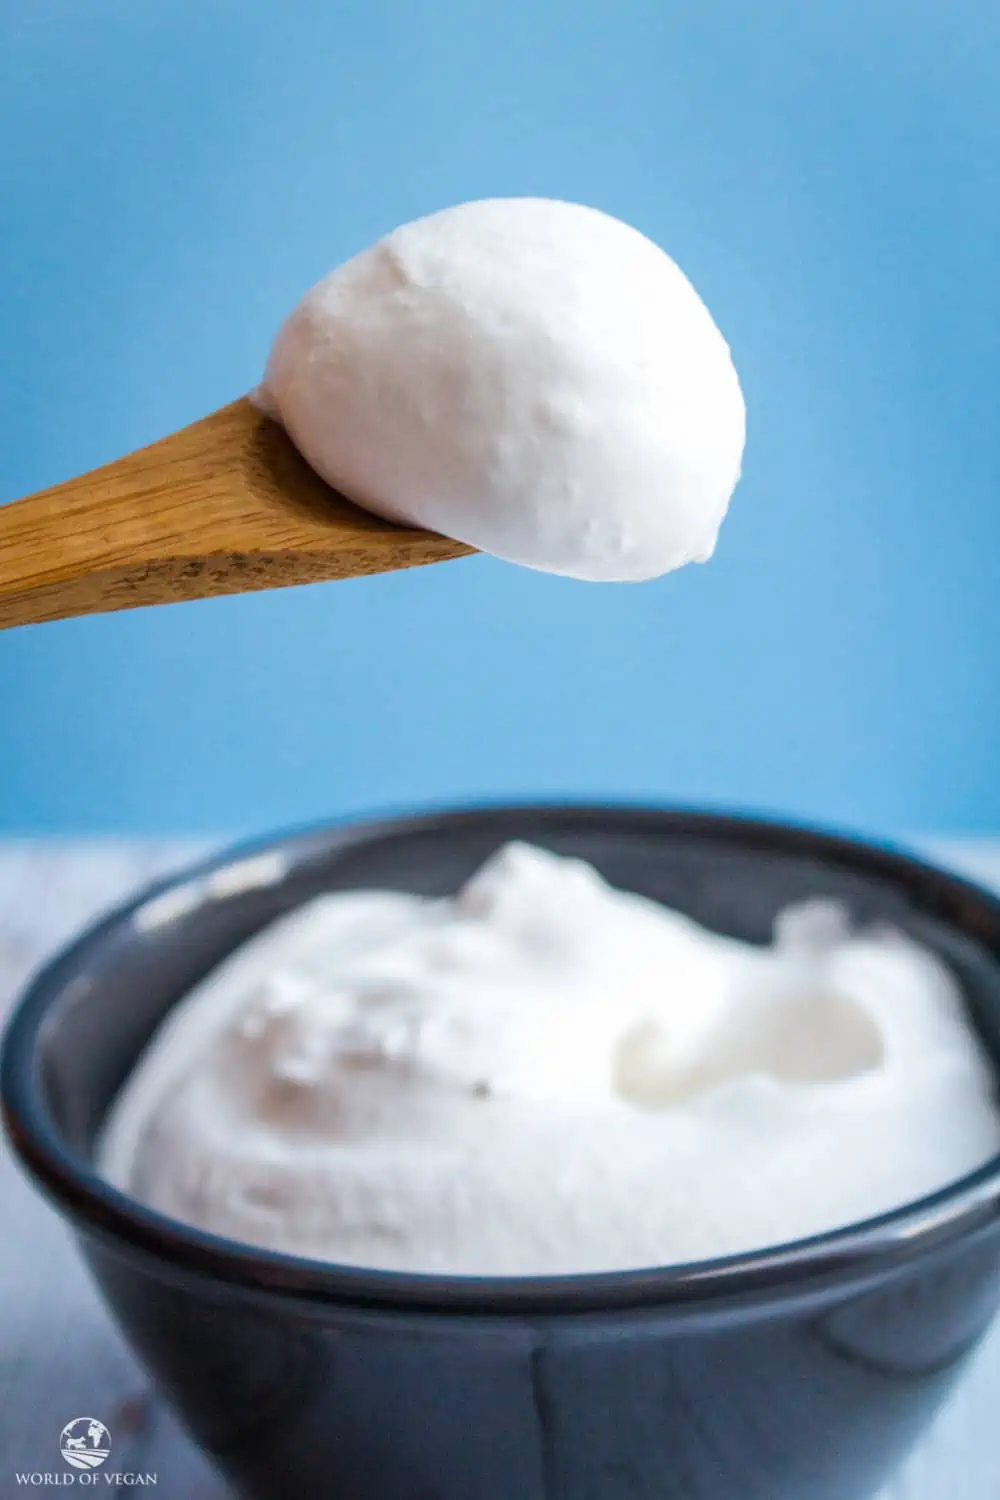
Coconut Whipped Cream

Coconut whipped cream is a game changer for anyone who loves creamy toppings but wants a dairy-free option. It’s fluffy, rich, and so easy to make with just a can of full-fat coconut milk and a little bit of sweetness. Plus, it pairs beautifully with everything from fresh fruit and pies to hot cocoa and pancakes. If you’ve ever thought about trying it, this simple recipe will give you a delicious, cloud-like treat in minutes.
The secret to perfect coconut whipped cream is using chilled, full-fat coconut milk or coconut cream. Make sure to pop your can in the fridge overnight so the cream separates from the water. A dash of vanilla extract and a spoonful of powdered sugar take this whipped cream from good to great! With just a whisk or hand mixer, you’ll have a dreamy topping that’ll impress your taste buds and elevate your desserts.
For even more recipes and creamy topping inspiration, don’t miss out on our vegan whipped cream guide!
Why You Must Make This Coconut Whipped Cream
Coconut whipped cream is like the magical unicorn of the dessert world – fluffy, dreamy, and downright enchanting! Canned coconut milk is transformed into a luscious, cloud-like, creamy whip. It’s the perfect plant-based alternative to classic whipped cream that’s made from heavy whipping cream. It’s both dairy-free and vegan and only requires a few ingredients to make.
- Super Easy to Make. No complicated steps here! All you need is a can of full-fat coconut milk, a little sweetener, and vanilla extract. Chill, whip, and voilà — fluffy whipped cream in minutes!
- Dairy-Free Delight. Perfect for anyone avoiding dairy! This whipped cream gives you the same rich, creamy texture without any milk or cream.
- Naturally Sweet and Flavorful. Coconut milk brings a mild, natural sweetness that pairs beautifully with desserts. Add a touch of vanilla or maple syrup for an extra boost of flavor.
- Light Yet Luxurious Texture. This whipped cream is fluffy, airy, and still feels indulgent. It’s light enough to complement any dish but rich enough to feel special.
- No Special Equipment Needed. All you need is a hand mixer, whisk, or even a fork in a pinch! No fancy tools or gadgets are required for this creamy goodness.
Key Ingredients and Substitutions
This coconut whipped cream recipe is made with simple, key ingredients that guarantee fluffy, delicious results. Full-fat coconut milk creates that dreamy texture, while a touch of sweetener and vanilla add the perfect flavor. Plus, you’ll find easy swaps and tips to make it just right for your needs!
- Full-fat Coconut Cream: This is the star of the recipe! Full-fat coconut cream gives the whipped cream its rich, fluffy texture. The fat content helps it hold its shape when whipped, unlike light coconut milk which won’t firm up. Chill your can of coconut milk overnight so the cream separates from the water. For the best results, use brands that are at least 60% coconut extract. If you can’t find full-fat coconut cream, canned coconut milk works perfectly too.
- Sugar: Adds just the right touch of sweetness and helps stabilize the whipped cream. Its fine texture blends easily without making the cream gritty. Want a refined sugar-free option? Try using maple syrup or agave nectar for a liquid sweetener, but use sparingly to avoid thinning the cream. You can also blend regular granulated sugar into a powder with a coffee grinder for a quick DIY version!
- Vanilla Extract: Enhances the flavor, adding a warm and aromatic touch to the whipped cream. It takes the taste from simple to deliciously decadent! Use pure vanilla extract for the best flavor. For a fun twist, try almond extract, a splash of maple syrup, or even a pinch of cinnamon for extra flavor depth.
How to Make Coconut Whipped Cream
Making coconut whipped cream is super easy and fun! Just chill a can of full-fat coconut milk, whip the solid cream with a little sweetener and vanilla, and enjoy fluffy goodness in minutes. It’s the perfect dairy-free topping for all your favorite treats!
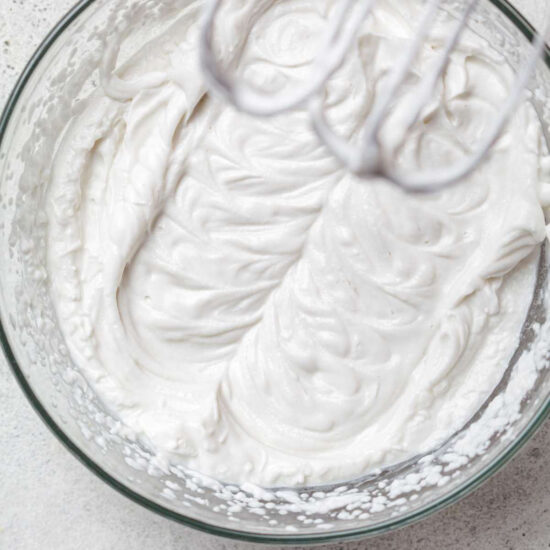
![]() Step 1: Prep the Coconut Milk – In order to make coconut whipped cream, you first need to place a 13.5 oz (400ml) can of full-fat coconut milk in the fridge overnight.
Step 1: Prep the Coconut Milk – In order to make coconut whipped cream, you first need to place a 13.5 oz (400ml) can of full-fat coconut milk in the fridge overnight.
Step 2: Scoop Out the Cream – When it’s time to whip up, flip the can of coconut milk upside. Open the can and you’ll see the coconut water on top. Discard or save the water for another recipe. Now you have all the hard coconut cream left in the can to use.
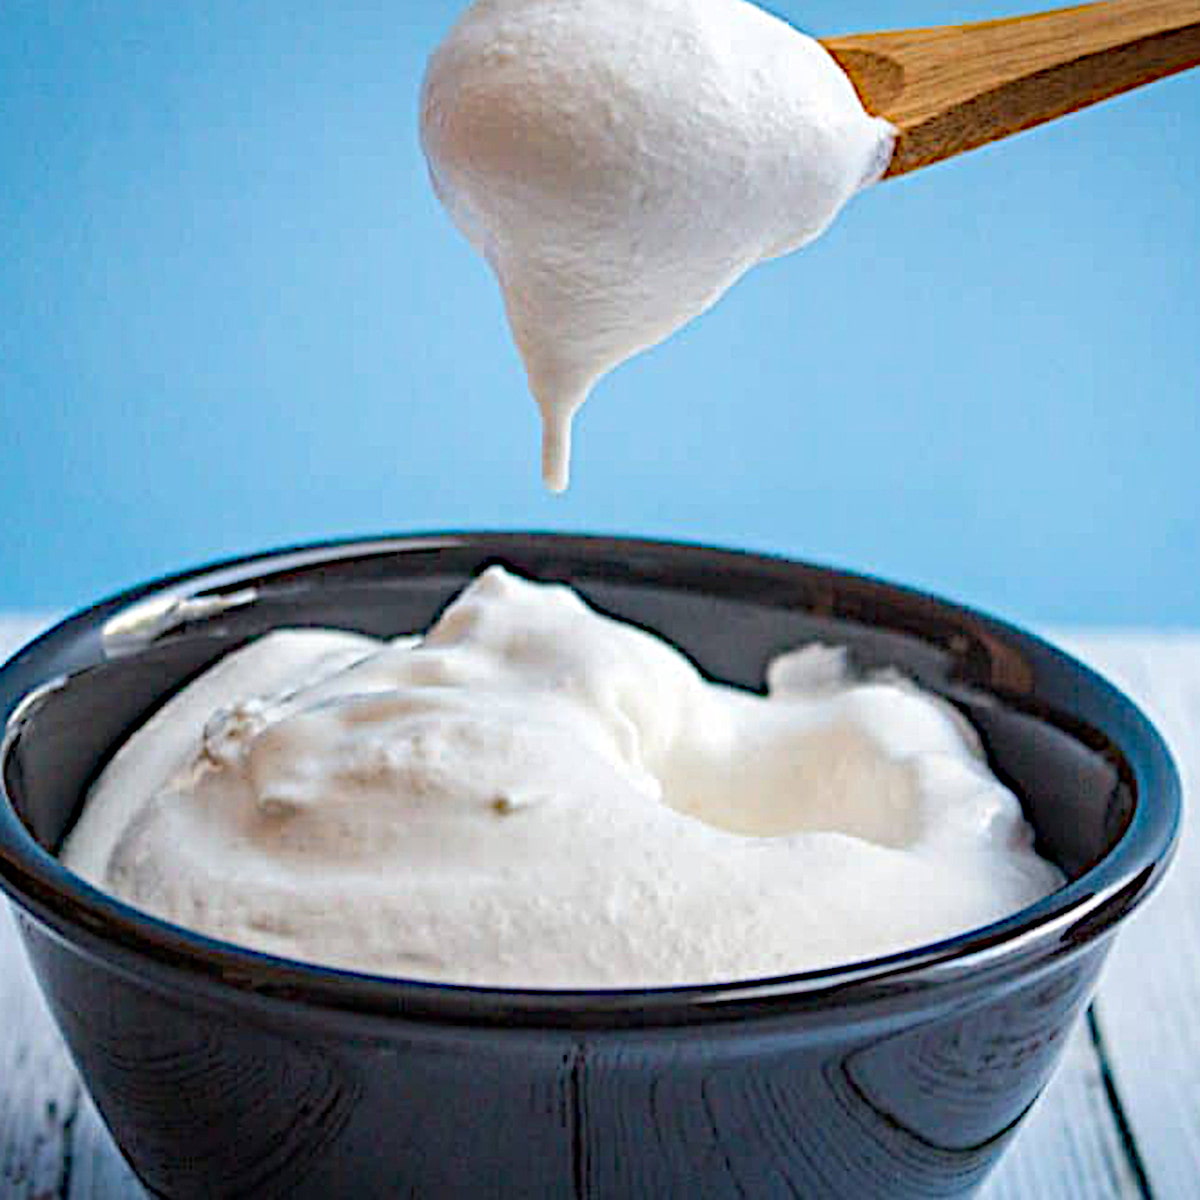
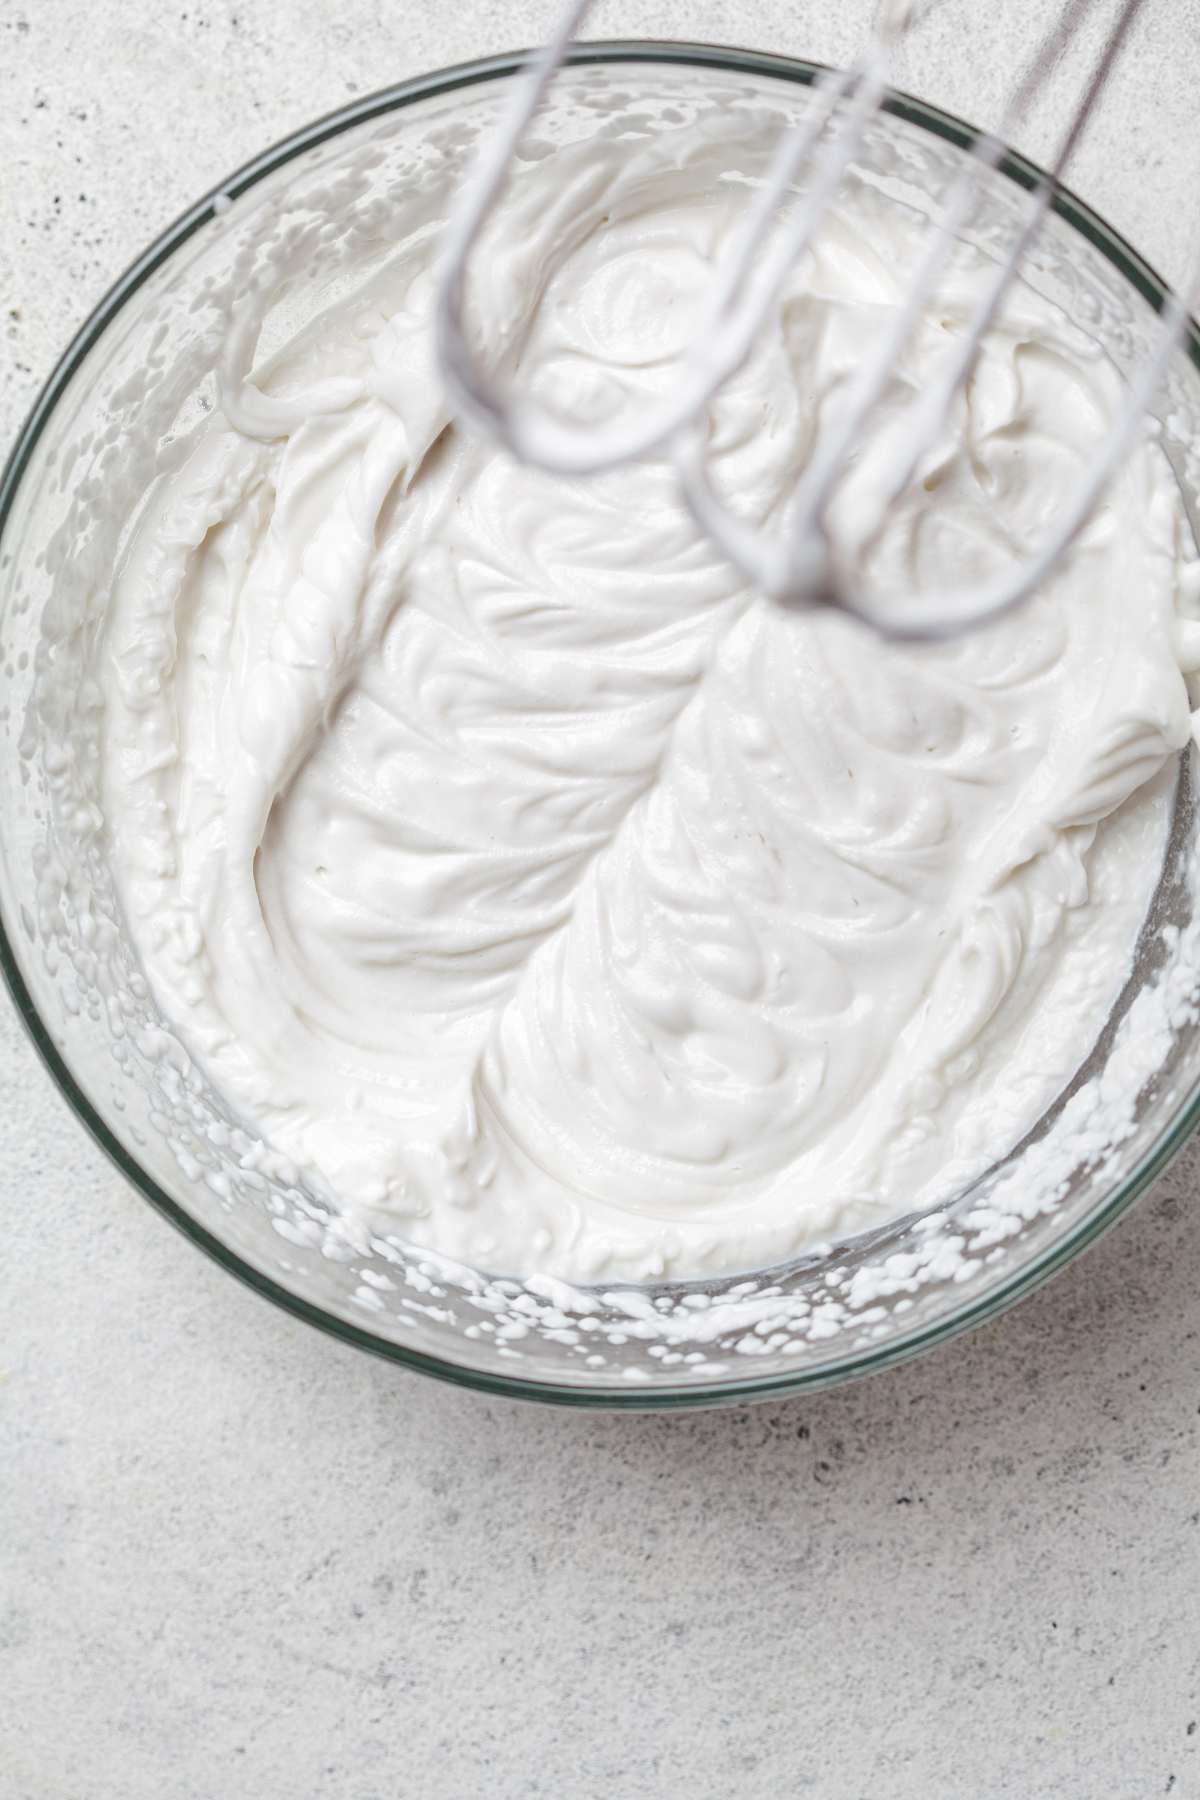
Finally, Step 3: Mix and Enjoy – Add the coconut cream to the bowl of a stand mixer. Add the sugar and vanilla extract, the let it whip on high speed until it becomes silky and fluffy. If you’re not indulging in it right away, pop it in the fridge for safekeeping, but serve as soon as possible.
Why You Should Chill Coconut Milk
The reason you have to refrigerate the coconut milk is that you will only be using the coconut cream. When coconut milk is chilled, the coconut cream and coconut water completely separate (which I find so cool!) and the cream rises to the top.
Once it’s chilled, the easiest way to remove the cream is the turn the can upside down and then open it. When you open the can, the coconut water will now be on top. Pour it out because you won’t be using it. You can discard it but I prefer to save it and use it for smoothies because it is highly nutritious and you can prevent food waste.
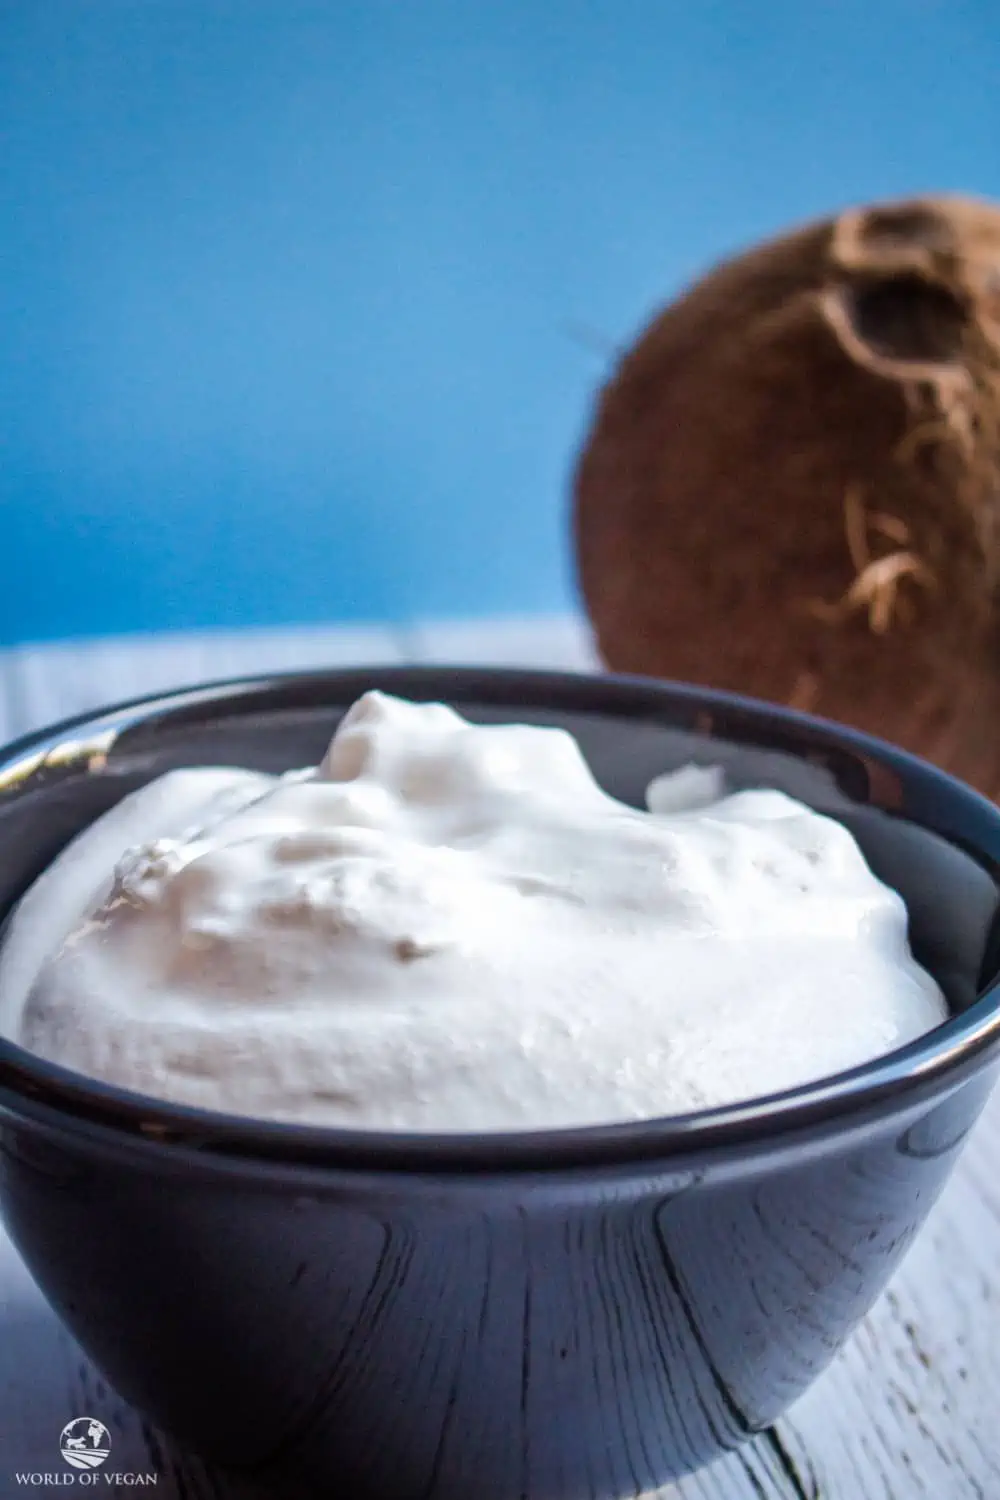
Now all you’re left with is the thick, rich coconut cream (what whipped cream dreams are made of!).
Serving Tips and Suggestions
Coconut whipped cream is the perfect topping for so many treats! Dollop it on berry pies, buttery vegan pancakes, or hot cocoa for a fluffy, dairy-free delight. You can even serve it with fresh fruit or layer it in parfaits for an extra touch of creamy goodness.
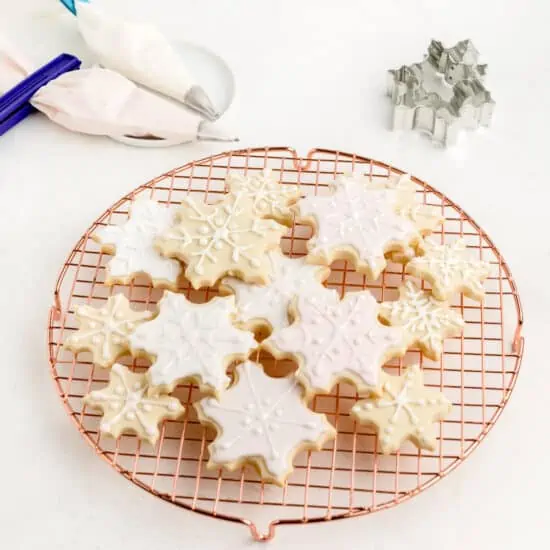
- Top Your Favorite Pies – Coconut whipped cream makes any pie even better! Spoon it over spiced pumpkin pie, homemade apple pie, or sweet strawberry shortcake for a light, fluffy finish.
- Dollop on Pancakes and Waffles – Upgrade your breakfast by adding a big dollop on warm lemon poppyseed pancakes or fluffy vegan waffles. It melts just enough to make every bite deliciously creamy!
- Perfect for Hot Drinks – Spoon some on top of rich hot chocolate, boba coffee, or even a pumpkin spice latte. It adds a rich, dreamy layer to your favorite cozy drinks.
- Layer in Parfaits or Trifles – Make a stunning dessert by layering it with fresh fruit, maple nut granola, or chia puddings. It’s a fun and tasty way to add some creaminess!
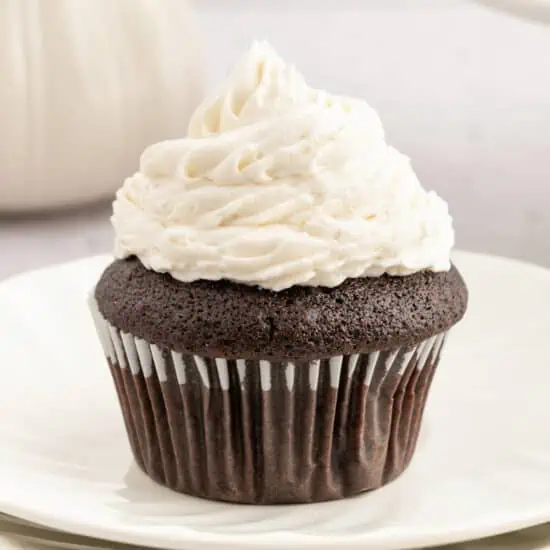
- Frost a Cake or Cupcakes – Use it as a light frosting for sponge cakes or chocolate cupcakes. Just keep the desserts chilled so the whipped cream holds its shape.
FAQ’s
The main ingredient needed to make coconut whipped cream is either full-fat coconut milk or coconut cream. Both can be found canned in the International aisle of large supermarkets. Sweetness is added to the mix with either powdered sugar, granulated sugar, or agave nectar and a splash of vanilla extract for flavor.
One important note is that you want this mixture to stay as cold as possible so that it doesn’t deflate and turn back to liquid. If you’re working in a hot kitchen, I definitely suggest chilling your bowl in the freezer for a few minutes minimum. This will ensure that the cream stays at a nice cold and consistent temperature. Same goes for the coconut cream. It needs to be well chilled before whipping in order to hold its shape.
If possible, make this coconut whipped cream just before serving. Otherwise, you can make it a short time before you’re serving it and store the bowl in the fridge until you’re ready. Keep in a sealed container in the fridge for up to a week. If it gets too firm, give it another whip with a hand mixer.
Yes, homemade coconut whipped cream can last up to a month in the freezer. Place in a freezer-safe container or bag for best results. To thaw, place in the refrigerator to soften. Keep in mind that this will change the texture of the cream and it will not be as fluffy or smooth.
More Sweet Dairy-Free Toppings to Try

Hungry for more? Subscribe to the World of Vegan weekly newsletter and join our community of over 1 million plant-passionate peeps on Instagram (@Vegan), Facebook, Pinterest, and YouTube!

Coconut Whipped Cream (3-Ingredients)
Ingredients
- 1 400-ml can chilled full-fat coconut cream
- 2 tablespoons powdered sugar
- 1 teaspoon vanilla extract
Instructions
- Advanced Prep: The day before you want to make this recipe, place the can of coconut milk upside down in the fridge overnight.
- Remove the can of coconut milk from the fridge, turn back upright, and open the can. You will find coconut water on top. Discard the water or save it for another recipe.
- Transfer all of the firm coconut cream to the bowl of a stand mixer.
- Add the sugar and vanilla extract to the bowl and whip on high-speed until it's smooth and fluffy.
- Store it in the fridge if you’re not serving right away, but serve as soon as possible.
Notes
- Storing Leftover Whipped Cream: This whipped cream is best enjoyed immediately. But, you can keep it in a sealed container in the fridge for up to a week. If it gets too firm, give it another whip with a hand mixer.
- Freezing Instructions: Homemade coconut whipped cream can last up to a month in the freezer. Place in a freezer-safe container or bag for best results. To thaw, place in the refrigerator to soften. Keep in mind that this will change the texture of the cream and it will not be as fluffy or smooth.
Nutrition
You may also like...
")


")

Enter to Win Our Monthly Giveaway!
New winner every month! Drop your name below for a chance to win hundreds of dollars of vegan prizes from our brand partners. You’ll also receive our weekly e-newsletter with plant-based recipes galore!
Leave a Comment
This looks so delicious! I had a store bought one but it didn’t last long and was not as creamy as I would want it, so excited to try this one out.
OMG this looks so good! I’ve been adding coconut milk to my smoothies and coffee so I’m excited to try this whipped cream out and into the mix!
Yum! This was tasty!
I couldn’t believe how luscious this is! It’s amazing how you can make something so decadent in just a few minutes! Yum!
Coconut whipped cream is such a game-changer! Add to any simple dessert and it becomes a show stopper 🙂
It still amazes me how we can make vegan alternatives to all our favorite dairy products using plants! This vegan coconut whipped cream is magic!
Coconut whipped cream is the best whipped cream!! So good on pie or even cookies 🙂