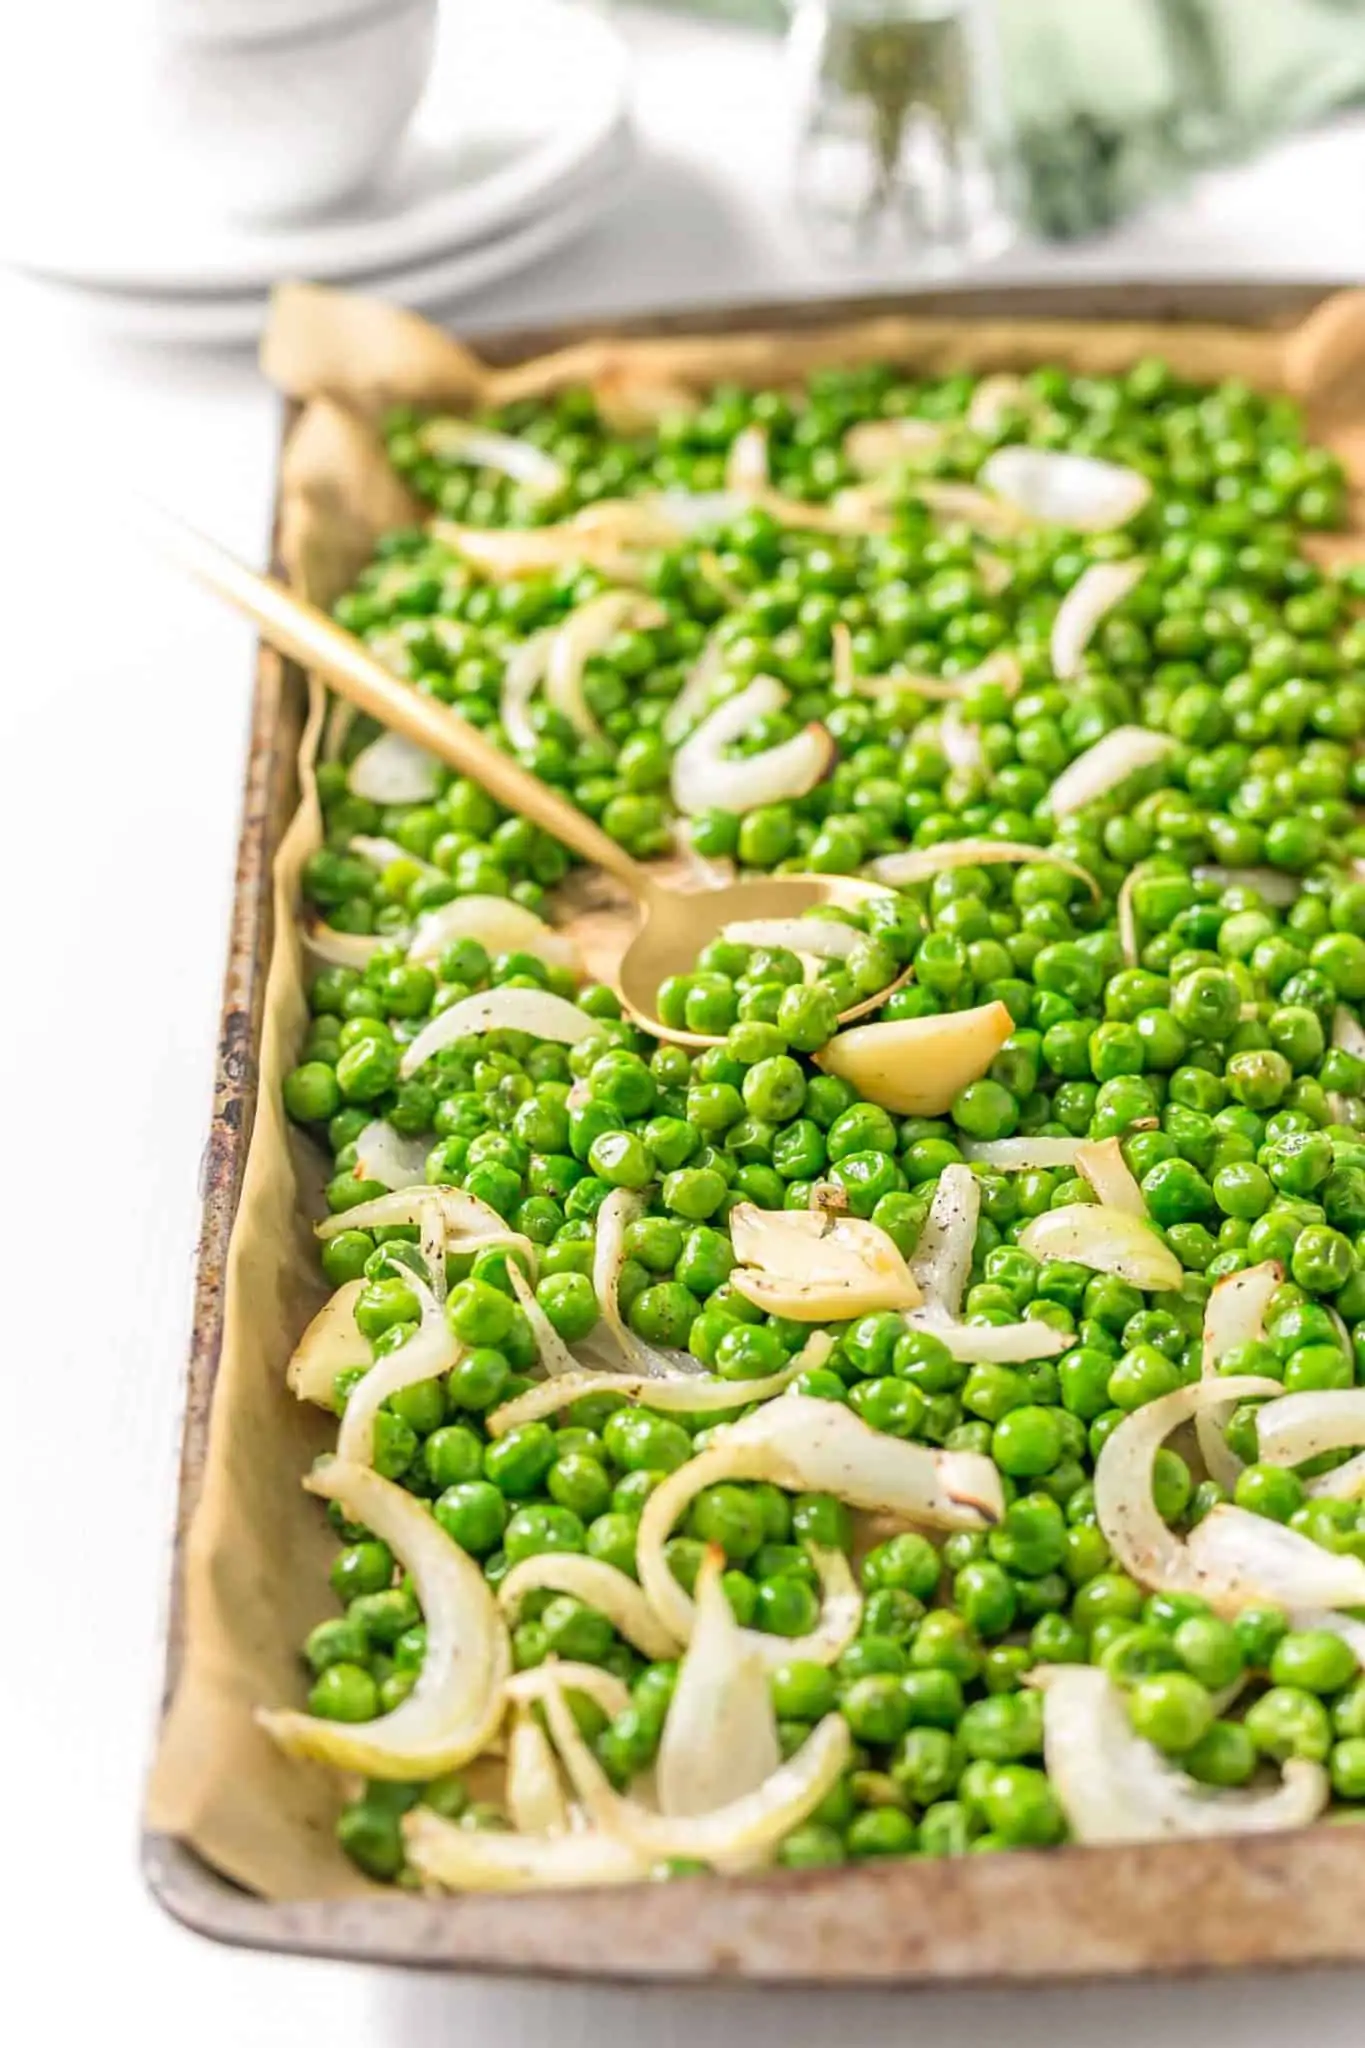
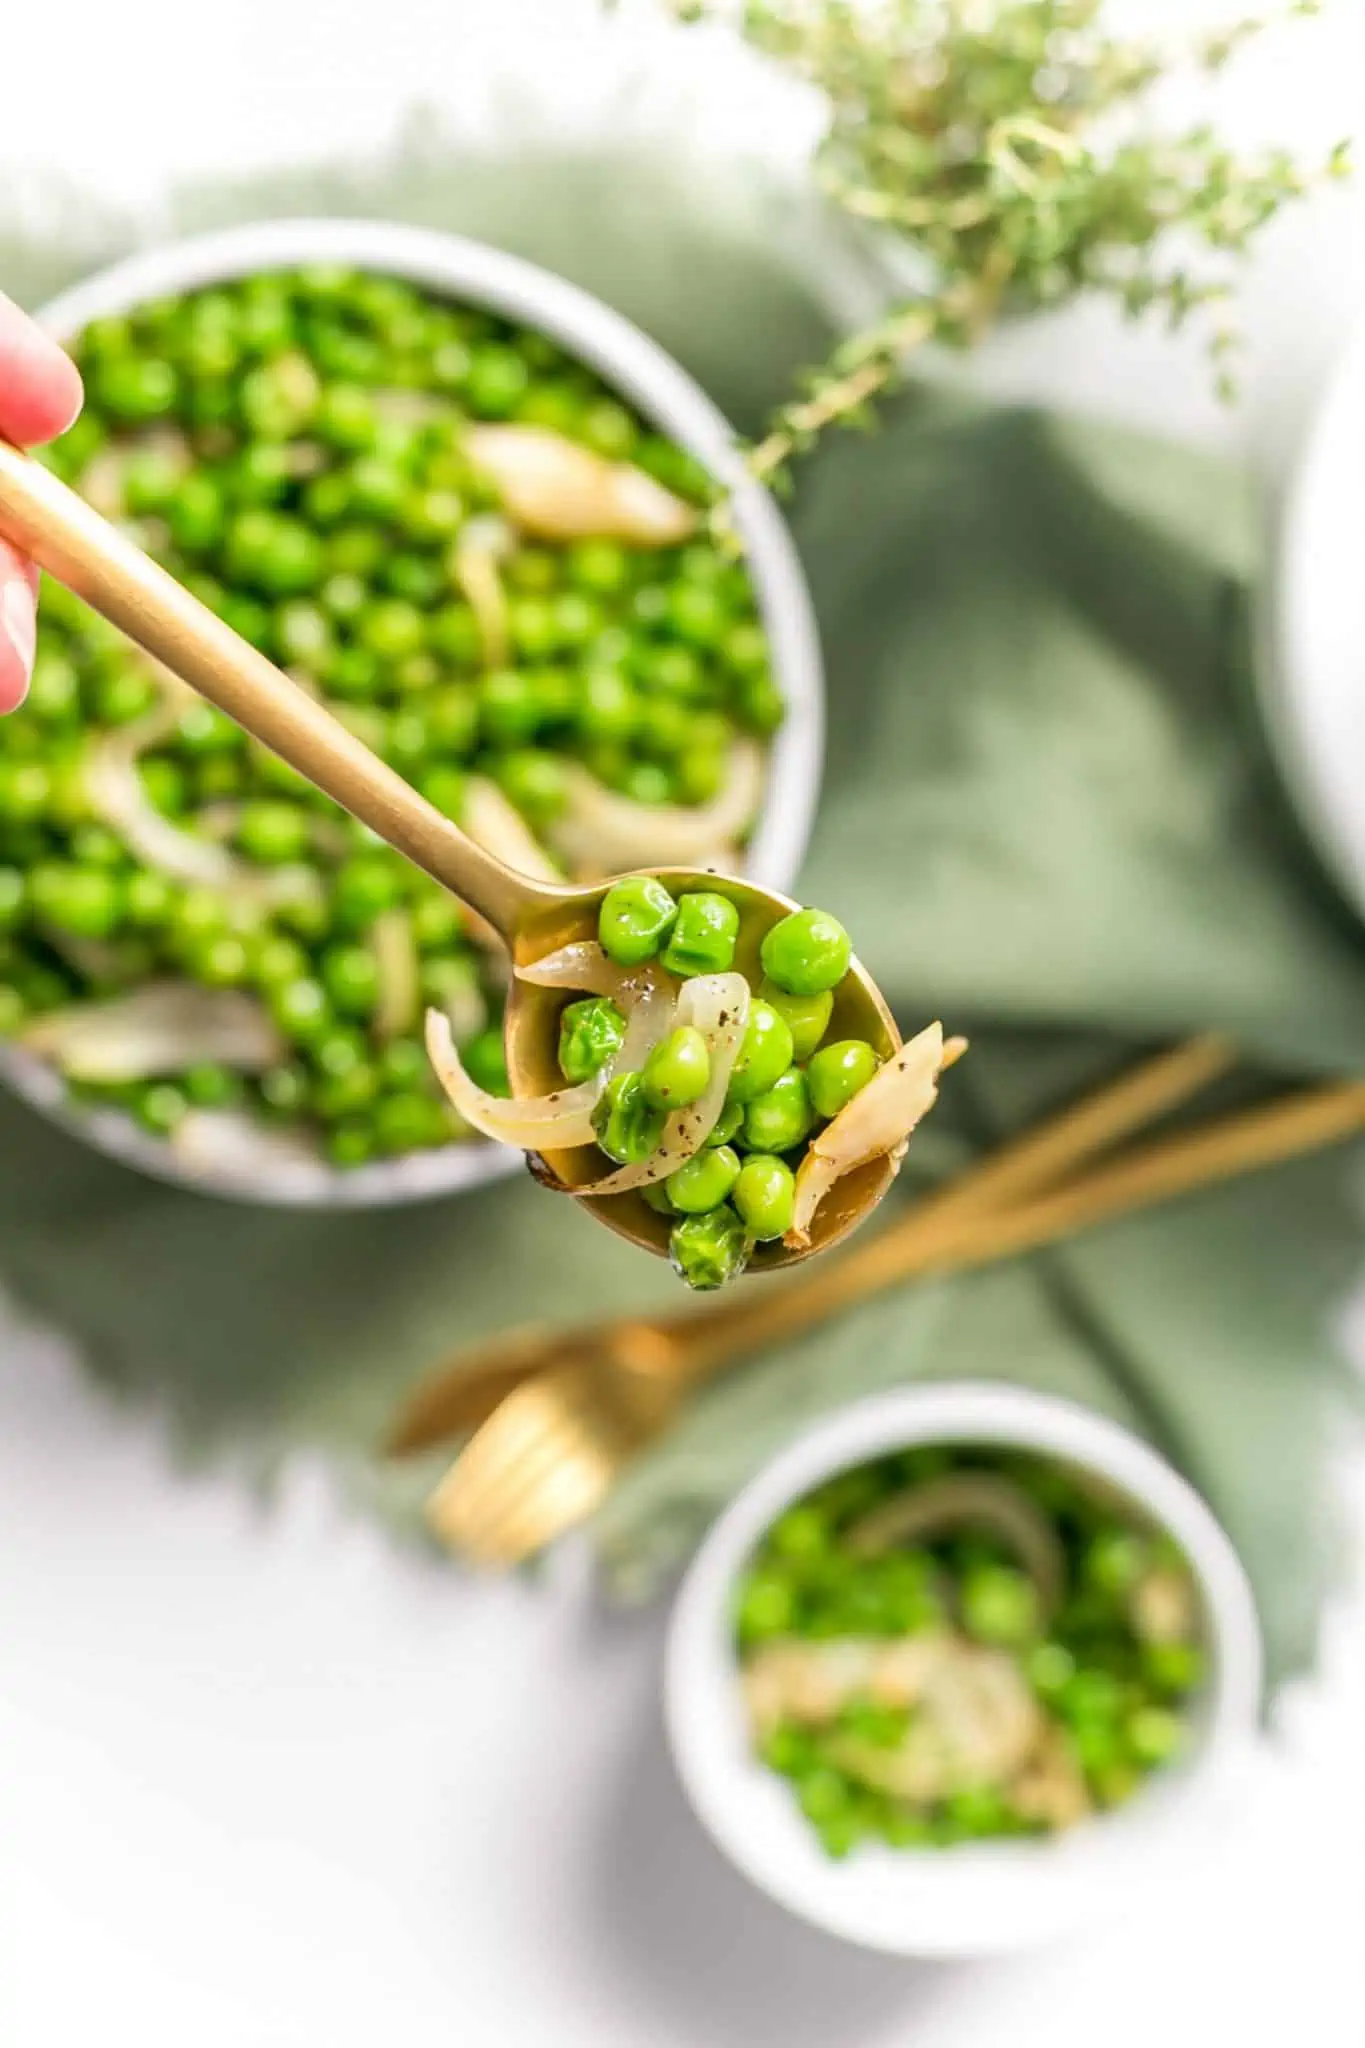
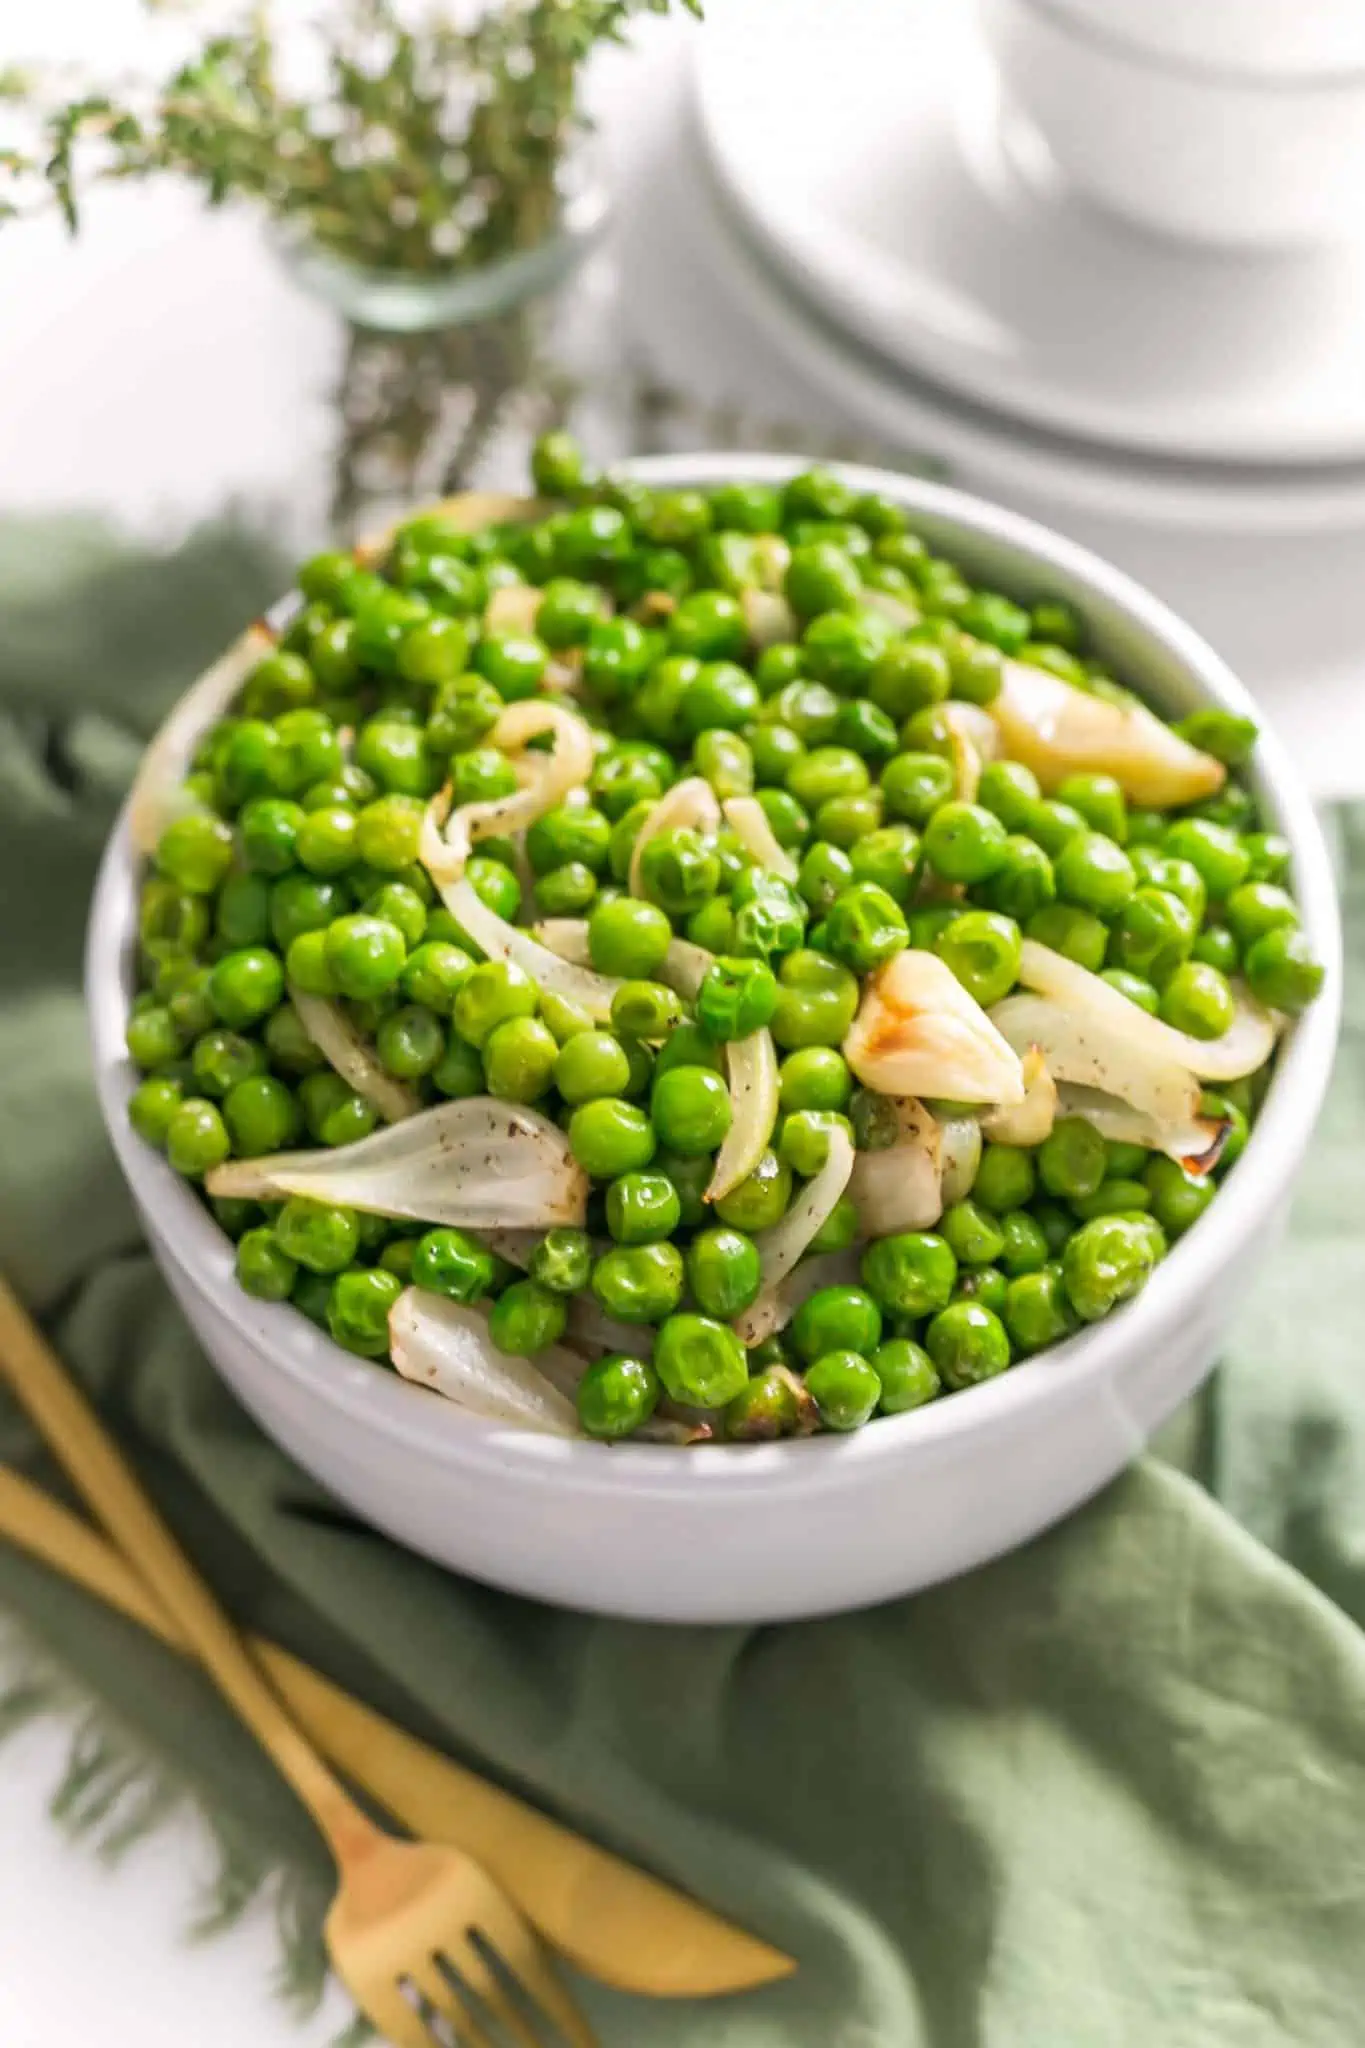
Green peas? Yes, please! There’s just something about a shimmering sheet pan of roasted peas that is so satisfying and also super fun. It’s hard to resist doing a bit of rocking and rolling while they’re still resting on the tray.
This vegan sheet pan recipe is incredibly simple to make and handy to have in mind for when you’re clearing the fridge of veggies-on-the-verge of freezer burn. Although you can always use frozen corn, green beans, broccoli, or other veggies, green peas are practically perfect for this preparation.
Above all, treat your plumpish peas with tender loving care and let’s with get ready to rumble! Oops…roast!
How To Serve Up Your Sheet Pan Roasted Peas
The best thing about a pan of roasted peas is that they go well with almost anything. The value of a little legume with every dish is truly priceless because they provide protein, fiber, and essential nutrients that we need each day. To make the most out of this simple side meal, try out these tempting tips:
- Peas in a Pod – Swap frozen peas for sugar snaps, snow peas, or string beans. You’ll add extra fiber, more texture, and a whole new look to this really quick recipe.
- Shake Up the Spices – Garlic and onion are classic seasonings for this inviting entrée, but you can always switch them up. Use basil and oregano for a more Italian-inspired dish or ginger and scallions for an Asian flair. Feeling bold? Brush a bit of wasabi on your peas and be brave enough to eat them!
- Pile on the Peppers – Whether hot or mild, feel free to bulk up the dish with a bold or bell pepper. Slice thinly and mix in with the pretty peas. Use red, orange, or yellow peppers to add some extra color.
- Remember the Rainbow – Speaking of extra color, food is far more attractive when it’s more than one color. Consider adding in diced orange carrots, red peppers, purple onions, yellow corn kernels, or even finely chopped blue potatoes to make the dish more festive. During the holiday season, bright red dried cranberries look amazing along with the jolly green peas.
Are Green Peas Good For You?
Heck, yeah! Besides being really cute and easy to eat (and grow!), peas are such powerhouses of protein and health benefits. To get an idea of how great green peas are for your overall health, here are a few fun and fabulous facts about them:
- Label Me Legume – Did you know that peas are actually legumes and not vegetables? They’re in the family of plants that produce pods with seeds inside, like lentils, chickpeas, peanuts, and beans. Bean me up, Scottie!
- Packed With Protein and Full of Fiber – For only ½ cup, there are 4 grams each of protein and fiber. Forget the fiber supplements! Just eat plenty of peas.
- So Many Minerals – Besides being high in vitamins A, K, and C, green peas are also rich in minerals like thiamine, folate, manganese, iron, and phosphorous. It’s like ‘Miracle Grow’ for people in cute little pea packages.
- The Great Green Pea Pick Up – The world’s record for the most peas eaten at one sitting is held by Janet Harris of Sussex, England who, in 1984, ate 7175 peas in 60 minutes using only a pair of chopsticks! Hap-pea Day!
What If I Don’t Have Any Vegan Butter?
It’s totally okay. For anyone who is trying to stick to a low-fat diet or just ran out of their last stick of vegan butter, there are a number of ways that you can make it work.
- Make your own vegan butter. Easy and delicious!
- Use your favorite oil instead, such as olive, vegetable, coconut, or avocado.
- Bring out the flavors with balsamic vinegar instead of oil.
- Don’t use anything at all. Though your peas won’t be as rich and might dry out a little, they’ll still be really delicious.
- Have a bottle of salad dressing? Add a couple of tablespoons of a savory dressing to your peas before putting into the oven.
Simple Storage
While they’re best fresh out of the oven, storing your leftover roasted peas is easy-peasy! Place an extras in a covered container and they’ll keep fresh in the fridge for up to 3 days. To reheat, just throw them in the microwave for a minute or two or do a quick sauté in a saucepan over medium heat until desired temperature.
Freezing is also a great option, if you’ve made a bunch beforehand. You’ll be pleased to know that your peas will stay fresh for up to eight months. Place the container in the refrigerator overnight to thaw when ready to eat.
Equipment You’ll Need
- Full-Sized Baking Sheet
- Measuring Spoons
- Small Ramekin
If you try this Sheet Pan Roasted Peas recipe, let us know what you think by leaving a comment and rating below! We’d love to hear about your favorite vegan sheet pan dinners. Be sure to follow along on Pinterest, Instagram and Fa

Sheet Pan Roasted Peas
Ingredients
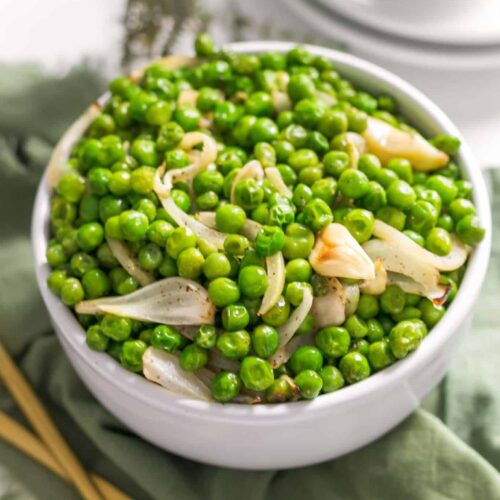
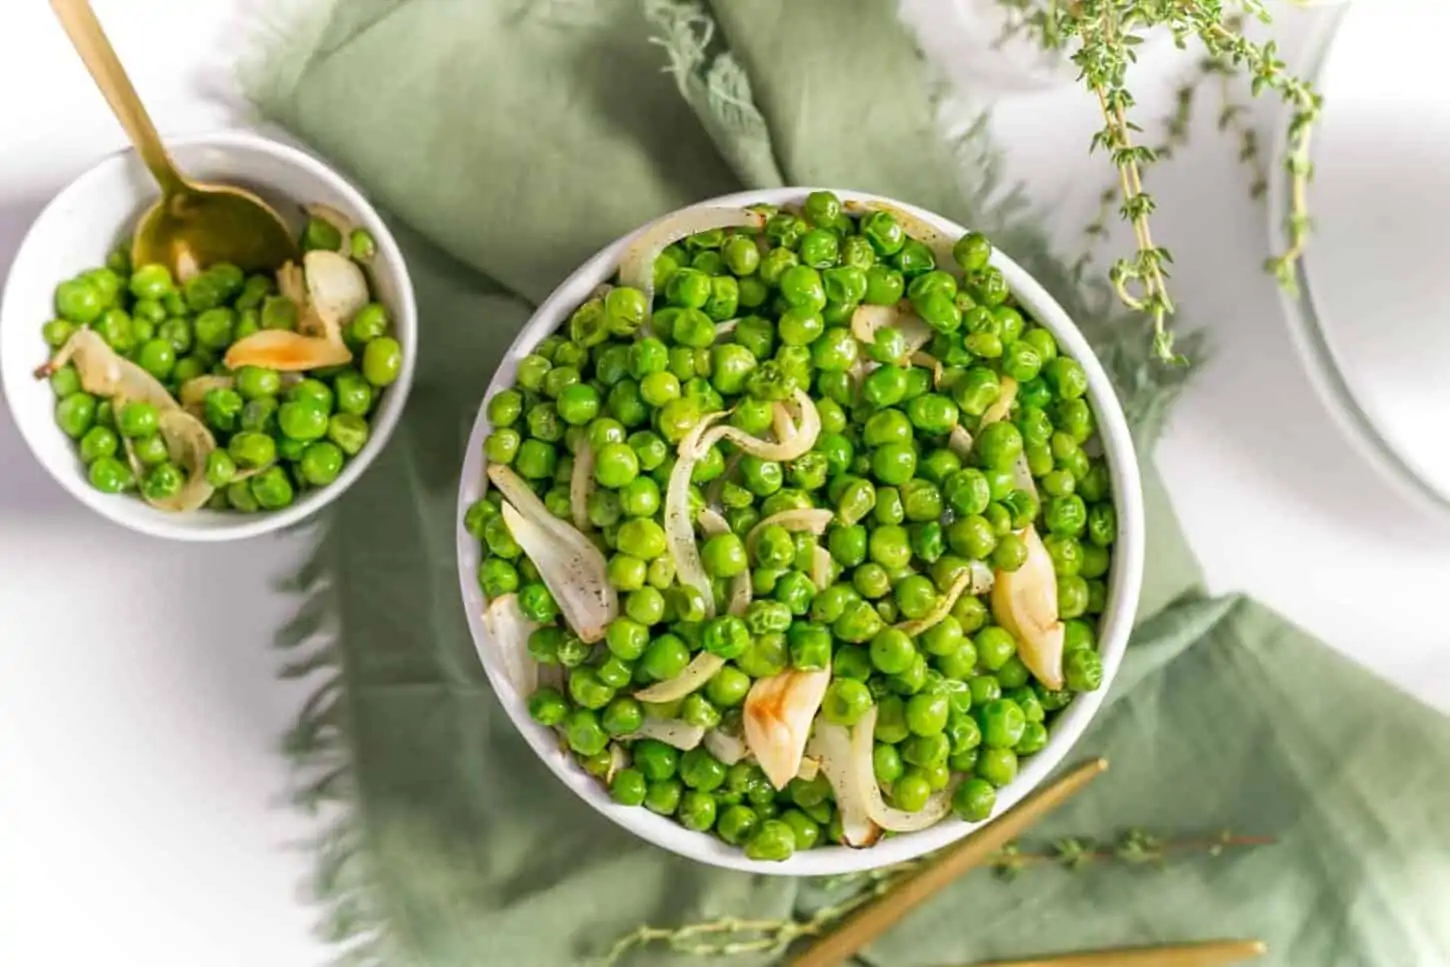
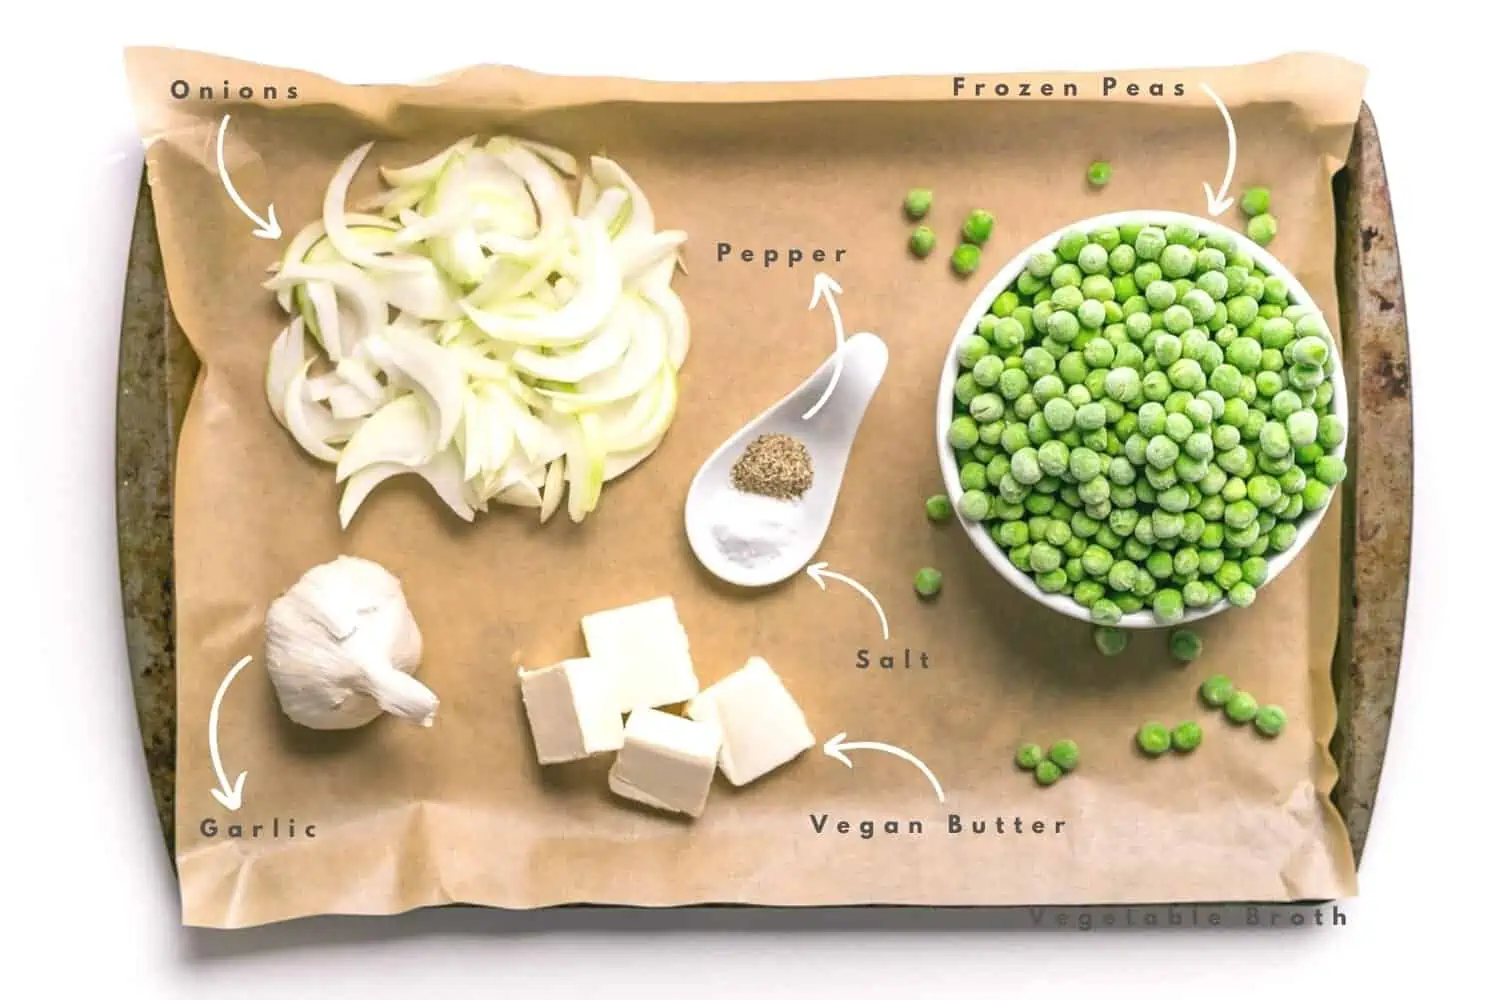
- 1 16-ounce bag frozen peas (regular peas, not petite)
- 1 head garlic cloves, peeled
- 1 yellow onion, cut into thin slices or thick chunks (to cut into thick chunks, slice in half through the root, slice off the both ends, and then slice each half into quarters like you would an apple)
- ½ teaspoon salt
- ¼ teaspoon black pepper
- 4 tablespoons plant-based butter
Instructions
- Preheat your oven to 425° F.
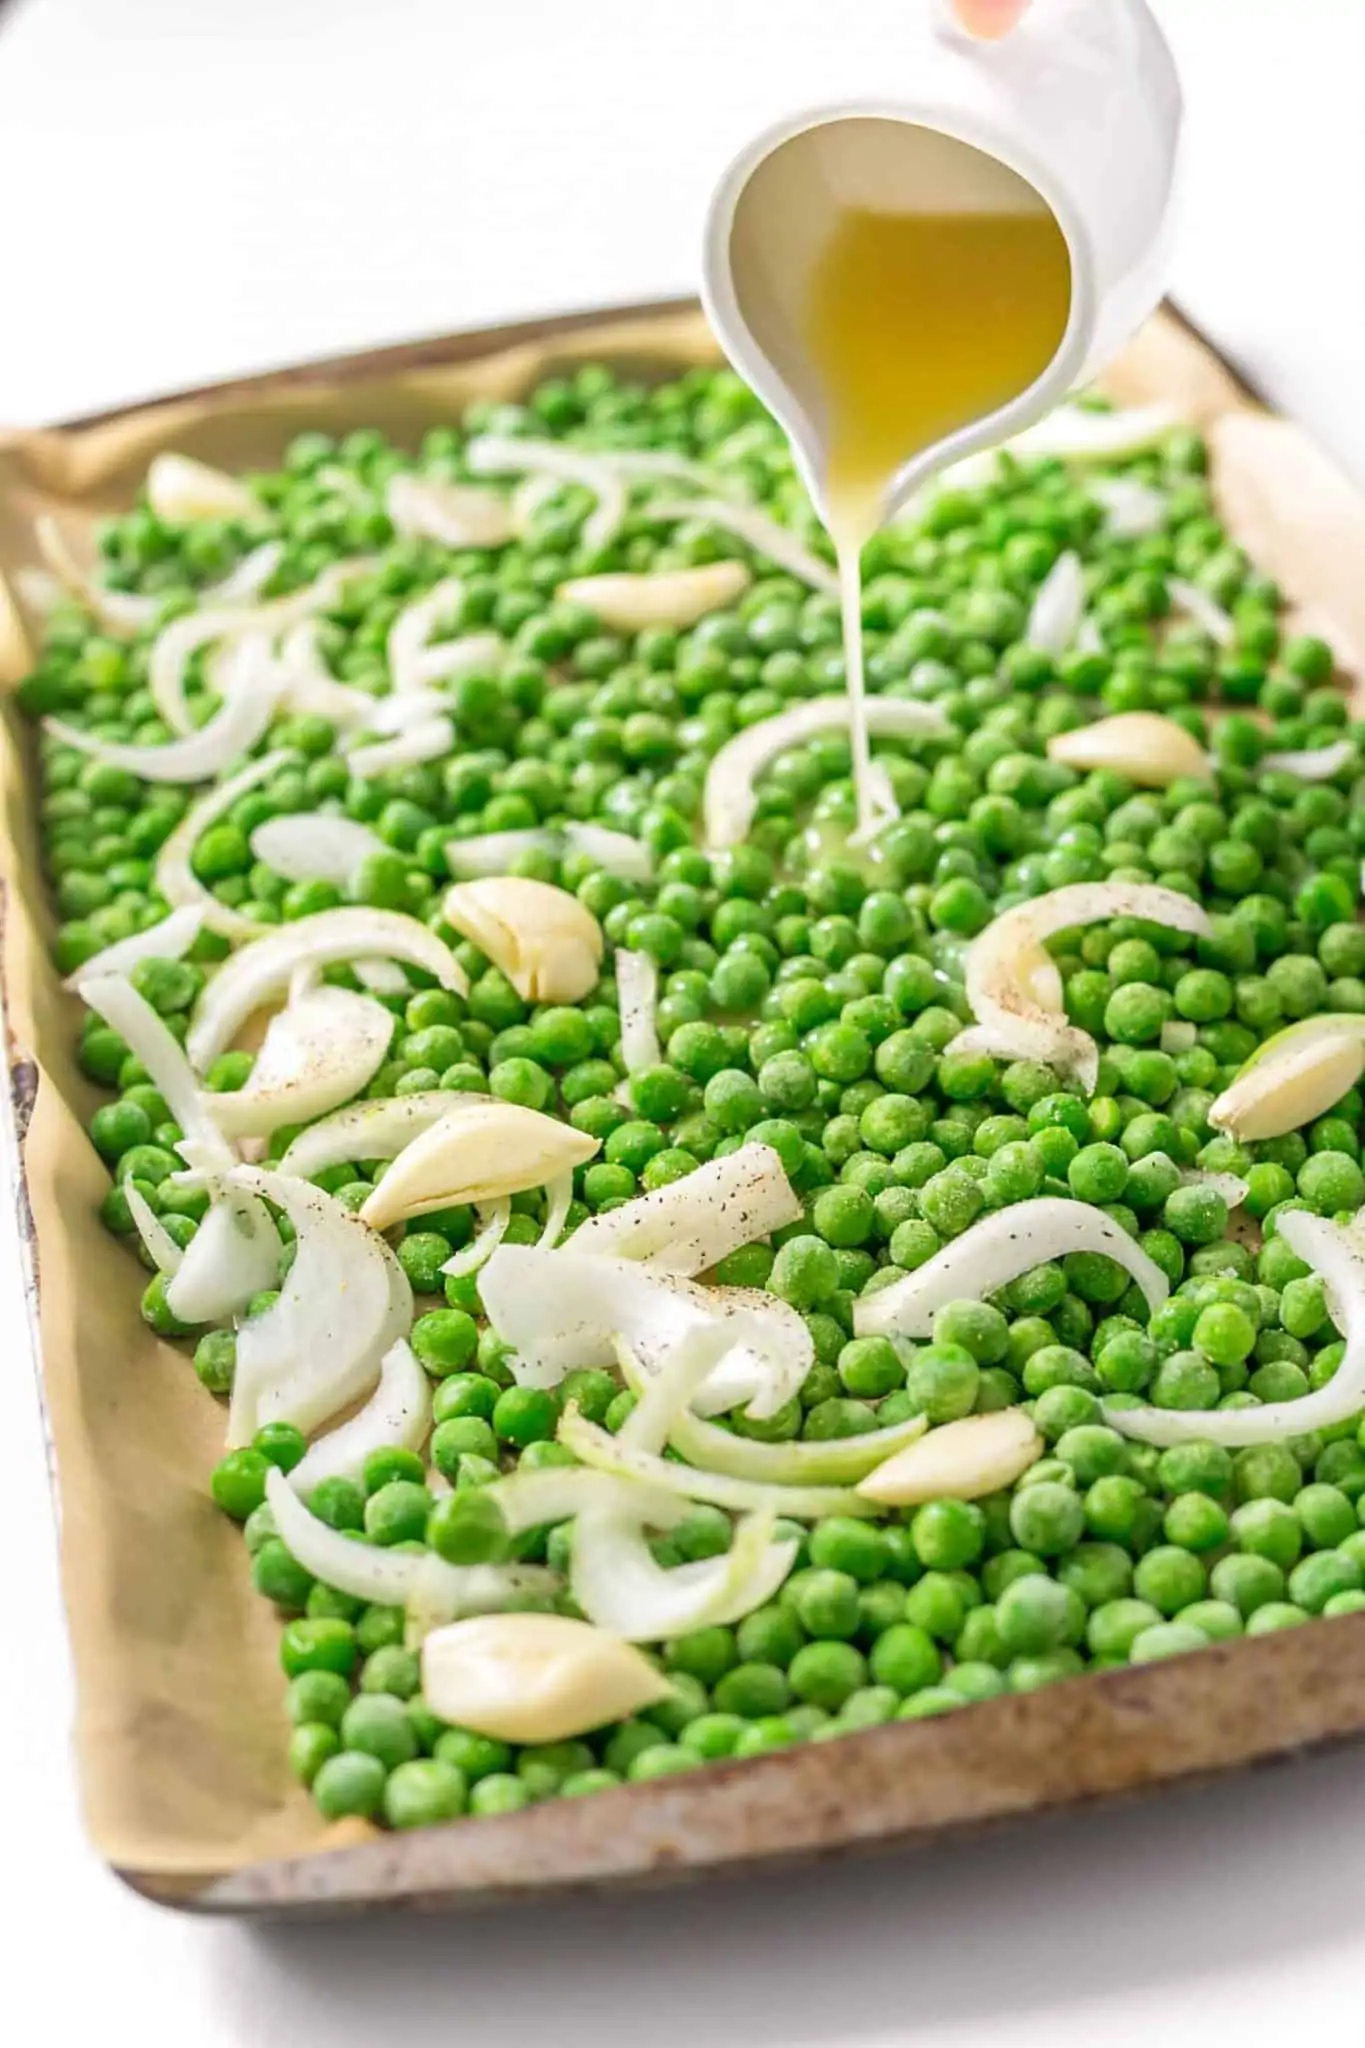
- On a full sized baking sheet, add the frozen peas, garlic cloves, onion slices, salt, and pepper.
- In a small ramekin, add 4 tablespoons of vegan butter and heat in a microwave just until melted.
- Drizzle the melted butter over the sheet pan and mix everything together immediately until evenly coated. The butter will start to harden around the frozen peas—that’s ok!
- Bake for 10 minutes. Remove from the oven, toss and mix everything, and pop it back in the oven for another 10 minutes, until the onion just starts to brown at the corners. Enjoy immediately!
Nutrition
More Simple and Savory Side Dishes To Try:
- Sizzling Chinese Green Beans
- Roasted Asparagus With Garlic and Tomatoes
- Instant Pot Refried Beans
- Spicy Sesame Sauteed Kale
- Savory Roasted Chickpeas
- Hasselback Potatoes
- Couscous Stuffed Peppers
Sheet Pan Roasted Peas recipe by Michelle Cehn and vegan food photography by J.J. Steele. Article written by Gina House and edited by Amanda Meth. Please note that this article may contain affiliate links which supports our work at World of Vegan.


Leave a Comment
Made this because my husband LOVES peas and it was a big hit! Will definitely be making it again.
I never seen peas look so good, I have to try this out!
This recipe is incredibly delicious!
Such a fun, quick and delicious recipe! I love it! The peas go well with so many meals, but also really tasty just on their own. Yum!
Peas are my absolute favorite! I NEED to try these pronto!
These look soooo good! I love peas so I can’t wait to try these out!
I’m obsessed with peas, and this is the BEST way to have them! Although when I get super lazy I just pop frozen peas in the microwave with some Island Soyaki sauce and it’s also divine 🙂
I’ve never made roasted peas before but this looks so delicious and easy! What a great recipe for the holidays, too 🙂