


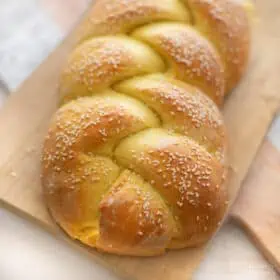


Vegan Pita Bread


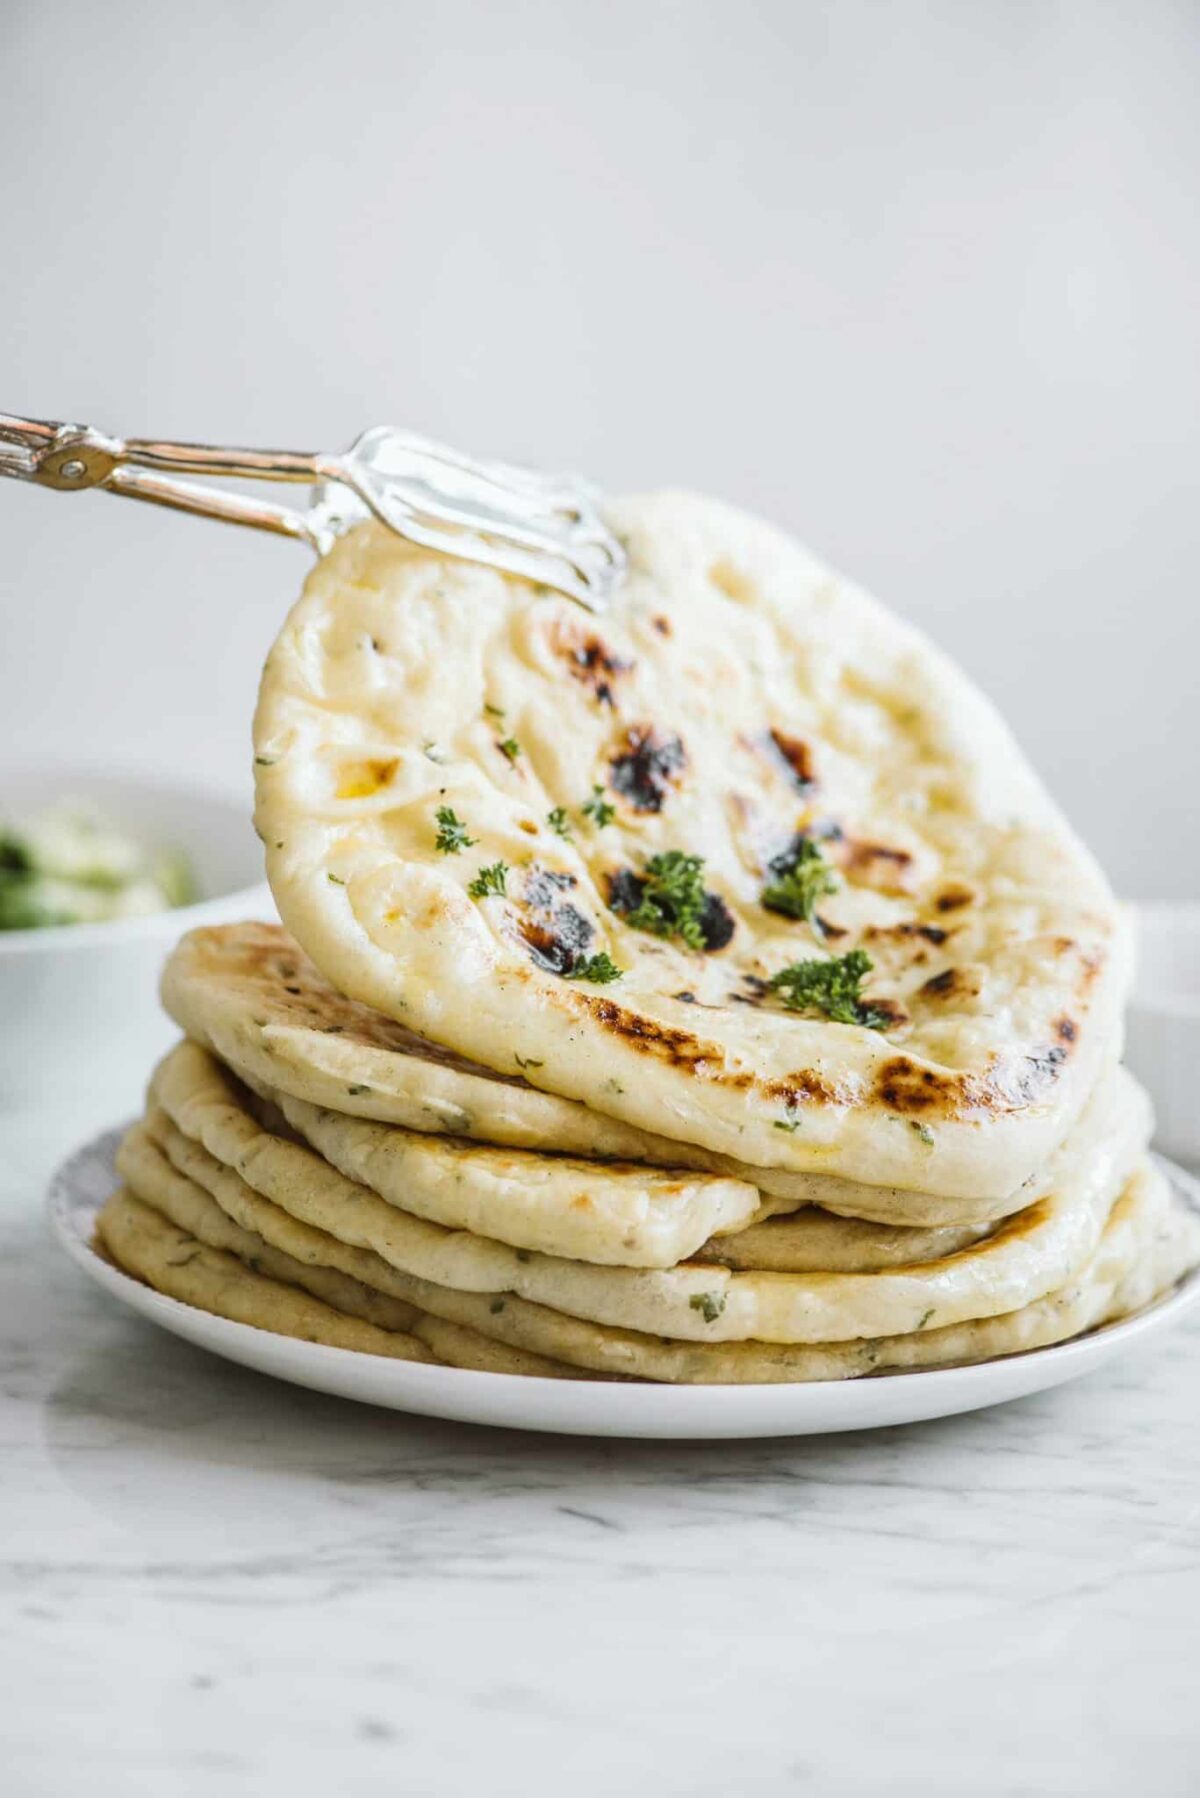
There’s something about the smell of freshly baked vegan pita bread that makes you stop in your tracks. Warm, yeasty, and just a little toasty, it’s the kind of aroma that store-bought pita could never dream of having. And when it’s homemade? That first bite is a revelation—soft, pillowy, and perfectly chewy, with just the right amount of golden crispness on the outside. This is real vegan pita bread, the way it’s meant to be eaten: fresh, warm, and straight off the pan.
And then there’s the puff. The moment your dough rounds hit the heat, they swell up like they’ve been holding their breath, creating that signature pocket—an airy, steam-filled miracle of starch and heat. It’s part science, part magic, and completely satisfying to watch. And the best part? It only takes a handful of ingredients and a simple technique to make it happen in your own kitchen.
So, let’s do it—because once you’ve had warm, homemade vegan pita bread, you’ll never go back to the store-bought kind again.
Why You’ll Love This Vegan Pita Bread
Homemade pita isn’t just better—it’s a whole different experience. Store-bought pita is fine, but fresh, vegan pita bread? It’s warm, soft, and actually tastes like something. Plus, making it yourself means you get to witness the magic of the puff, tweak the texture just how you like it, and enjoy a kitchen that smells like a dream.
- That Puff, Though: Watching these little rounds transform into perfectly puffy pockets is oddly thrilling. Science meets snack time.
- Soft, Warm, and Way More Flavorful: No more dry, stiff, or lifeless pita. This is chewy, airy, and slightly crisp in all the right places.
- Minimal Ingredients, Maximum Satisfaction: Just a few pantry staples and a little time stand between you and bakery-level pita.
- Stovetop Simplicity: No fancy equipment, no oven required—just a hot skillet and a few minutes per pita.
- Customizable & Freezer-Friendly: Want a whole wheat version? A little garlic in the dough? Go for it. Plus, these freeze beautifully for future pita emergencies.
Key Ingredients
Great vegan pita bread starts with just a handful of simple ingredients, but each one plays a crucial role in getting that signature soft, pillowy texture. This isn’t just about mixing and hoping for the best—we’re working with yeast, gluten, and a little kitchen science to make magic happen. Here’s what each ingredient does and why it matters:
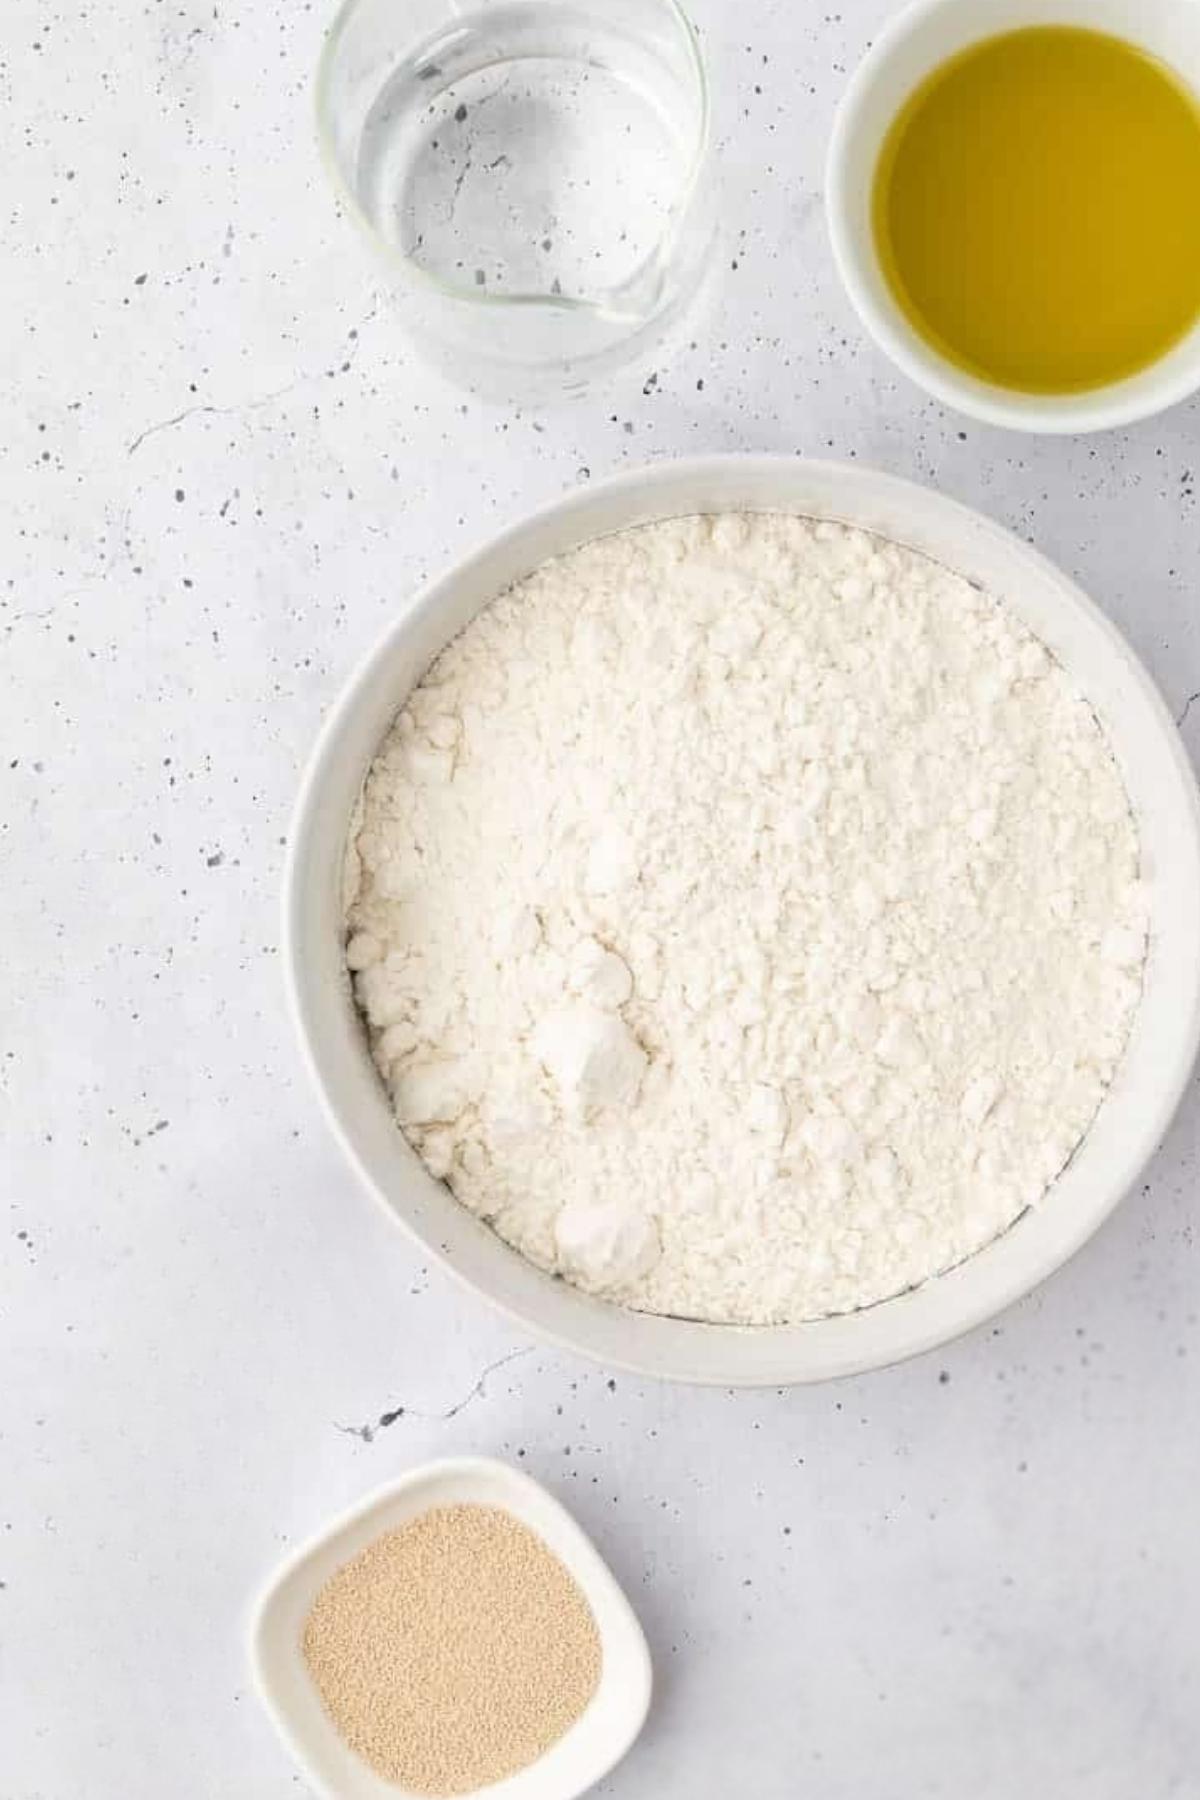
- All-Purpose Flour: The backbone of your pita. It gives structure, chew, and just enough elasticity to create those gorgeous air pockets. Too much whole wheat flour, and your pita will be dense—so we balance it out.
- Lukewarm Water: The Goldilocks ingredient. Too hot? It kills the yeast. Too cold? The yeast takes a nap. Around 105–110°F is the sweet spot for activating the yeast and kickstarting fermentation.
- Active Dry Yeast: The engine behind the puff. Yeast feeds on sugar, releases gas, and gives your pita that essential rise and lightness. If your yeast isn’t foaming after proofing, it’s time to grab a fresh packet.
- Light Brown Sugar: A tiny but mighty ingredient. It gives the yeast something to snack on, adds a subtle depth of flavor, and helps with that perfect golden color.
- Whole Wheat Flour: A touch of whole wheat adds a nuttier flavor and a bit more structure. But since whole wheat absorbs more moisture, we balance it with all-purpose flour for a soft, pliable dough.
- Oil (Canola or Olive Oil): A little fat goes a long way. It keeps the pita tender, prevents it from drying out too fast, and helps with that beautiful browning on the stovetop.
When these come together just right, you get soft, chewy, golden-brown pita that’s infinitely better than store-bought. Now, let’s talk technique—because getting that signature puff is all about the right process.
How to Make Vegan Pita Bread (And Get That Perfect Puff!)
Making vegan pita bread from scratch is easier than you think—but getting that signature puff? That’s where a little technique comes in. The right temperature, timing, and handling all play a role in whether your pita inflates like a balloon or stays stubbornly flat. But don’t worry, we’re covering all the details to set you up for success.
- Step 1: Activate the Yeast – Mix lukewarm water, light brown sugar, and active dry yeast in a bowl. Let it sit for about 10–15 minutes until foamy—this means your yeast is alive and ready to work. If nothing happens, your yeast might be expired or the water was too hot or too cold.
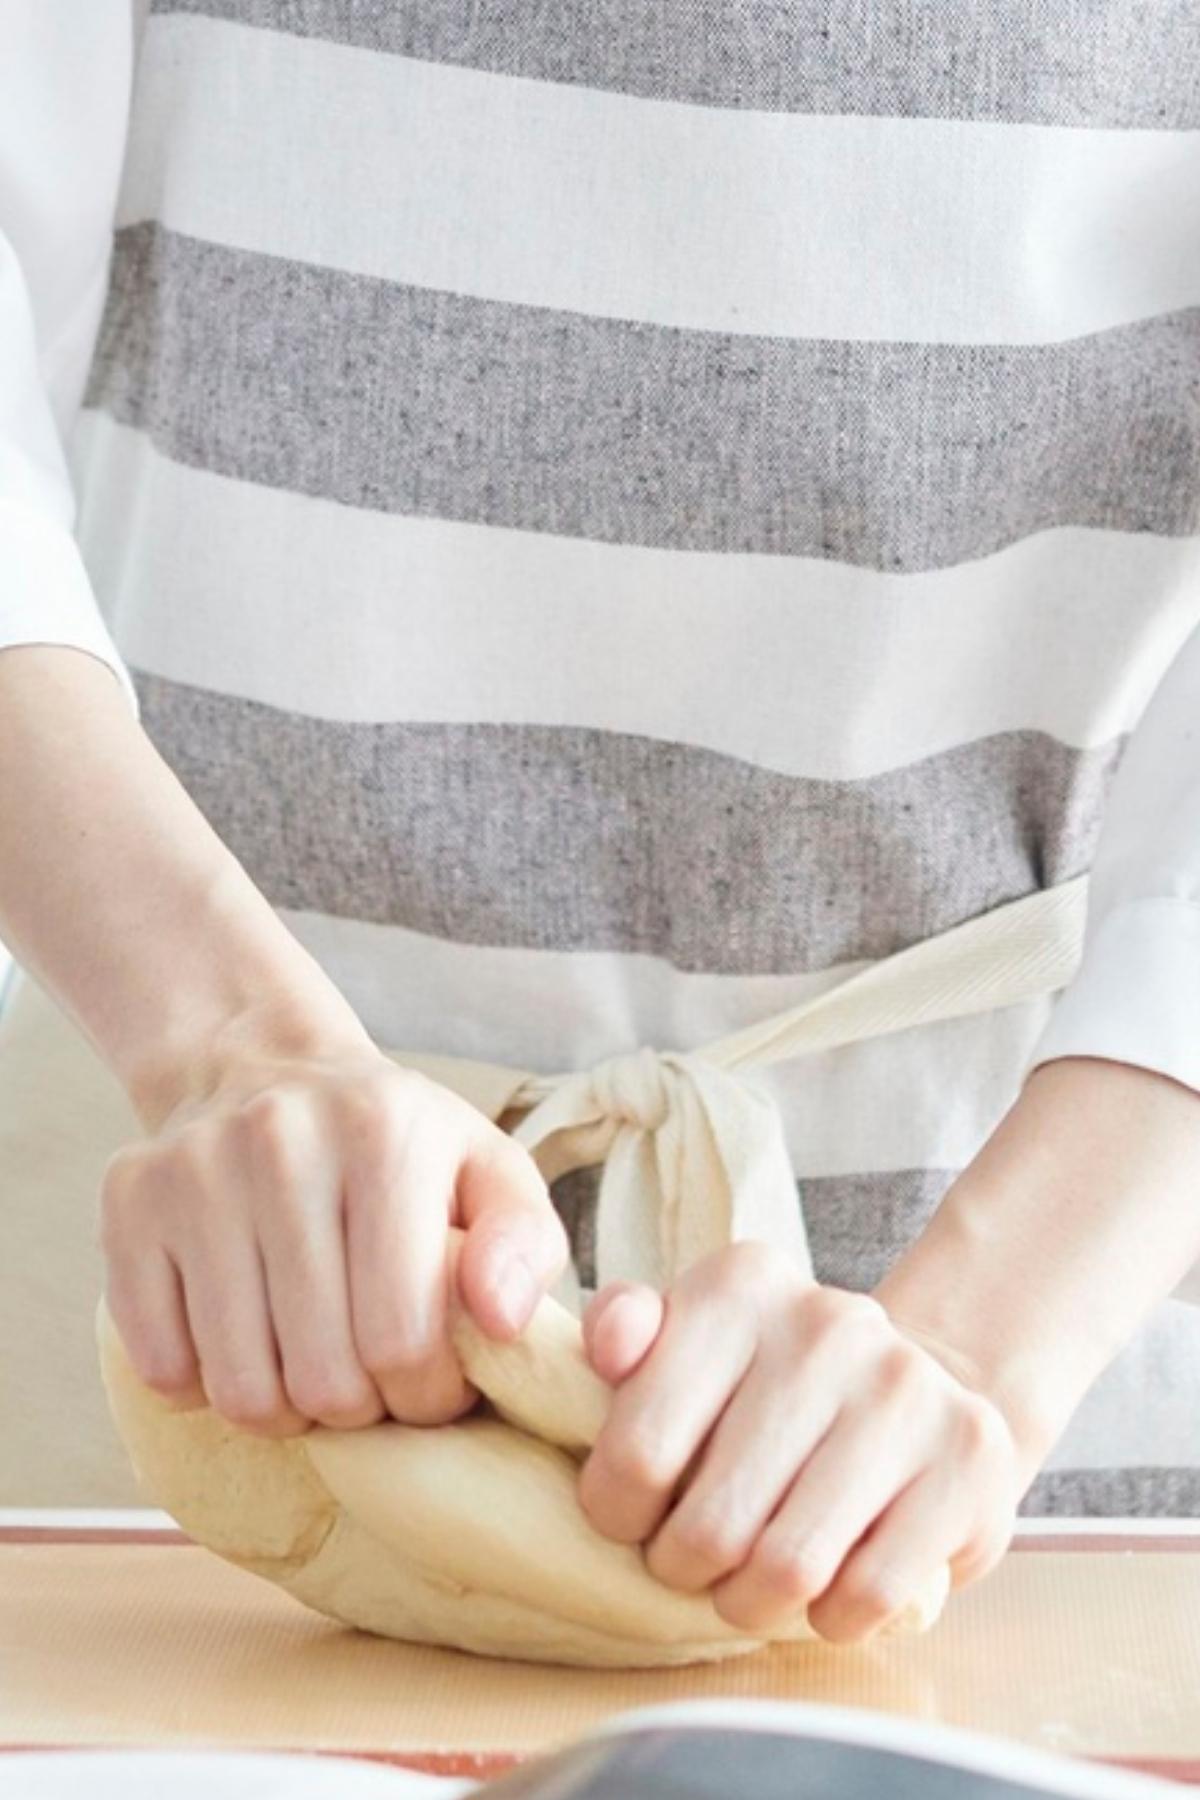
- Step 2: Mix and Knead the Dough – Add the flours, salt, and oil, then mix until a shaggy dough forms. Knead for 8–10 minutes until smooth and elastic. This builds gluten, which gives pita its signature chew and allows it to trap air pockets. Too sticky? A sprinkle of flour. Too dry? A few drops of water.
- Step 3: Let It Rise – Cover and let the dough rest in a warm spot for about an hour until it doubles in size. This is where yeast does its thing—fermenting the dough, creating air pockets, and adding that subtle depth of flavor.
- Step 4: Divide and Rest Again – Once risen, punch down the dough to release excess gas. Divide it into equal pieces and roll each into a smooth ball. Let them rest for another 30 minutes—this helps relax the gluten so the dough rolls out more easily.
- Step 5: Roll and Shape – Gently roll each dough ball into a thin round, about ¼ inch thick. Too thick? No puff. Too thin? More like a tortilla. Keep them even for the best results.
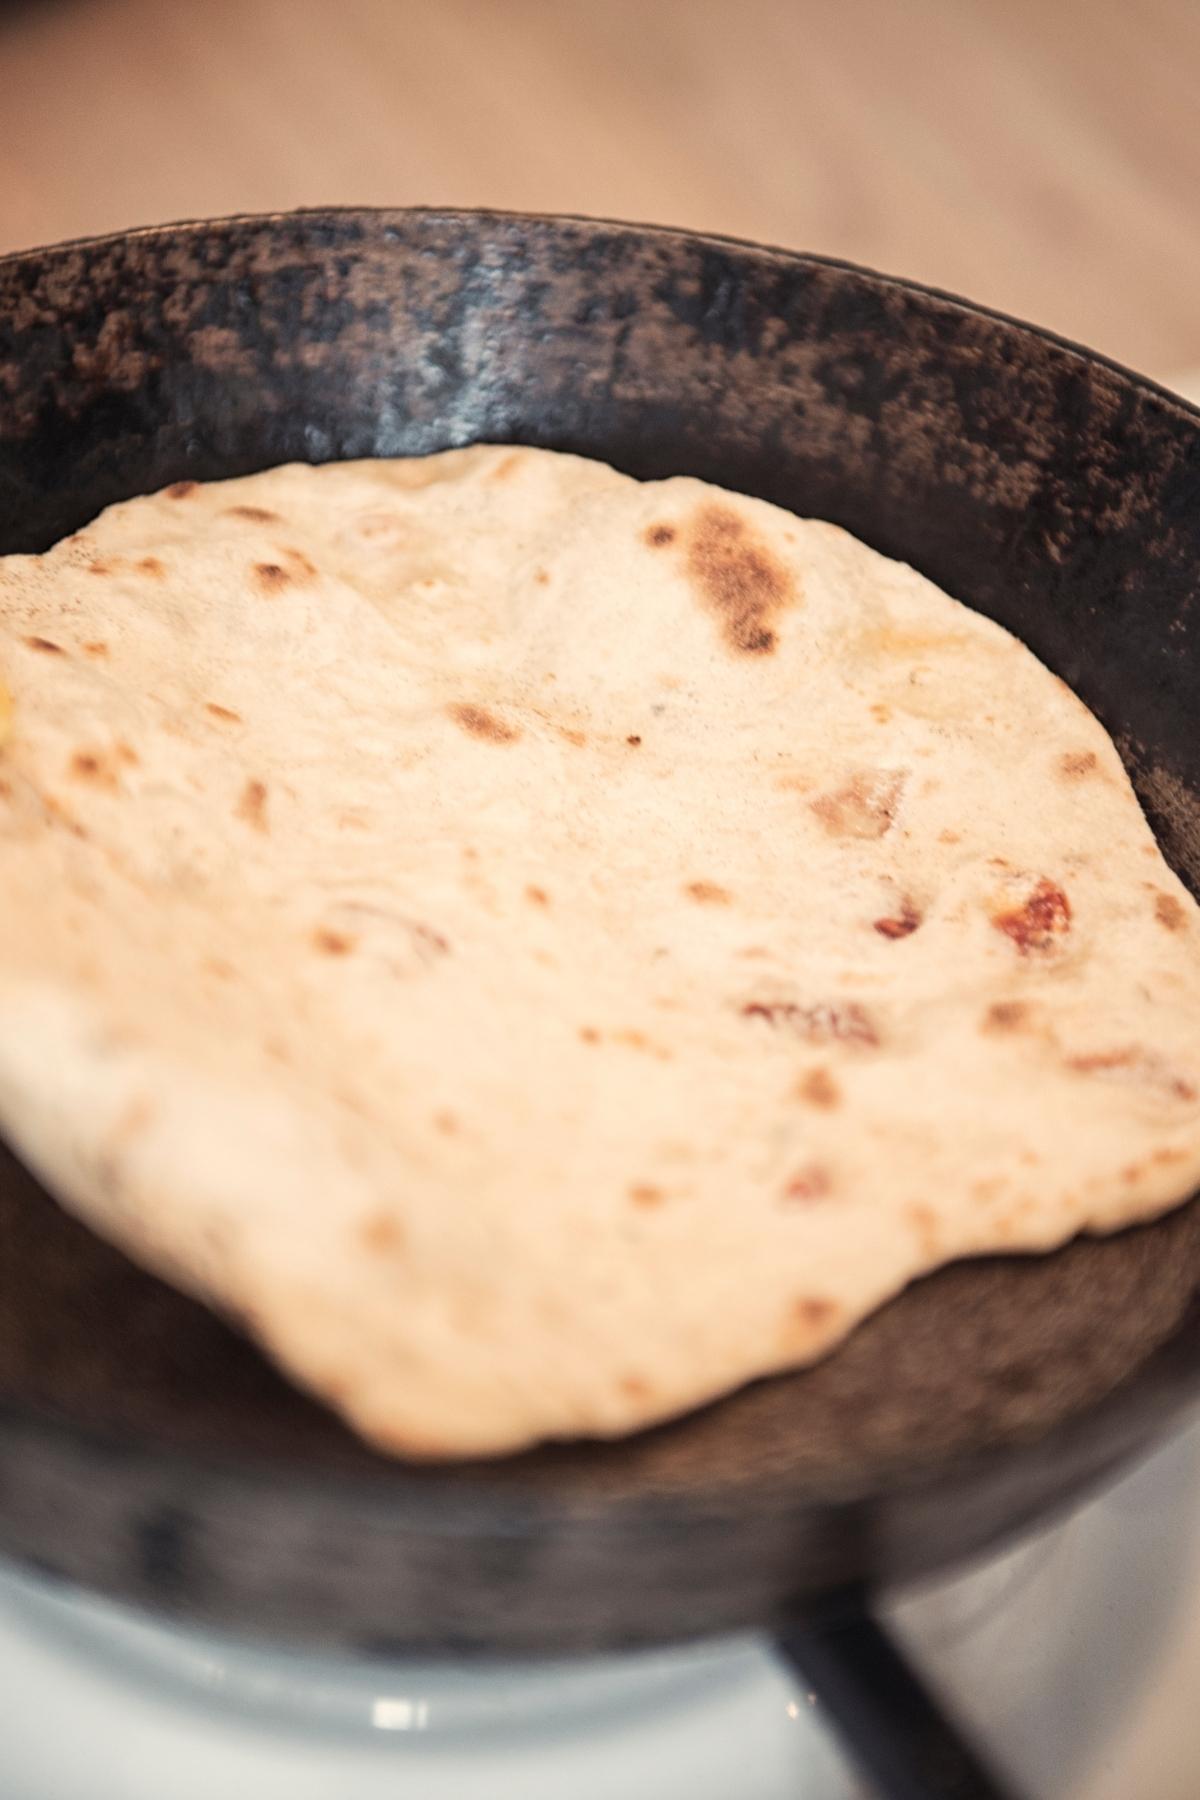
- Step 6: Cook on a Hot Skillet – Heat a dry skillet over medium-high heat. Place a pita round in the pan—within 30 seconds, you should see bubbles. Flip and cook for another minute, then flip again. The second flip is where the magic happens—the steam inside expands, puffing up the pita.
- Step 7: Wrap to Keep Soft – Once cooked, wrap your vegan pita bread in a clean kitchen towel. This traps steam, keeping them soft and pliable instead of drying out. Now, all that’s left to do is tear, fill, and enjoy!
Troubleshooting: Why Didn’t My Pita Puff? (And Other Common Issues)
Pita bread may seem simple, but a few key details can make or break that signature puff. If your vegan pita bread turned out more flatbread than pocket-filled perfection, these may be the culprit:
My Pita Didn’t Puff Up—What Happened?
- Your dough wasn’t rolled evenly. If some areas are thicker than others, steam won’t distribute properly. Aim for ¼-inch thick rounds.
- The skillet wasn’t hot enough. Pita needs a quick burst of heat to trap steam and create air pockets. Make sure your pan is fully preheated over medium-high heat before adding the dough.
- The dough didn’t rest long enough. If the gluten is too tight, it resists puffing. Let the rolled-out dough rest for at least 30 minutes before cooking.
- You didn’t flip at the right moment. That second flip is when the magic happens! If your pita is bubbling but not puffing, flip it back and forth every 30 seconds to encourage even steam buildup.
It Is Too Dense—How Do I Fix It?
- The dough was too dry. If the dough is stiff, it won’t expand properly. Next time, add water a tablespoon at a time until the dough is soft and slightly tacky.
- The yeast wasn’t active. If your yeast doesn’t foam during activation, it’s expired or your water was too hot/cold. Try again with fresh yeast and lukewarm water (~105-110°F).
- You skipped the kneading. Gluten development is crucial for structure. Knead for a full 8-10 minutes until the dough is elastic and smooth.
My Pita is Crispy, Not Soft—What Went Wrong?
- It cooked too long. Pita only needs 1-2 minutes per side. Overcooking dries it out.
- You didn’t trap steam after cooking. Immediately wrap fresh vegan pita bread in a clean towel to keep them soft and flexible.
Can I Make Pita Without a Puff?
Yes! Some people prefer their pita more flatbread-style, perfect for wraps or scooping. Just roll it a little thinner and skip the final rest before cooking.
Master these small adjustments, and your pita will puff up perfectly every time!
How To Serve
Once you’ve got a fresh stack of warm, pillowy vegan pita bread, the real fun begins—how to eat it first? Whether you’re dipping, stuffing, toasting, or topping, homemade pita is basically a flavor vehicle waiting to be put to work. Here are some of the best (and most delicious) ways to serve it:
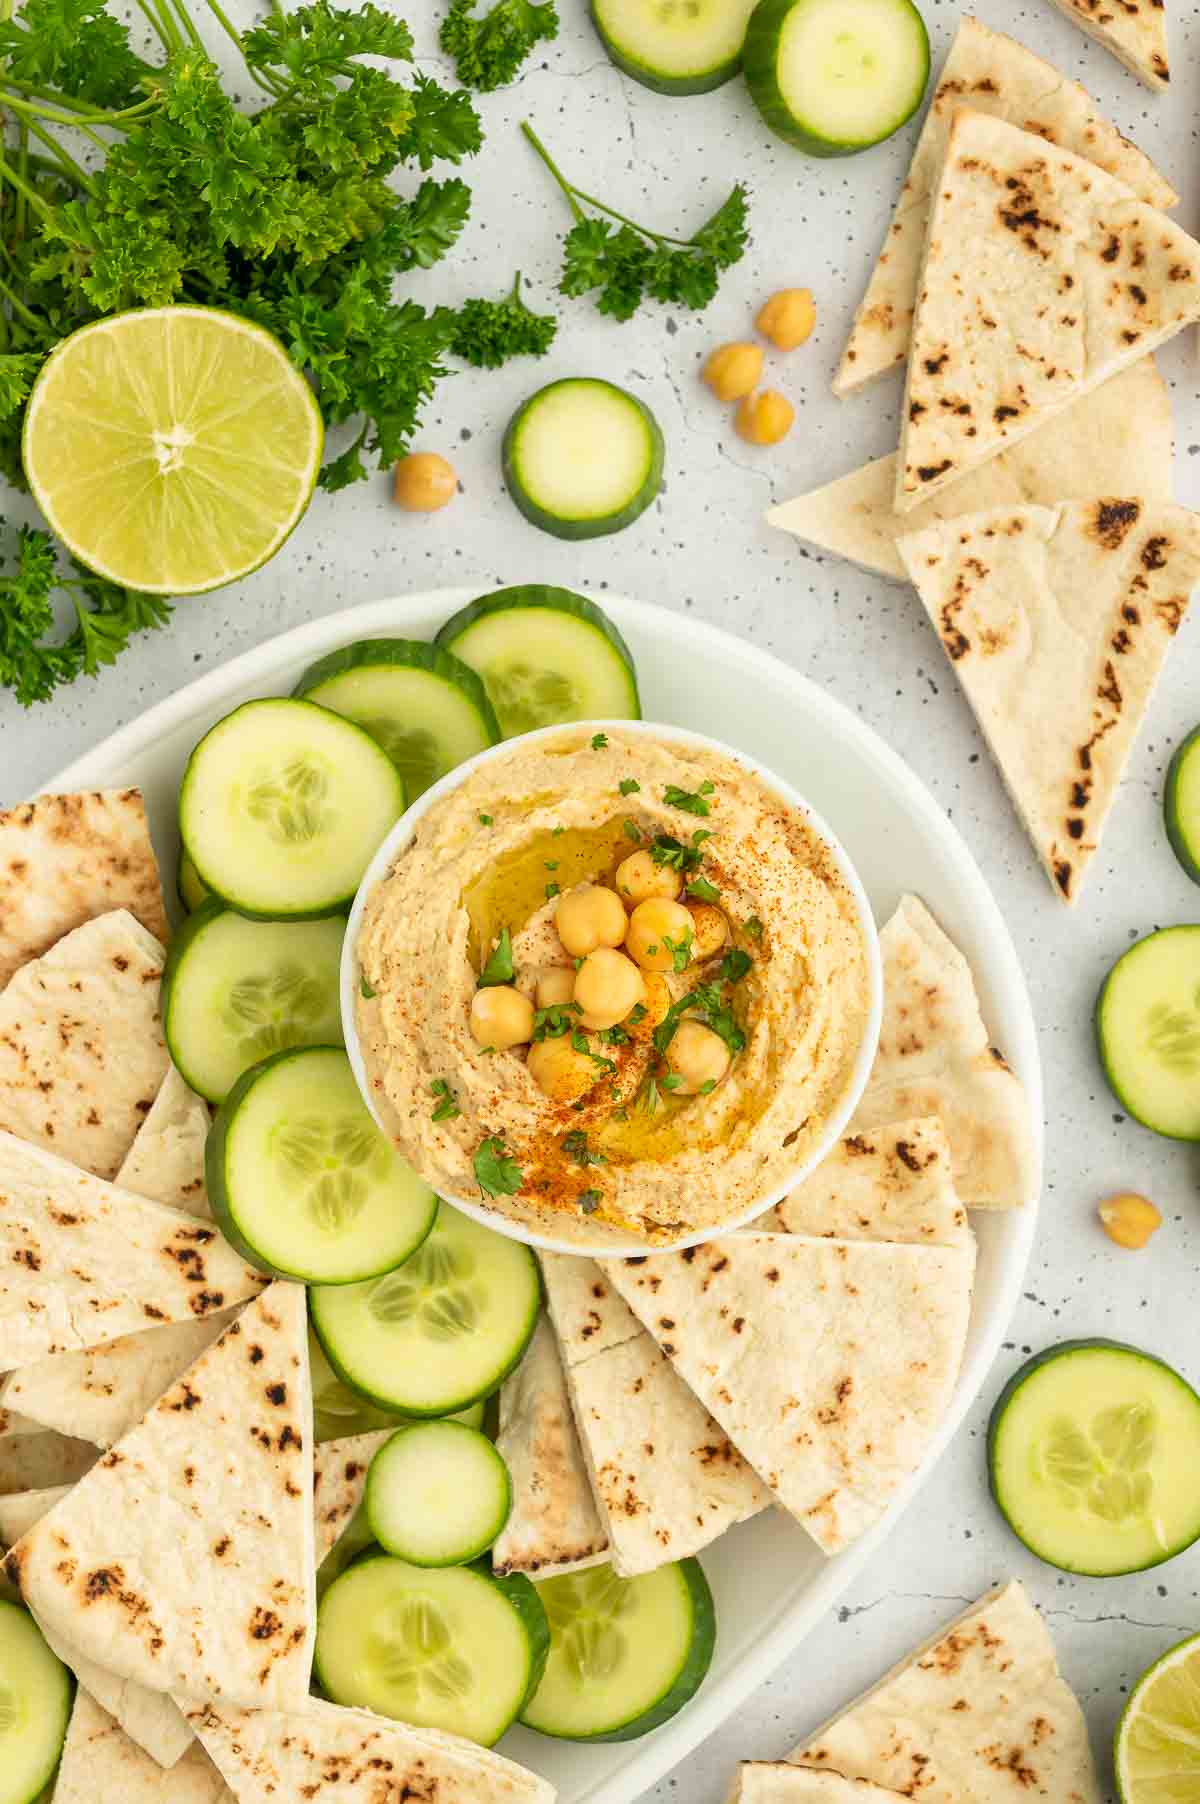
- The Classic Dip & Scoop: Pita was made for dipping. Tear off a piece and dunk it into fresh hummus, creamy baba ganoush, or a creamy whipped vegan feta. Pro tip: toast your pita lightly for an extra bit of crunch before scooping.
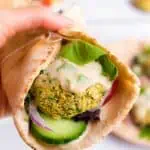
- Pita Pocket Perfection: Slice it open and stuff it to the brim with easy vegan falafel, crisp fresh or pickled veggies, and a drizzle of cilantro tahini or green goddess dressing. Or go fusion-style with buffalo cauliflower, crispy tofu, or a Mediterranean-inspired chickpea salad.
- Pita Chips (Because Crunch is a Love Language): Got extra pita? Cut it into triangles, toss with olive oil, sea salt, and a little garlic powder, then bake at 375°F for 10 minutes until crisp. Perfect for snacking, dipping, or turning into the best homemade nachos you’ve ever had.
- Flatbread Pizza Upgrade: Spread with marinara or garlic oil, sprinkle on your favorite vegan cheese and toppings, then toast until bubbly and golden. Mini pizza night, anyone?
- Soup’s Best Friend: Skip the croutons—tear warm pita and dunk it into lentil soup, spiced chickpea stew, or a creamy roasted tomato bisque.
- Breakfast Pita? Absolutely.: Smear it with almond butter and banana slices, or go savory with avocado, everything seasoning, and a drizzle of hot sauce.
- The Lazy But Perfect Meal: Some nights, dinner is just warm pita, olive oil, and a plate of good olives—simple, but so good.
No matter how you serve it, homemade vegan pita bread takes every meal up a notch—soft, chewy, and endlessly versatile!
FAQs
Most traditional pita bread recipes are naturally vegan, made with just flour, water, yeast, salt, and sometimes oil. However, store-bought pita can sometimes contain dairy, eggs, or honey, so always check the ingredient list if you’re buying pre-made pitas.
If your pita is cracking or too dry, it was either overcooked, not wrapped properly after cooking, or the dough was too dry from the start. To keep it soft, store fresh pita wrapped in a clean kitchen towel immediately after cooking to trap steam.
While classic pita is typically plant-based, some recipes (especially in Greek or Middle Eastern bakeries) may include yogurt, milk, eggs, or honey for extra softness or flavor. Some packaged brands may also contain L-cysteine, an additive that can be animal-derived.
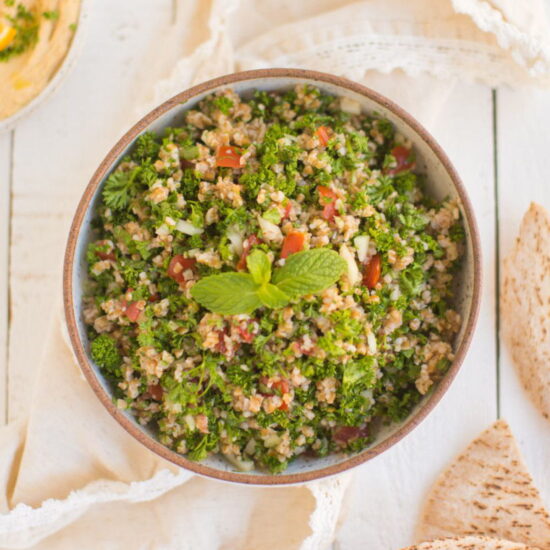
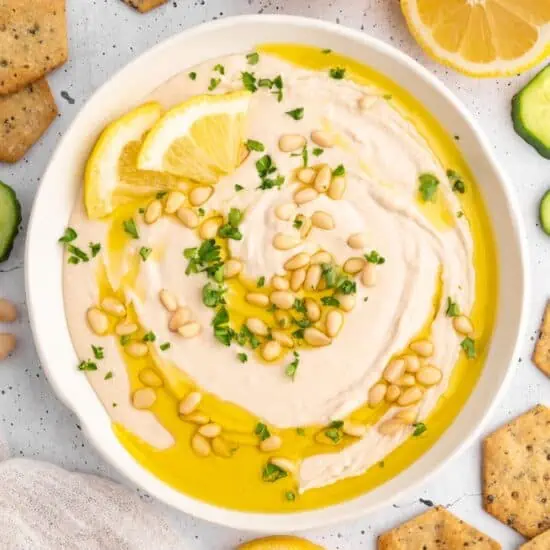
Perfect Pairings for Your Homemade Pita

If you make this vegan pita bread recipe, please leave a star rating and let me know what you think in the comments below! I love reading your comments!

Vegan Pita Bread
Ingredients
- 2½ cups all-purpose flour, plus extra for kneading, (300 grams)
- 1½ cups lukewarm water, divided, (360 ml)
- 1½ teaspoons active dry yeast
- 1 teaspoon light brown sugar
- 1 cup whole wheat flour, (125 grams)
- ½ teaspoon salt
- 1 teaspoon canola or olive oil
Instructions
- Combine 1 cup of all-purpose flour and 1 cup of lukewarm water with all of the yeast and sugar into a mixing bowl. Mix with a fork.
- Cover with a kitchen towel and allow to ferment for 30 minutes until thick and frothy.
- Add 1 cup of all purpose flour and 1 cup of whole wheat flour , ½ cup of lukewarm water, and salt. Fork mix until a sticky dough comes together.
- Transfer to a clean, floured surface and knead for around 10 minutes, gradually adding ½ cup of flour and a teaspoon of olive oil. The dough will become smooth and springy to the touch.
- Shape dough into a ball and place into a mixing bowl. Cover with a kitchen towel and allow to rise for 1 hour or until it doubles in size.
- Tip the risen dough onto a floured surface and knead for 1 minute. Use a sharp knife to cut into 8-10 equal pieces and form each into a ball with your hands.
- Cover and allow to rise for another 30 minutes.
- Roll each ball into a flat circle, cover and allow to rise for another 30 minutes.
- Lightly oil the skillet and heat over medium heat for 2 minutes.
- One at a time, cook pitas in the hot skillet for 1-2 minutes each side until they puff.
Notes
Storage Tips
- Best when fresh! Homemade pita doesn’t have preservatives, so it’s at its softest and most delicious right after cooking.
- Countertop storage: Keep leftover pita in a bread box or wrapped in a clean towel at room temp for up to 2 days.
- Do NOT refrigerate! The fridge dries out pita fast, making it tough and unpleasant.
- Freezing for later: Wrap each pita individually in plastic wrap or a reusable wax wrap, then place in a freezer-safe container. They’ll stay fresh for up to 1 month.
- Reheating frozen pita: Warm in a dry skillet for 30 seconds per side or wrap in foil and heat in a 350°F oven for 5-7 minutes. For extra softness, spritz with water before reheating.
Flavor Variations
- Crunch: Add chopped sunflower or pumpkin seeds to the dough for a nutty, toasty texture.
- Sweet: Mix in chopped raisins or currants, orange zest, or ½ teaspoon of cinnamon for a subtly sweet twist.
- Savory: Go bold with chopped, roasted garlic and ½ teaspoon of turmeric for a golden, fragrant pita.
Nutrition
This Vegan Pita Bread recipe was reprinted with permission from the Beyond Chopped Liver: 59 Jewish Recipes Get a Vegan Health Makeover cookbook by Kenden Alfond (Turner Publishing, February 23, 2021). Photography by Rachel Mendelson.
You may also like...


")
")

Enter to Win Our Monthly Giveaway!
New winner every month! Drop your name below for a chance to win hundreds of dollars of vegan prizes from our brand partners. You’ll also receive our weekly e-newsletter with plant-based recipes galore!
Leave a Comment
Can I prepare the dough the night before? And at which point would it be the most suitable to do?
Hi Iva, yes after the dough has fully risen, you can keep it in the refrigerator until ready to bake. Enjoy! 🙂
I made these last night and the whole family loved them!!!!!
Hi, I’m looking forward to making this, but I had a question: when you roll the balls of dough into a flat circle, what’s the diameter of the circles? Also, can you stack the circles to do that final rise or will they stick together?
Thanks for your help!
The diameter can vary but it should be rolled out to about 1/4 inch thick. They will most likely stick together so I would keep them separated while rising. Enjoy!!
I’d never made my own pita bread before, but this was delish!
I love naan, its so delicious and flavourful!
Woah. This bread looks incredible!!!
I tried Your pita bread recipe and .. oh my! It was very good. It was really easy to follow the recipe and the outcome was good, even for the first try! Thank You!
Love this pita bread…chewy and delicious! So much better than anything in a store!
Soo sooo good! I had no idea that pita bread was this easy to make. All of the family loved it and can’t believe how much better it is freshly made. Yay!
OH wow! Fluffy and delicious 🙂
I really love pita bread. Gotta try this one!
I LOVE pita bread but have never tried making it! I did get into making flatbread over quarantine so I think this would be a great next step for me.