


Instant Pot Beans Chart—The Ultimate Guide & Cooking Time Table
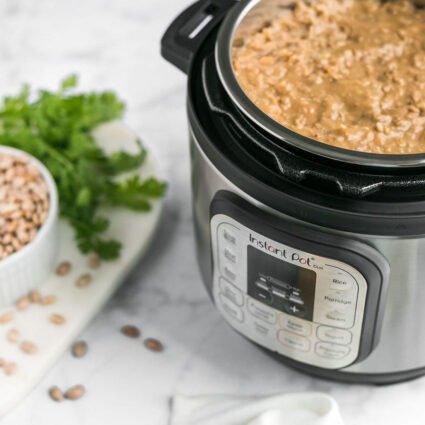

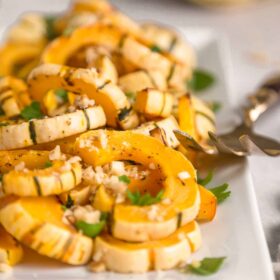
Beans are a versatile and budget-friendly kitchen staple, but cooking them on the stove can feel time-consuming. That’s where the Instant Pot comes in! This handy kitchen gadget makes preparing beans quicker and easier than ever. With just a little prep, you can have perfectly cooked beans in under an hour. Whether you’re making black beans for won-ton tacos, chickpeas for a salad, or pinto beans for refried beans, the Instant Pot (along with our handy Instant Pot Beans Chart!) saves time and hassle.
We’ll walk you through everything you need to know for Instant Pot bean success. You’ll find easy-to-follow instructions, a helpful chart for cooking times (print out and hang on your fridge!), and tips for adding flavor. Plus, we’ll cover how to soak (or skip soaking!) and how to store your beans.
Dr. Greger suggests three, ½ cup servings per day—whatever your level is now, consider adding more. Not only are beans high in fiber, protein, and nutrients, but they’re also very low in fat, cheap, and so delicious. Say goodbye to canned beans and hello to fresh, perfectly cooked beans anytime you need them.
Let’s get started and make bean-cooking a breeze! (Don’t forget to check out all of our delicious Instant Pot Recipes!)
Why Use the Instant Pot for Beans?
Glad you asked! Using a pressure cooker for beans not only saves you hours of cooking and cleaning, but also helps you to prep food ahead of time for easier meal decisions and better health. We love using the Instant Pot for cooking beans, but here’s why this cooking method is so awesome:
- Saves Tons of Time. No more waiting hours for beans to cook! The Instant Pot slashes cooking time — most beans are ready in under an hour, even if you skip soaking.
- Consistent Results. Tired of mushy or undercooked beans? The Instant Pot’s precise pressure cooking ensures perfectly tender beans every time.
- No Soaking Needed. Forgot to soak your beans? No problem! The Instant Pot can cook unsoaked beans quickly, making last-minute meal prep a breeze.
- Hands-Off Cooking. No need to babysit the pot. Just set the timer, walk away, and let the Instant Pot handle the work. It’ll beep when your beans are done!
- Energy Efficient. The Instant Pot uses less energy than a stovetop or slow cooker. It’s a win for your electric bill and the environment!
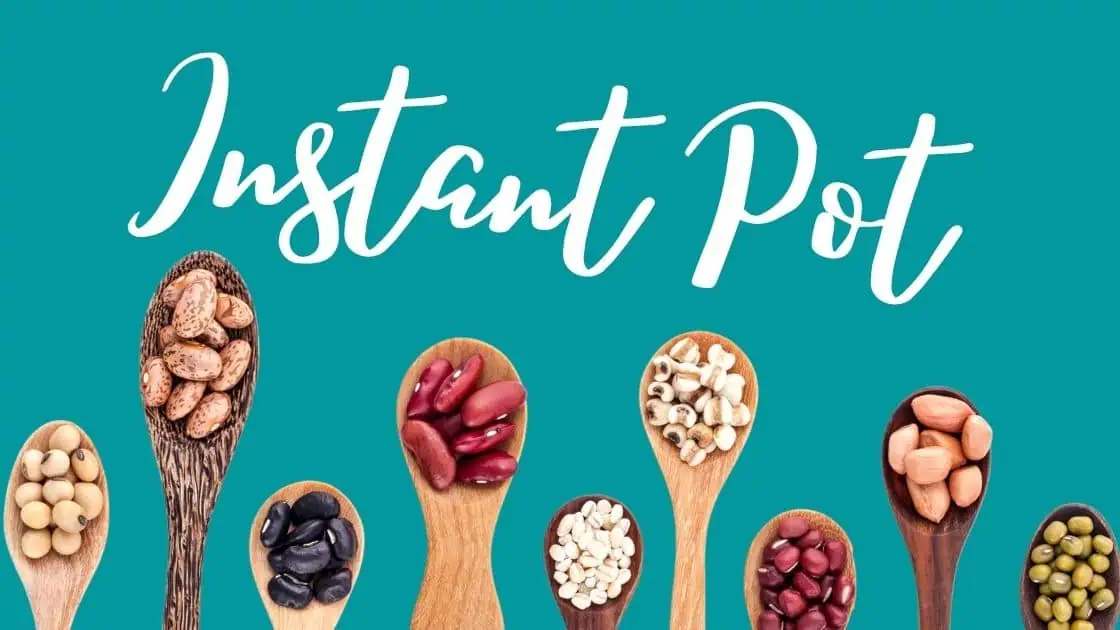
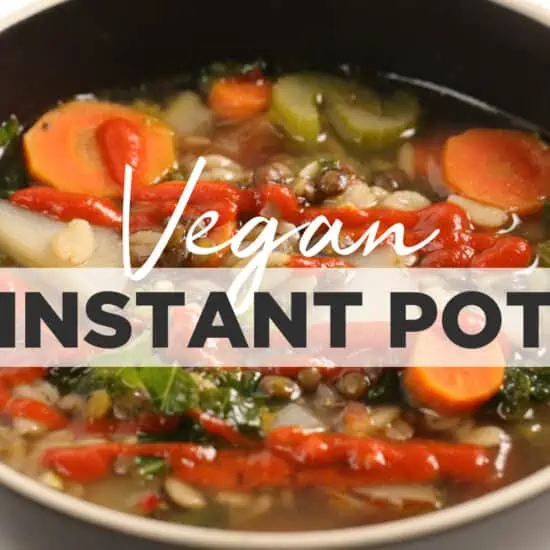
Types of Beans & Lentils to Use in the Instant Pot
From standard pinto beans to delicate red lentils, whatever your bean or lentil of choice, you can make it in the pressure cooker. Here are a few of our favorites:
- adzuki beans
- black beans
- black-eyed peas
- cannellini beans (white kidney beans)
- chickpeas
- great northern beans
- kidney beans (red)
- lentils, green
- lentils, red
- lentils, yellow
- lentils, brown
- lima beans
- navy beans
- pinto beans
- peas
- soybeans
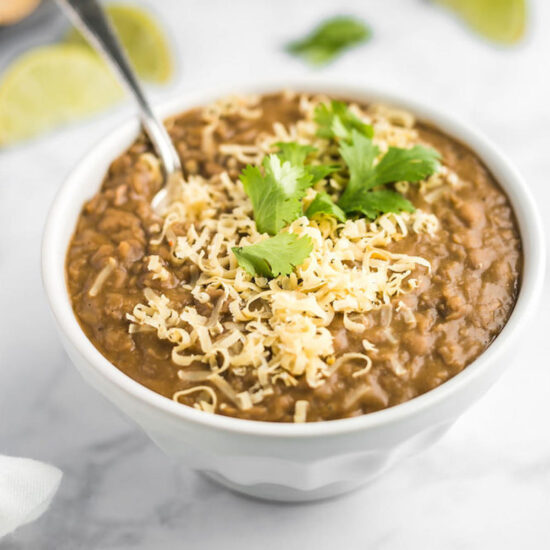
How Do I Make Instant Pot Beans?
The process sounds more complicated than it really is. Once you make the beans, you’ll wonder why you hadn’t tried making them like this in the first place. It’s much easier than you imagine! Here are simple, step-by-step directions for making your beans:
Step 1: Prep the Beans – Rinse the beans thoroughly, removing any debris. Optionally, soak them overnight in fresh water to reduce cooking time.
Step 2: Add Beans and Water – Place the beans in the Instant Pot. Add water until it covers the beans by 2-3 inches. Add your favorite seasonings.
Then, Step 3: Cook the Beans – Secure the lid and set the lever to “Sealed.” Press the “Bean” or “Manual” button and set the correct cooking time for your beans. Let the Instant Pot pressurize and cook.
Step 4: Release Pressure and Store – Let the pressure release naturally for at least 30 minutes. Carefully release any remaining pressure, drain excess liquid, and let beans cool before storing. For refried beans, save some liquid to blend in.
Homemade Beans Vs. Canned Beans
Are homemade beans better than canned beans? Absolutely. There’s nothing wrong with having a canned bean backup in your pantry, but homemade beans definitely have the advantage. Here’s why:
- Zero Waste – No plastic container, bag, or aluminum can to recycle or throw into the trash.
- Lower Sodium – Nothing in your beans but what you choose to add.
- Shelf Stable – Dried beans stored in sealed containers will last a lot longer and without refrigeration or freezing.
- Cheaper – Dry beans cost pennies per pound and are easily accessible.
- Better Taste & Texture – You can flavor the beans with anything you fancy and cook them to your desired firmness.
- Easier to Digest – Many people report having a much easier time eating beans that have been made at home compared to beans sitting in a can for months, if not over a year.
What Is the Ratio of Beans to Water?
There are a couple of ways to think about this. You can either add your dried beans to the pot and pour water over the beans until the water reaches a few inches over the top of the level of the beans. Then, when your beans are done, you can either keep the liquid for storing your beans in later (totally optional) or drain the water from the beans before storing.
Another option is to specifically add the amount of water you wish for a desired effect. For each pound of dried beans, add this much water:
- 4 Cups – Thick, super starchy, and the most flavorful beans that do not need to be drained.
- 5 Cups – A little less starchy and less flavorful with only a little bit of extra liquid.
- 6 Cups – Very mild flavor and slight starchiness with more liquid remaining for storing, freezing, or blending.
How Many Beans Can You Cook in the Instant Pot?
It’s better to err on the side of less rather than more when it comes to beans. Because the pot needs room for liquid to boil and beans to grow, you should only fill your pressure cooker halfway at most. To be on the safe side, only add a maximum of 2 pounds of dry beans to your pot.
Pre-packaged dry beans are usually sold in one pound bags, which makes the perfect amount. If you’re able to buy from the bulk bins (yay for less plastic waste!), grab a pound or two for your next bean bake.
Do I Have to Soak Beans Before Cooking?
There are definitely two separate sides to this question. Some people swear by soaking your beans beforehand, while others say that it simply makes no difference. Either way, the Instant Pot has you covered and gives cooking time for both soaked and un-soaked beans.
If you’re interested in trying the soaking process, here are a few tips that might help:
- Soak Overnight – Soaking for at least 8-12 hours seems to be the minimum amount of time to get the beans to release any unnecessary chemicals in the skin of the beans that (possibly) make them harder to digest. If you are sensitive to beans, this might be the way to go.
- Additions to Aid With Gas – It’s been suggested that adding 1 teaspoon of apple cider vinegar or 2 tablespoons of kosher salt (or 1 tablespoon of table salt) to the water when soaking the beans can help you to digest the beans better.
- Rinse Thoroughly – Once the beans have been soaked, make sure to rinse the beans with fresh water (at least once) before adding the beans to the pressure cooker. If you add the water you soaked the beans in overnight, you’ll be ingesting the very chemicals you wished to avoid from the exterior of the bean.
How Can I Add More Flavor to My Beans?
You can easily add more flavor to your beans! Both before and after cooking. Here are a few of our favorite flavor-enhancing suggestions:
- Call in the Kombu – Many people swear by the addition of kombu, a dried seaweed. The amino acids in a 4-inch strip are supposed to help soften the beans, make them more digestible, and also give a tasty quality to the cooked beans.
- Cayenne for an Extra Kick – To spice things up, add ½ teaspoon (or to your liking) of cayenne pepper to the mix or chop up some fresh hot peppers and throw them in with the beans before cooking. That’ll take it up a notch!
- Sprinkle in Some Salt – Again, less is more when it comes to salt. A little salt (less than ½ teaspoon) will give just enough seasoning. You can always add more to the amount on your plate.
- Vegetable Broth Boost – Feel free to use vegan broth instead of water to cook your beans, store-bought or homemade broth. It’s a quick way to add flavor without having to think too much about it. Use the low sodium version so that, when the beans reduce, they aren’t too salty.
- Honor Those Herbs – If you’ve got a garden with fresh herbs, now is the time to use them! Chop up your favorites and add them to the pressure cooker. If using dried herbs, use a lot less. Using ½ –1 tablespoon would work well.
How to Serve Up Your Instant Pot Cooked Beans
Besides all of the bean recipes we have to share, there are also really quick and simple ways to serve your cooked beans. If you have any other awesome ideas, we’d love to know and add them to the list! Make sure to drop them in the comments below.
- Classic Beans on Toast – How can you not adore this breakfast (or lunch) combo? A thick slice of crispy herb toast topped with a scoop of scrumptious beans and maybe some tangy tomato sauce—heavenly!
- Bold Beans & Fancy Franks – Was this a childhood favorite for you, too? Or perhaps food that you loved to take on camping trips with friends and family? Cook up a pot of creamy beans and then add in chunks of your favorite plant-based hot dogs (Lightlife Smart Dogs and Field Roast Classic Smoke Frankfurter are all good choices!)
- Mouthwatering Mexican-Inspired Meals – Bring on all of the meatless tacos, easy-to-wrap burritos, and grain bowls your belly can handle. With a single batch of homemade Instant Pot beans, you can make dozens of delicious dishes by only including a few ingredients like lettuce, avocado, tortillas, and rice (though you can always add more!).
FAQs
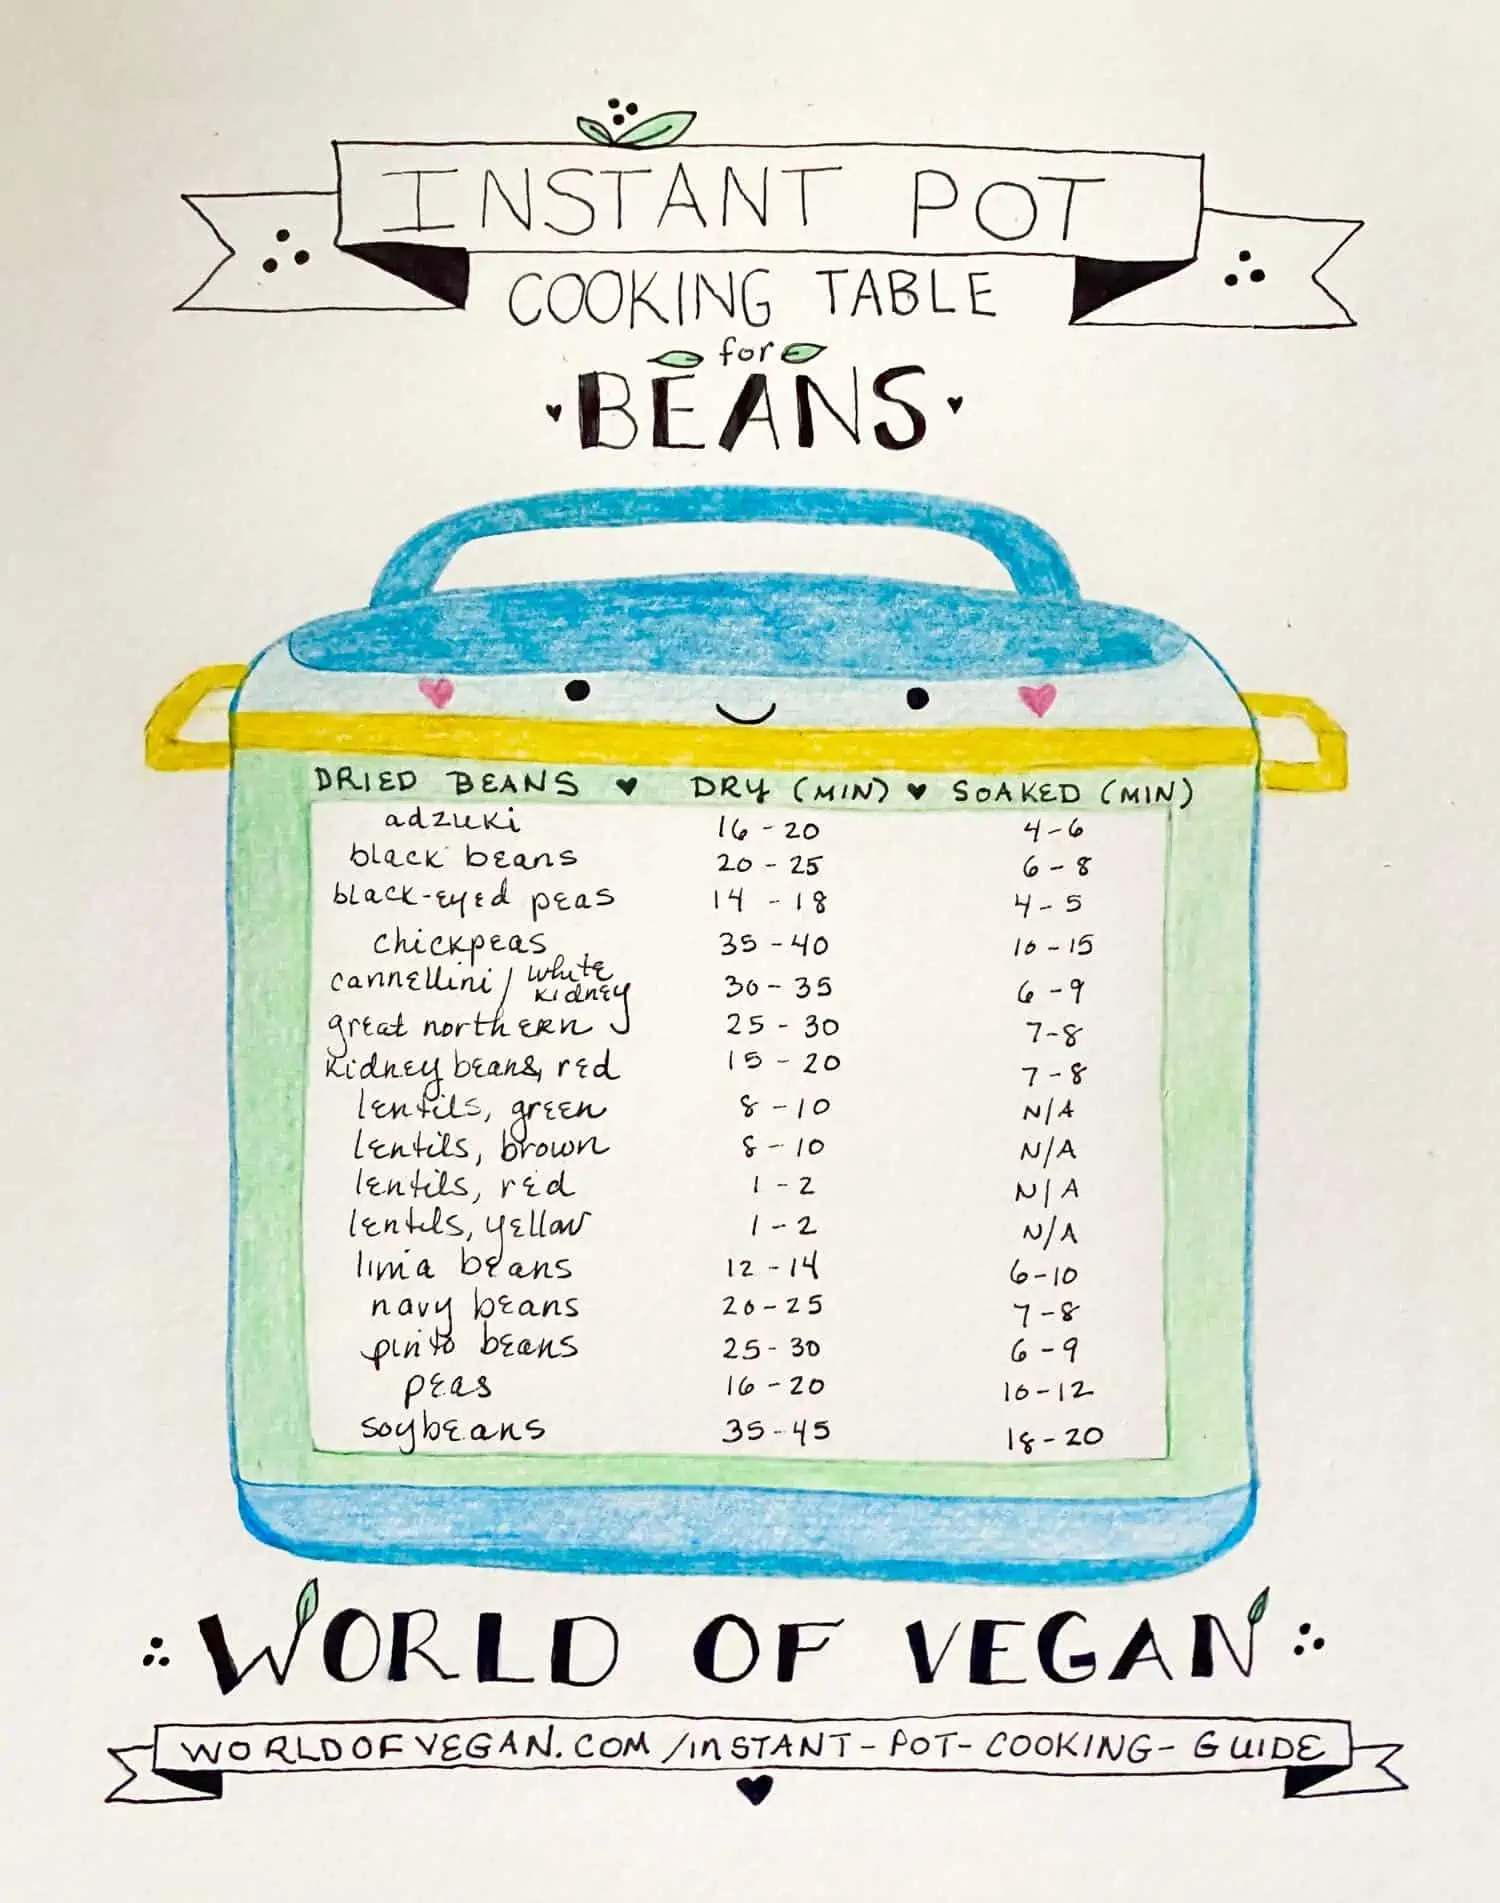
We thought we’d make it super easy for you with this hand-painted Instant Pot Bean Cooking Chart to download as a free PDF! This way, you can print it out (in color or black or white) and stick it on your fridge or inside a cabinet door for easy access and a cute reminder to prep your beans during the week. Cool beans!
Most cans of beans include 1¾ cups of beans and ¼ cup of aquafaba or bean liquid. If a recipe calls for a 15 ounce can of beans, you’ll need a little less than 2 cups cooked beans or, if you haven’t made any beans yet, ½ cup dried.
An approximate ratio is: 2 cups dry = 6 cups cooked
Yes! Just place them in a freezer-safe bag or container and they will keep for up to 3 months. To thaw, simply place in the fridge overnight or on the countertop for several hours. Reheating is easy – you can either throw them in the microwave for a minute or two, heat them in the oven (perfect when making roasted savory or sweet chickpeas!) for around 10 minutes or give them a quick pan fry over medium heat until desired temperature.
Cooked beans can last around 5 days in the refrigerator in a covered container. If you have any leftover cooking liquid from the pressure cooker, feel free to pour it in along with the beans before sealing. It’s not necessary, but it may help to keep your beans from drying out so quickly.

More Incredible Instant Pot & Bean Recipes to Try


Hungry for more? Subscribe to the World of Vegan weekly newsletter and join our community of over 1 million plant-passionate peeps on Instagram (@Vegan), Facebook, Pinterest, and YouTube!
You may also like...


Enter to Win Our Monthly Giveaway!
New winner every month! Drop your name below for a chance to win hundreds of dollars of vegan prizes from our brand partners. You’ll also receive our weekly e-newsletter with plant-based recipes galore!
Leave a Comment
Another tip: after soaking the beans (especially kidney beans and soy), you can remove much of the peels (if you want) (the hard digestible part) by squeezing them strongly with the hands for a couple of minutes, then rinse them. Good exercise and they’re good as fertiliser.