


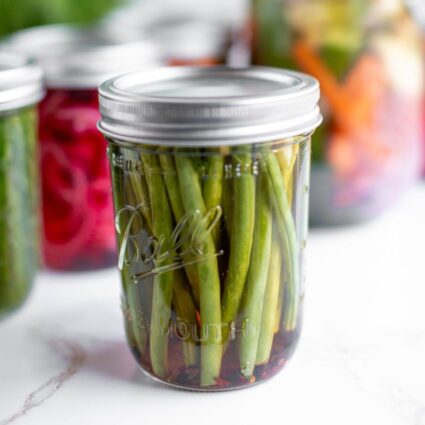
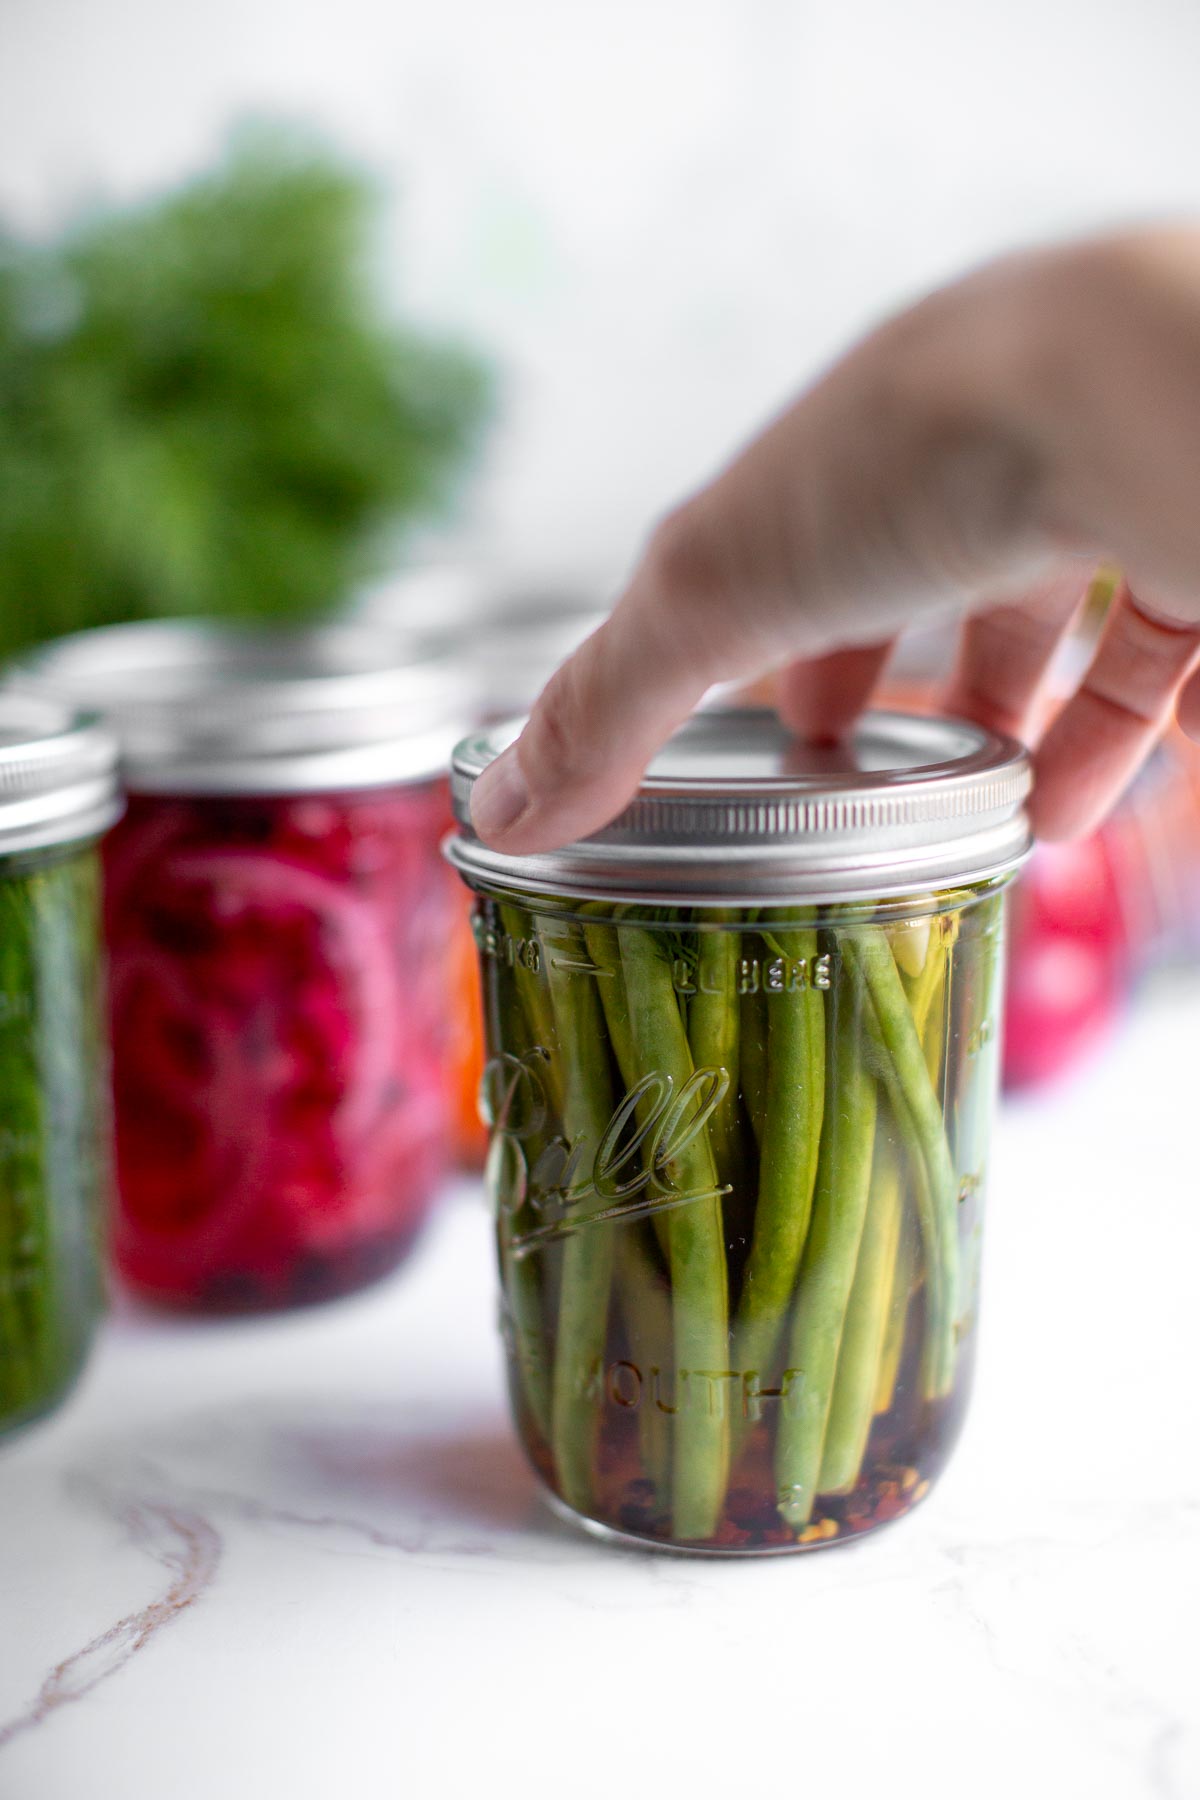
Quick Pickled Green Beans

This pickled green beans recipe is the crunchy, tangy snack you didn’t know you needed. They’re super easy to make and add a bright pop of flavor to almost any meal. You don’t need special canning tools or fancy ingredients—just a jar, some vinegar, and a few fresh green beans. Once they soak up that zesty brine, you’ll have the perfect balance of tart, savory, and slightly sweet in every bite.
These pickled green beans aren’t just tasty—they’re also really versatile. You can snack on them straight from the jar, toss them into fresh salads, or serve them alongside sandwiches and charcuterie boards. They make a great gift, too, since they look as good as they taste.
With this quick pickling method and a few simple ingredients, you’ll have crisp, tangy green beans that add instant flair to any meal. Avid green bean lovers, make sure to check out our favorite vegan Thanksgiving green bean casserole, as well as these savory holiday green beans and anytime sizzling Chinese string beans!
Why This Pickled Green Beans Recipe Is Perfect
If you’ve never tried this easy pickled beans recipe before, you’re in for a treat—these crunchy, tangy bites are about to steal the show. Here’s why it’s the best:
- Easy to Make. Forget the complicated canning gear—these quick pickled green beans come together fast with barely any effort.
- Big on Flavor. Every bite hits that perfect mix of tangy, sweet, and savory. They’re so good, you’ll keep going back for more.
- Bright and Beautiful. That vibrant green color doesn’t just look amazing—it makes any plate pop with freshness.
- Lasts for Weeks. Keep a jar in your fridge to add a burst of flavor to your meals whenever the craving hits.
- Perfect for Sharing. Bring them to an outdoor BBQ or backyard picnic—everyone will want to know your secret recipe.
Key Ingredients and Substitutions
Introducing the simple ingredients that make these pickled green beans tangy, crunchy, and totally irresistible. Here are easy swaps and tips so you can customize the flavor to your taste:
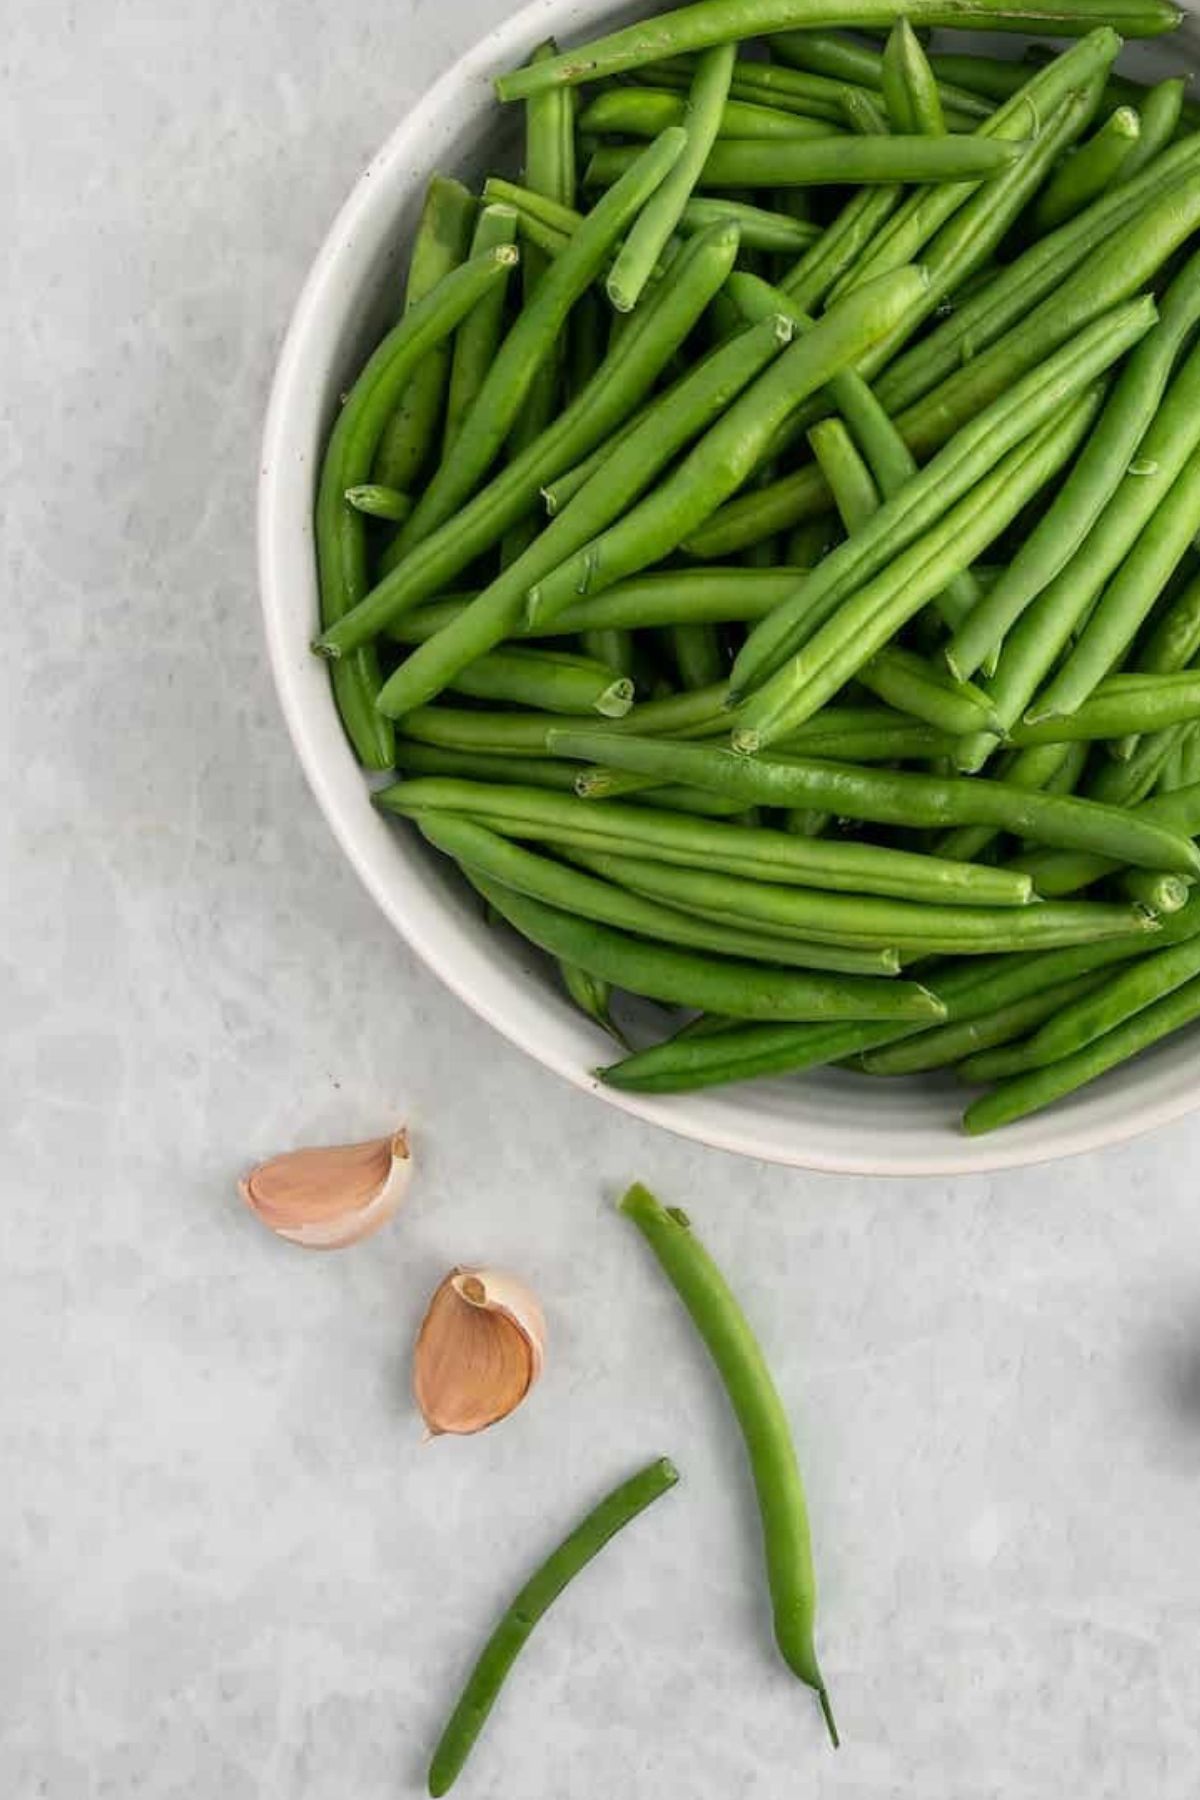
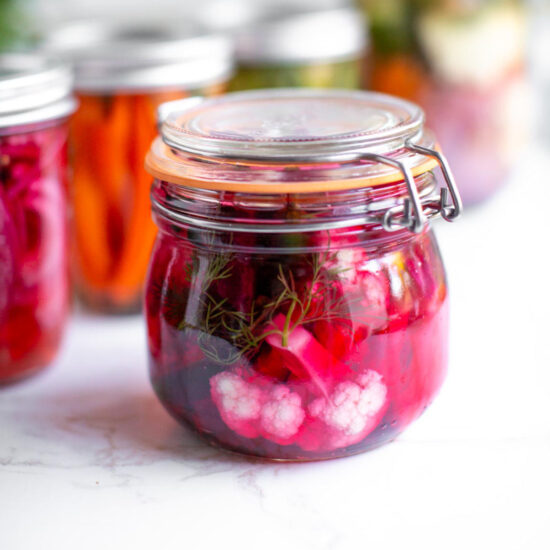
- Green Beans – Hold their crunch really well, even after sitting in brine, which makes them perfect for pickling. Look for firm, bright green beans without any soft spots for the best texture. If you don’t have green beans, you can swap in cauliflower, carrots, or even snap peas for a fun twist.
- White Vinegar – Gives your pickles that classic tangy flavor and helps preserve them in the fridge. White vinegar is great because it’s strong, clean-tasting, and keeps the color of the beans nice and bright. If you want a milder flavor, you can use apple cider vinegar or rice vinegar instead. Just make sure whatever vinegar you use has 5% acidity to keep your pickles safe and crisp.
- Salt – Draws out moisture from the beans and helps the vinegar soak in for that perfect pickle flavor. It also balances the sourness and keeps the beans firm and snappy. Go for pickling salt or sea salt since table salt can make the brine cloudy. If you’re out of those, kosher salt works too—just make sure it’s pure and doesn’t have any additives.
- Sugar – Sugar adds a hint of sweetness that rounds out the tang and salt, giving the pickles a nice flavor balance. You can adjust the amount depending on how sweet or tart you like your pickles. Want to mix it up? Try using maple syrup or agave syrup for a touch of natural sweetness.
How to Make Quick Pickled Green Beans
Creating your own batch of pickled green beans is an easy and fun process. With just a few simple steps, you’ll transform fresh green beans into a tangy, crunchy delight. Here’s how to do it:
Step 1: Prep Your Beans and Jars – Wash your green beans in cold water and trim the ends to ensure they fit nicely in your jars. Then, sterilize your wide-mouth mason jars by boiling them in water for 10 minutes or running them through a dishwasher cycle.
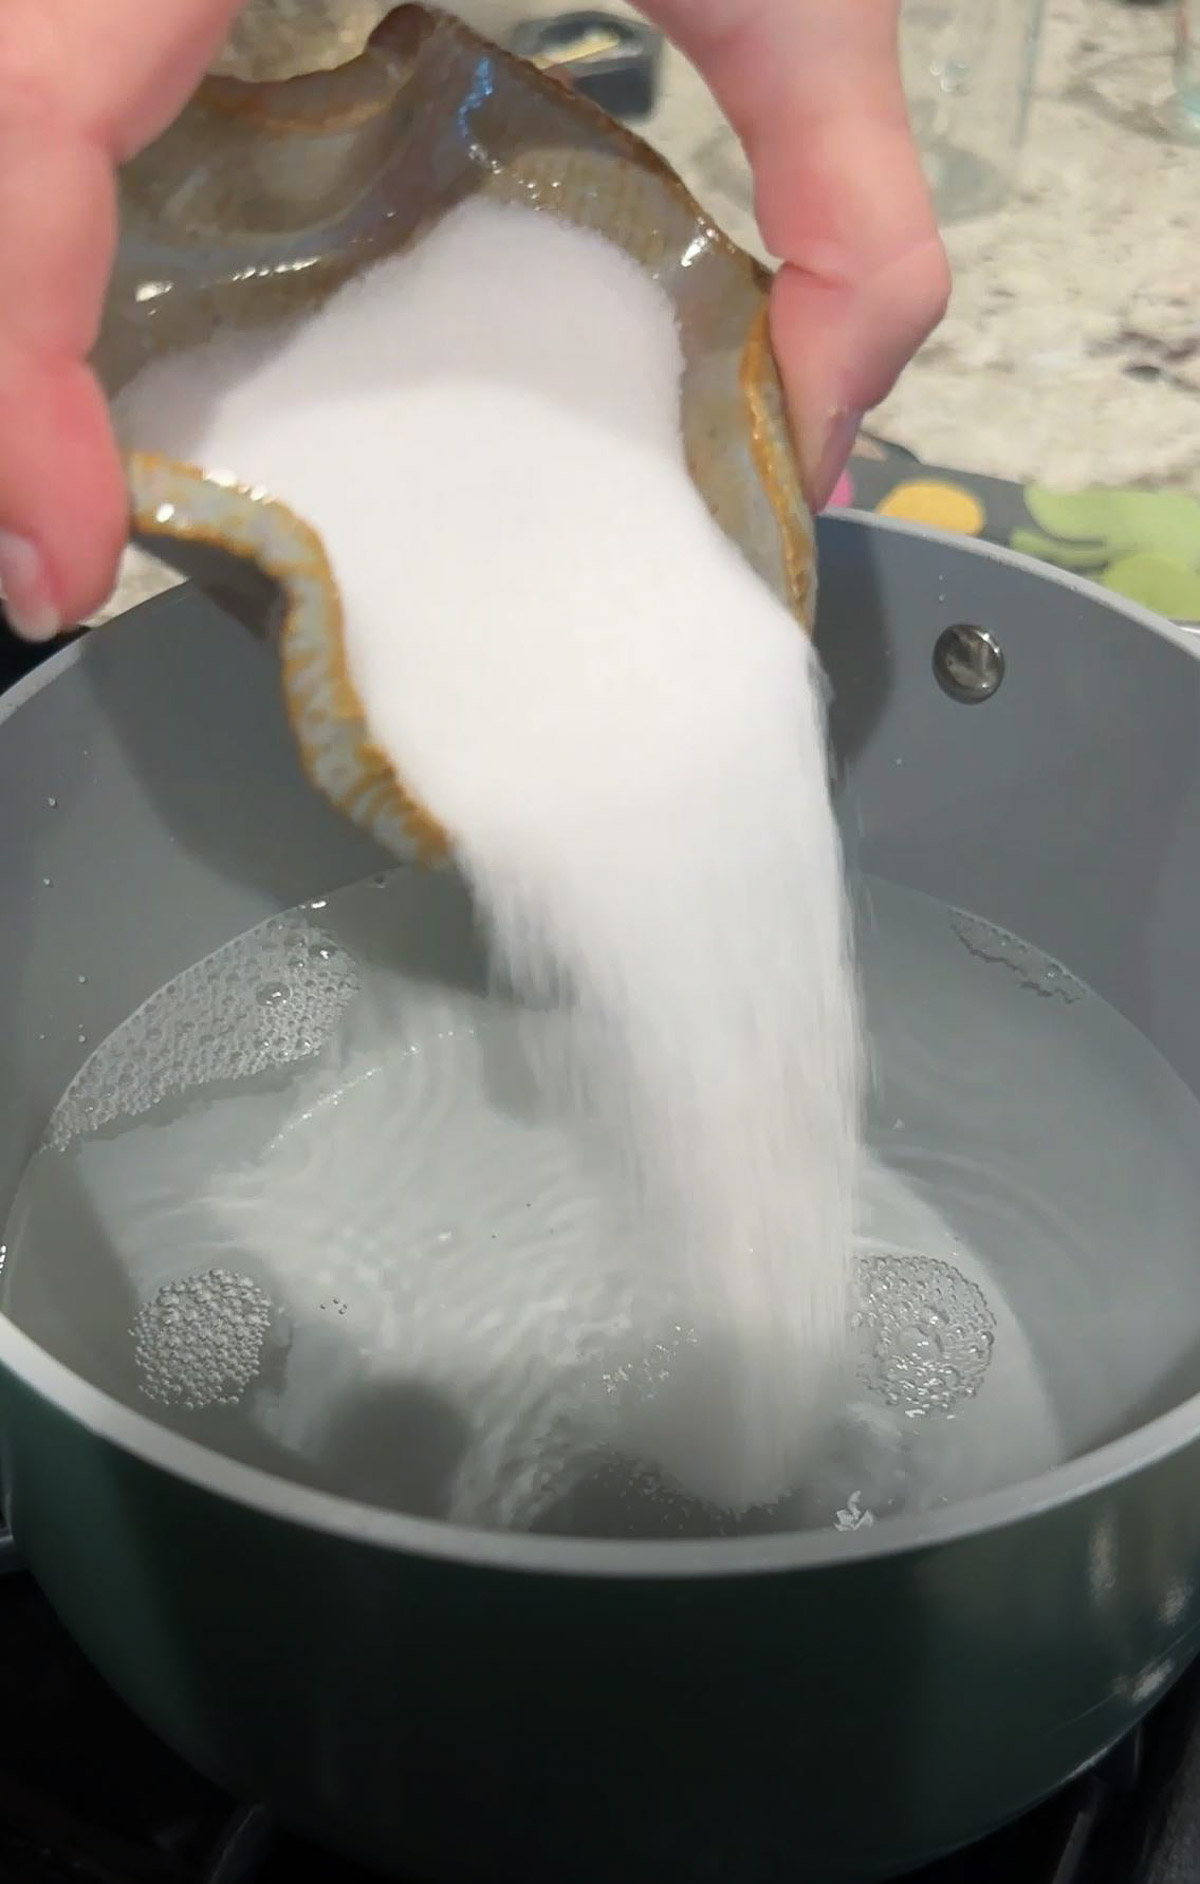
Step 2: Combine the Brine Ingredients – In a saucepan, mix together white vinegar, water, salt, and sugar. This combination creates the pickling brine that will infuse your green beans with flavor. Heat over medium until the sugar and salt have completely dissolved, stirring occasionally.
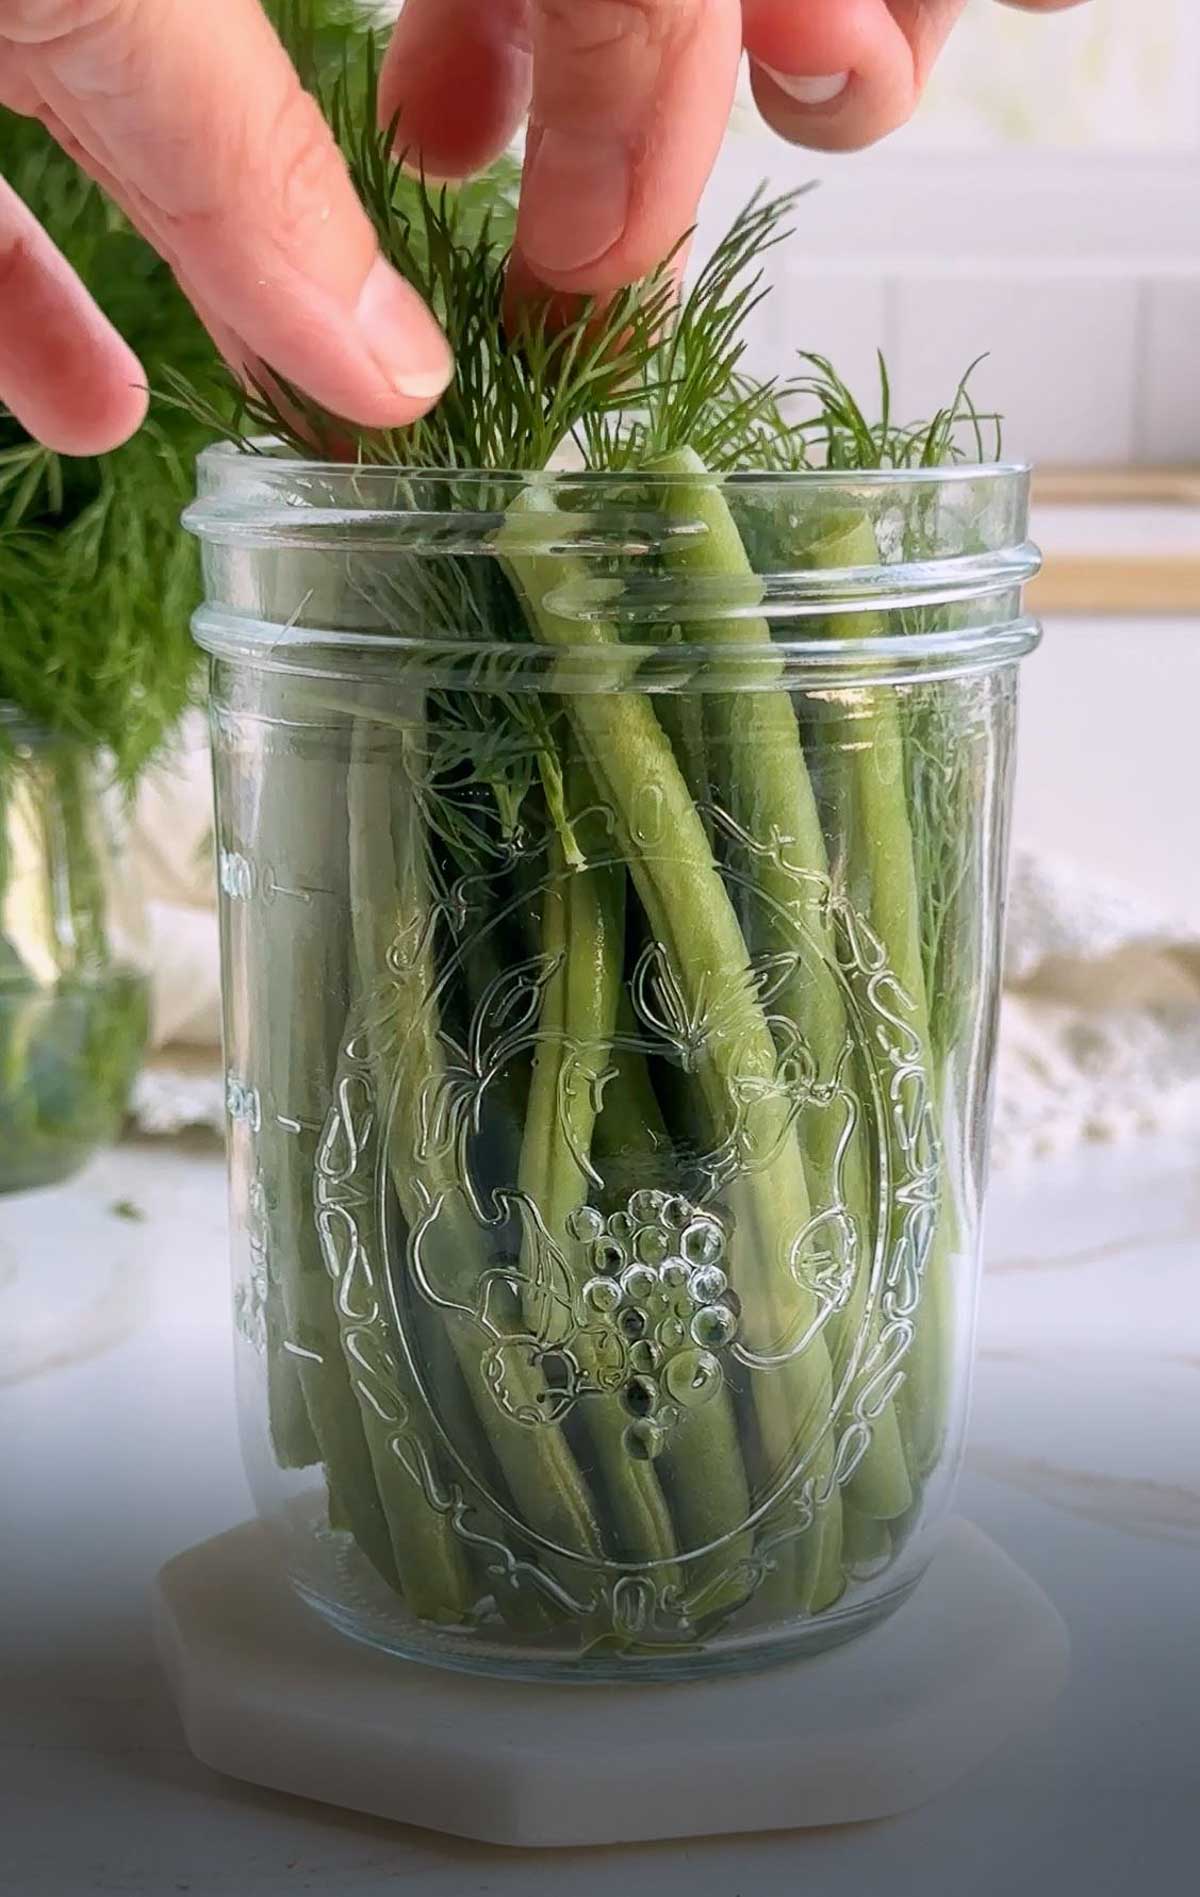
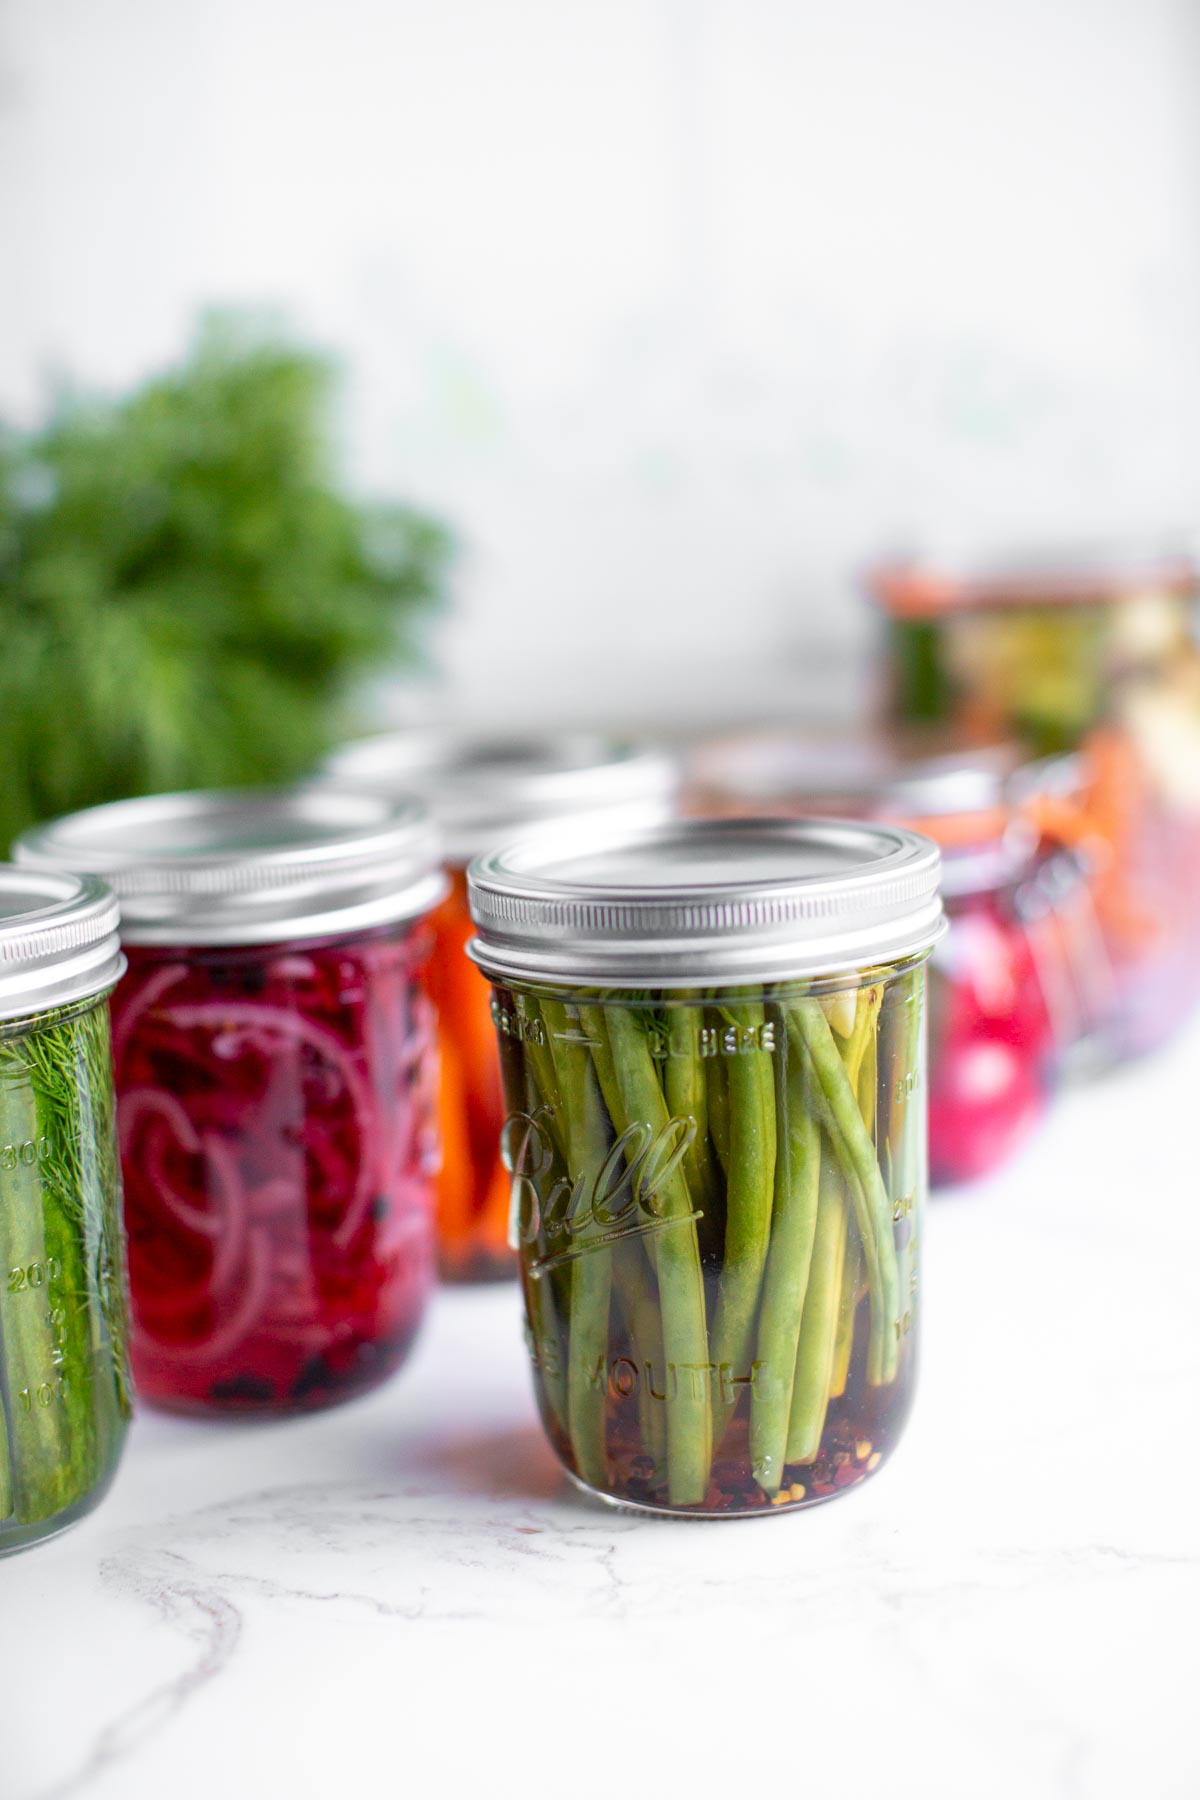
Step 3: Assemble the Spice Mix – While your brine is heating, pack your green beans into the sterilized jars, standing them upright for a tidy fit. Add fresh dill, peeled garlic cloves, a pinch of red pepper flakes, and a few peppercorns into each jar. This spice mix is customizable—feel free to adjust the quantities or add other spices according to your taste preferences.
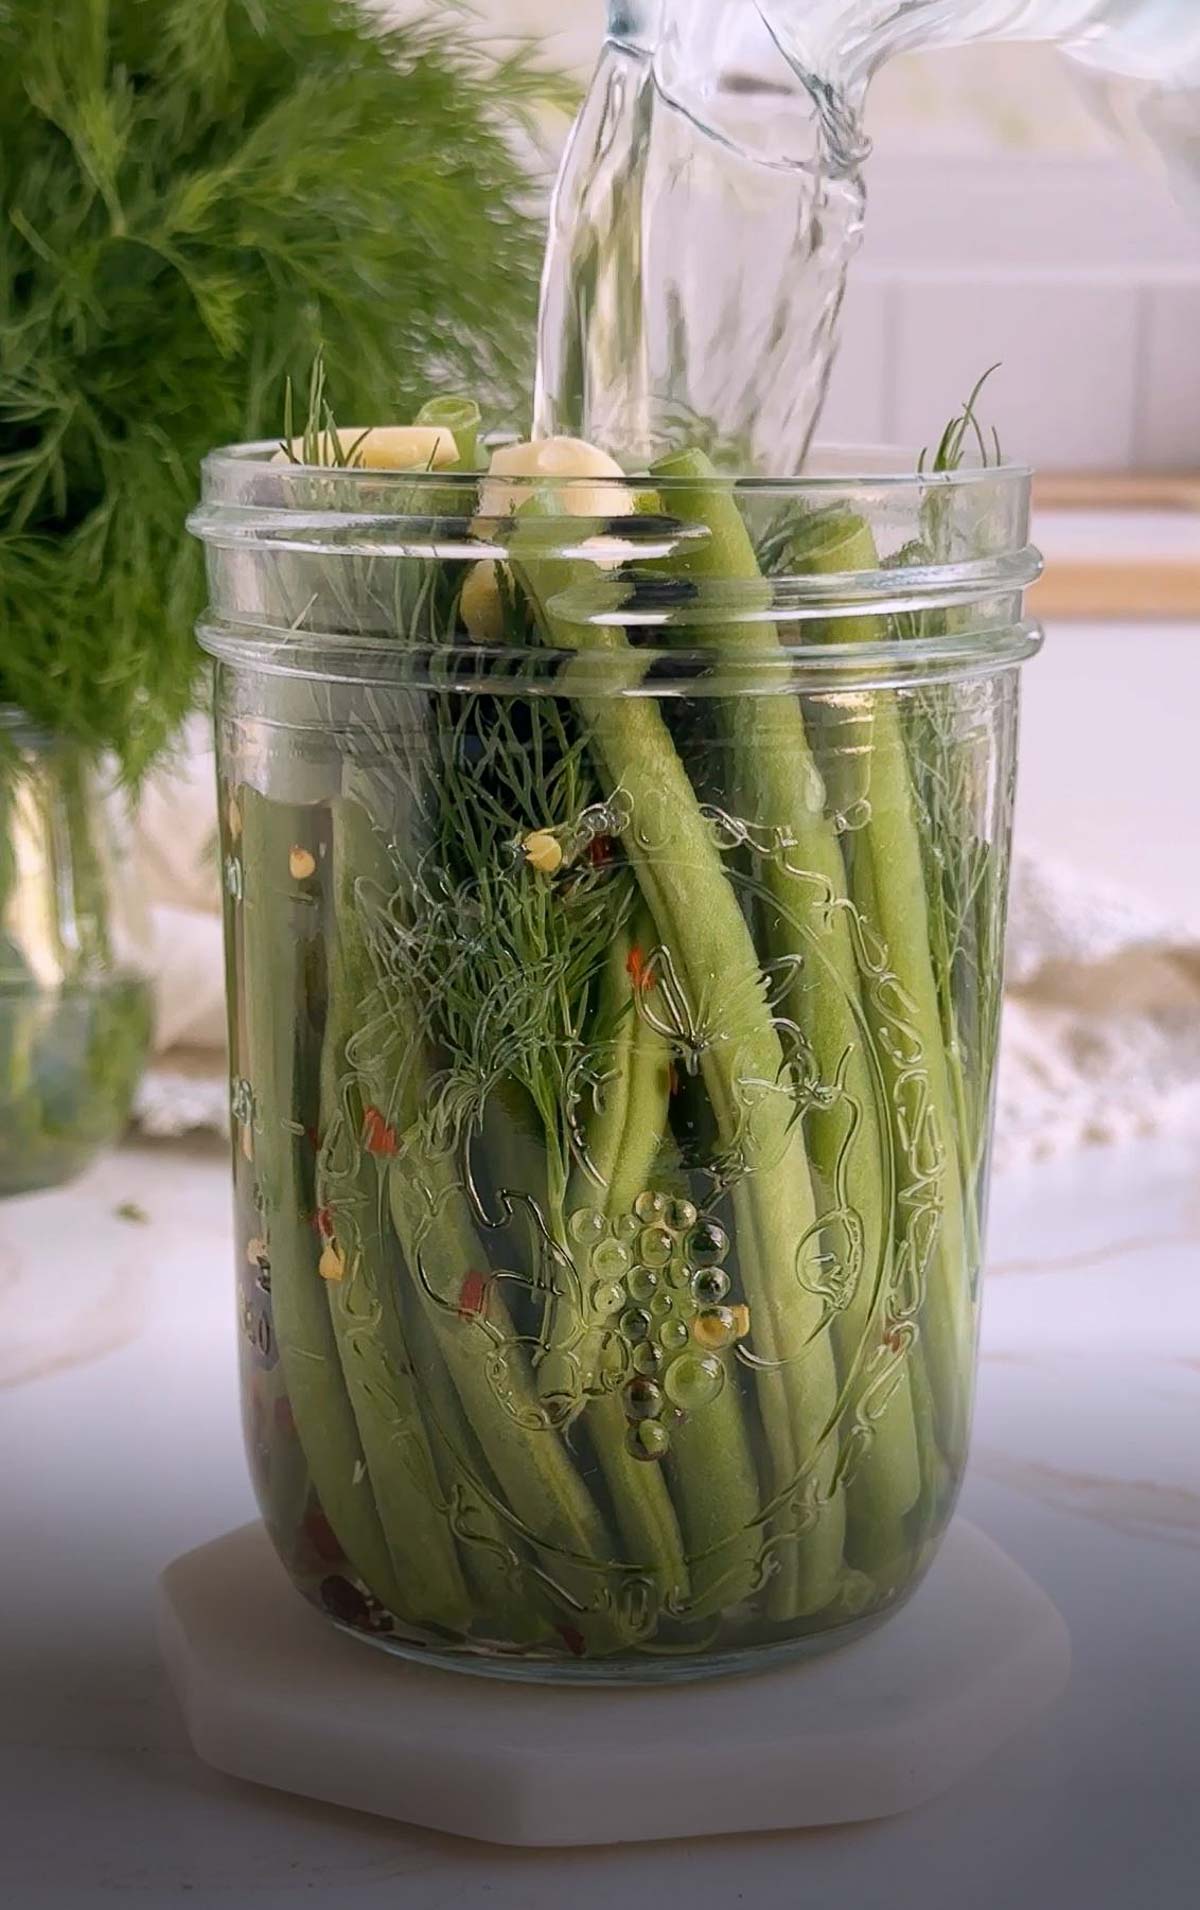
Step 4: Pour the Hot Brine Over the Beans – Once the sugar and salt are fully dissolved, carefully pour the hot brine over the green beans in the jars, ensuring the spices are covered and there’s enough liquid to fill the jar, leaving about a half-inch of space at the top.
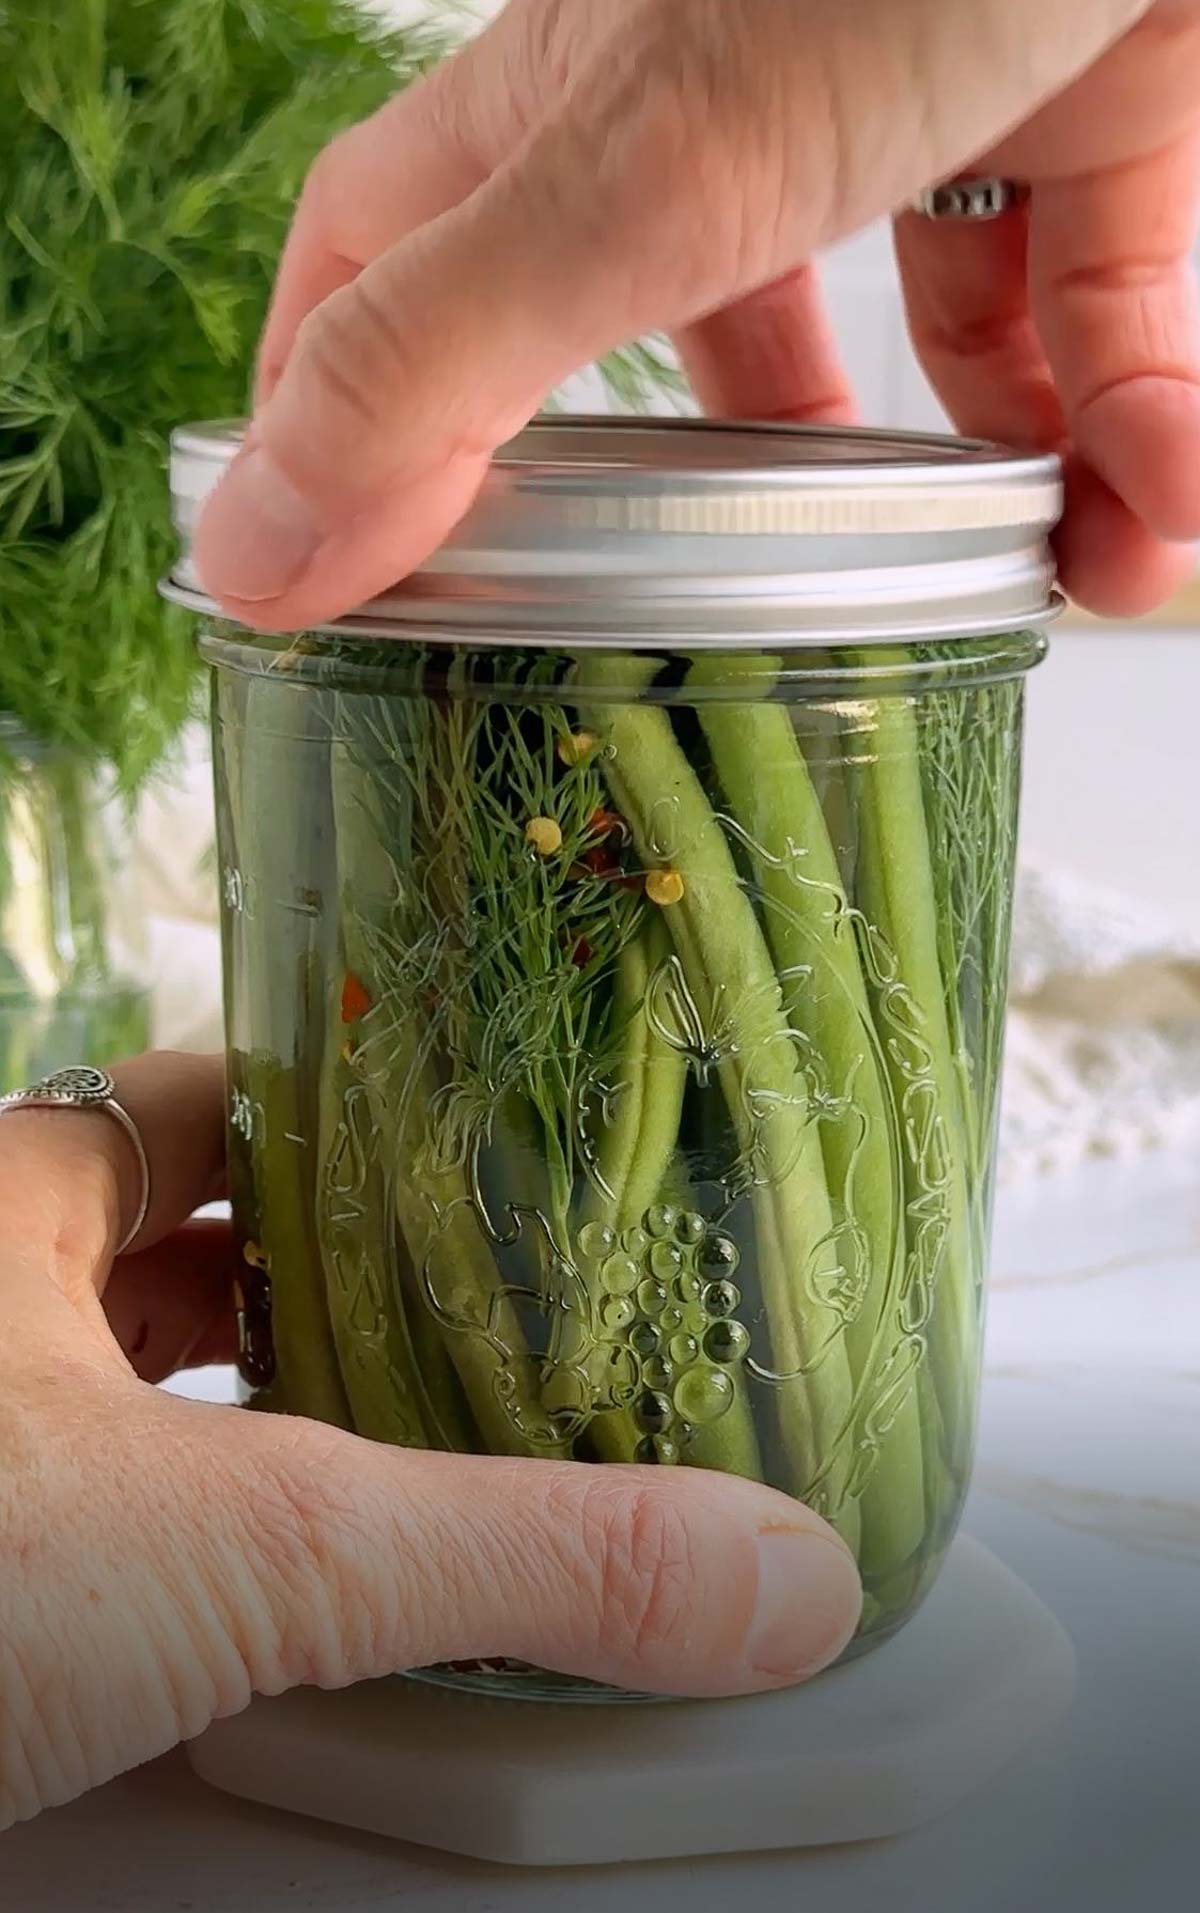
Step 5: Seal and Chill – Tighten the lids on your jars while the mixture is still hot, then let them cool to room temperature. Once cooled, refrigerate the pickled green beans.
Note: For the best flavor, let them sit in the fridge for at least 48 hours before enjoying. This resting period allows the green beans to absorb the tangy brine flavors.
Serving Tips and Suggestions For Using Pickled Green Beans
Quick-pickled green beans are not just a tangy, crunchy snack to enjoy straight from the jar; their versatility makes them a fantastic ingredient to spice up a variety of dishes. Here are our favorite ways of enjoying this recipe:
- Spruce Up A Salad – Chop them up and toss them into your salads for an unexpected burst of tangy flavor. They pair beautifully with leafy greens, fresh vegetables, and even grain-based salads. These would be perfect in our fresh picnic pasta salad, or with our herby chickpea and orzo salad!
- Zesty Sandwich Toppers – Boost the flavor of your plant-based sandwiches by adding pickled green beans as a crunchy, tangy layer. They work wonders in wraps, baguettes, or open-faced avocado toasts.
- Sensational Sushi Roll Fillings – Add them into vegan sushi rolls for an unexpected crunch and flavor boost. They pair well with avocado, cucumber, and tofu in a sushi roll. They would also taste amazing in these easy vegan sushi cupcakes!
- Antipasto Inspiration – Mix them into a vegan antipasto platter. Combine with marinated artichokes, fresh or fried olives, roasted red peppers, and a drizzle of olive oil for a Mediterranean-inspired snack.
- Charcuterie Boards – Create a visually stunning vegan charcuterie board by featuring pickled green beans alongside other pickled vegetables, vegan cheeses, and crusty bread.
FAQs
These pickled green beans can be stored in the refrigerator for up to 2 months. Make sure that the beans are kept in a tightly sealed jar and submerged in the brine to maintain their crunch and flavor.
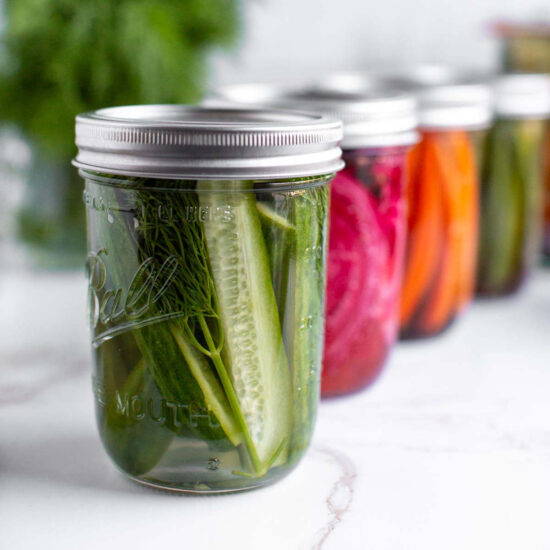
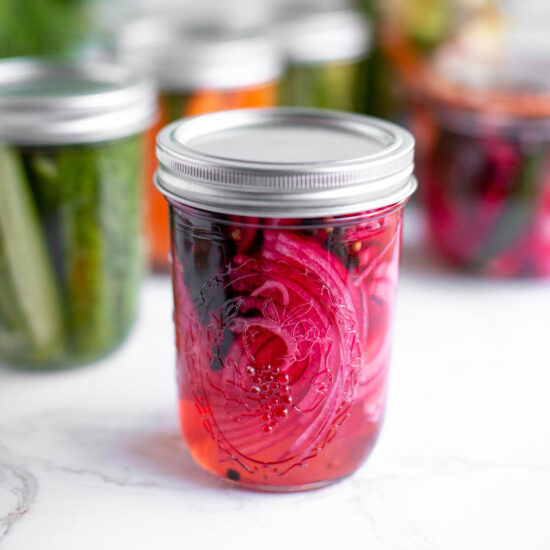
Absolutely! This versatile recipe can easily be adapted for other vegetables like carrots, cauliflower, or cucumbers. Just follow the same process for a delicious, tangy assortment of pickled veggies.
Pickled green beans are a fantastic addition to vegan meals, offering a tangy crunch that complements dishes like grain bowls, vegan burgers, and salads. They’re also great as a garnish on soups or blended into a zesty dressing for an extra kick of flavor.
To make this pickled green beans recipe, we used fresh dill, garlic cloves, peppercorns, and crushed red pepper flakes. Simply adjust the amount to your specific taste.
If you’re feeling adventurous or simply want to experiment with different flavors, think about adding any of these pickling spices to your pickling jars: mustard seeds, coriander seeds, bay leaves, cinnamon sticks, and fennel seeds.
More Perfectly Quick Pickling Recipes
Listen while you cook! Tune into my podcast, The Plant Powered People Podcast, while you’re cooking, folding laundry, or taking a bath. It may just change your life!

Quick Pickled Green Beans
Equipment
Ingredients
- 2 cups white vinegar
- 2 cups water
- 2 tablespoons kosher salt
- ¼ cup sugar
- Green beans, trimmed to fit your jar
Spices and Mix-Ins:
- Fresh Dill
- Garlic Cloves
- Red Pepper Flakes
- Peppercorns
Instructions
- In a medium saucepan add the vinegar, water, salt, and sugar, mix, and bring to a boil. Once salt has dissolved, remove from heat while you assemble your jars.
- Fill wide-mouth mason jars with the green beans.
- Add any desired spices and mix-ins.
- Pour the hot liquid over the veggies until each jar is full. Close the jars and store in the fridge.
Video
Notes
- Choose the Right Jar: For the crispiest pickled green beans, use wide-mouth mason jars that allow air to escape easily when you pack the beans tightly. This also makes it easier to remove the beans when you’re ready to enjoy them, ensuring they maintain their perfect crunch.
- Customize Your Crunch: If you prefer your pickled green beans on the firmer side, reduce the brine’s boiling time before pouring it over the beans. A shorter boil means a crisper bite, letting you tailor the texture to your taste.
- Flavor Infusion: Give your pickled green beans a unique twist by experimenting with different spices and herbs in the brine. Adding a slice of lemon, a sprig of rosemary, or a few slices of fresh ginger can infuse your pickles with subtle, distinctive flavors that make each jar uniquely delicious.
Nutrition
You may also like...


Enter to Win Our Monthly Giveaway!
New winner every month! Drop your name below for a chance to win hundreds of dollars of vegan prizes from our brand partners. You’ll also receive our weekly e-newsletter with plant-based recipes galore!
Leave a Comment
Beans pickled with vinegar contain little or no nutrition compared to beans pickled with salt which have loads of Probiotics. If I am going to take the time to pickle any vegetable why would I use vinegar?
Thanks for your comment! Great question—this recipe is for quick pickled green beans, which are made with vinegar and stored in the fridge for short-term use. You’re right that traditional salt-brined pickles (fermented over time) develop probiotics, while vinegar-based quick pickles do not.
That said, this recipe still includes salt for flavor and preservation, but it’s not intended as a probiotic-rich fermented food—more as a tasty, crunchy addition to meals that’s ready in a fraction of the time.
If you’re looking for probiotic benefits, naturally fermented pickles are definitely the way to go!
I love adding these pickled green beans to grain bowls. They add the perfect amount of crunchy tang that complements anything else we throw in there. Honestly, I could just open the jar and snack on them, too. So good!
Pickled anything is my favorite! But, I love these pickled green so much. Tangy and delish!
Easy way to add tangy crunch to sandwiches and salads.
Loved how these green beans turns out! So good!
Crunchy, tangy, and bursting with fresh flavors — I could snack on these all day!