


Vegan Pie Crust Recipe

Want to bake a pie from scratch? Then you need a tried and true vegan pie crust recipe! Luckily, we’ve done all the prep work for you to create this flaky and delicious crust recipe.
While you can go the store-bought vegan pie crust route to save time, nothing quite compares to a beautiful homemade crust. We love a simple Oreo pie crust, a graham cracker crust, but this traditional pie crust takes the cake—or rather, the pie!
Whether you’re craving a classic vegan apple pie, a juicy vegan blueberry pie, or a no-bake treat like this vegan peanut butter chocolate pie, this crust will be the perfect foundation for your delicious creations.
Ready to try your hand at making a homemade vegan pie crust? We promise it’s easier than it sounds! This foolproof recipe with detailed instructions will guide you to becoming a pie crust pro in no time!
Pie Crust Ingredients
You don’t need much to make pie crust! In fact, you most likely already have everything you need. Here are the key ingredients:
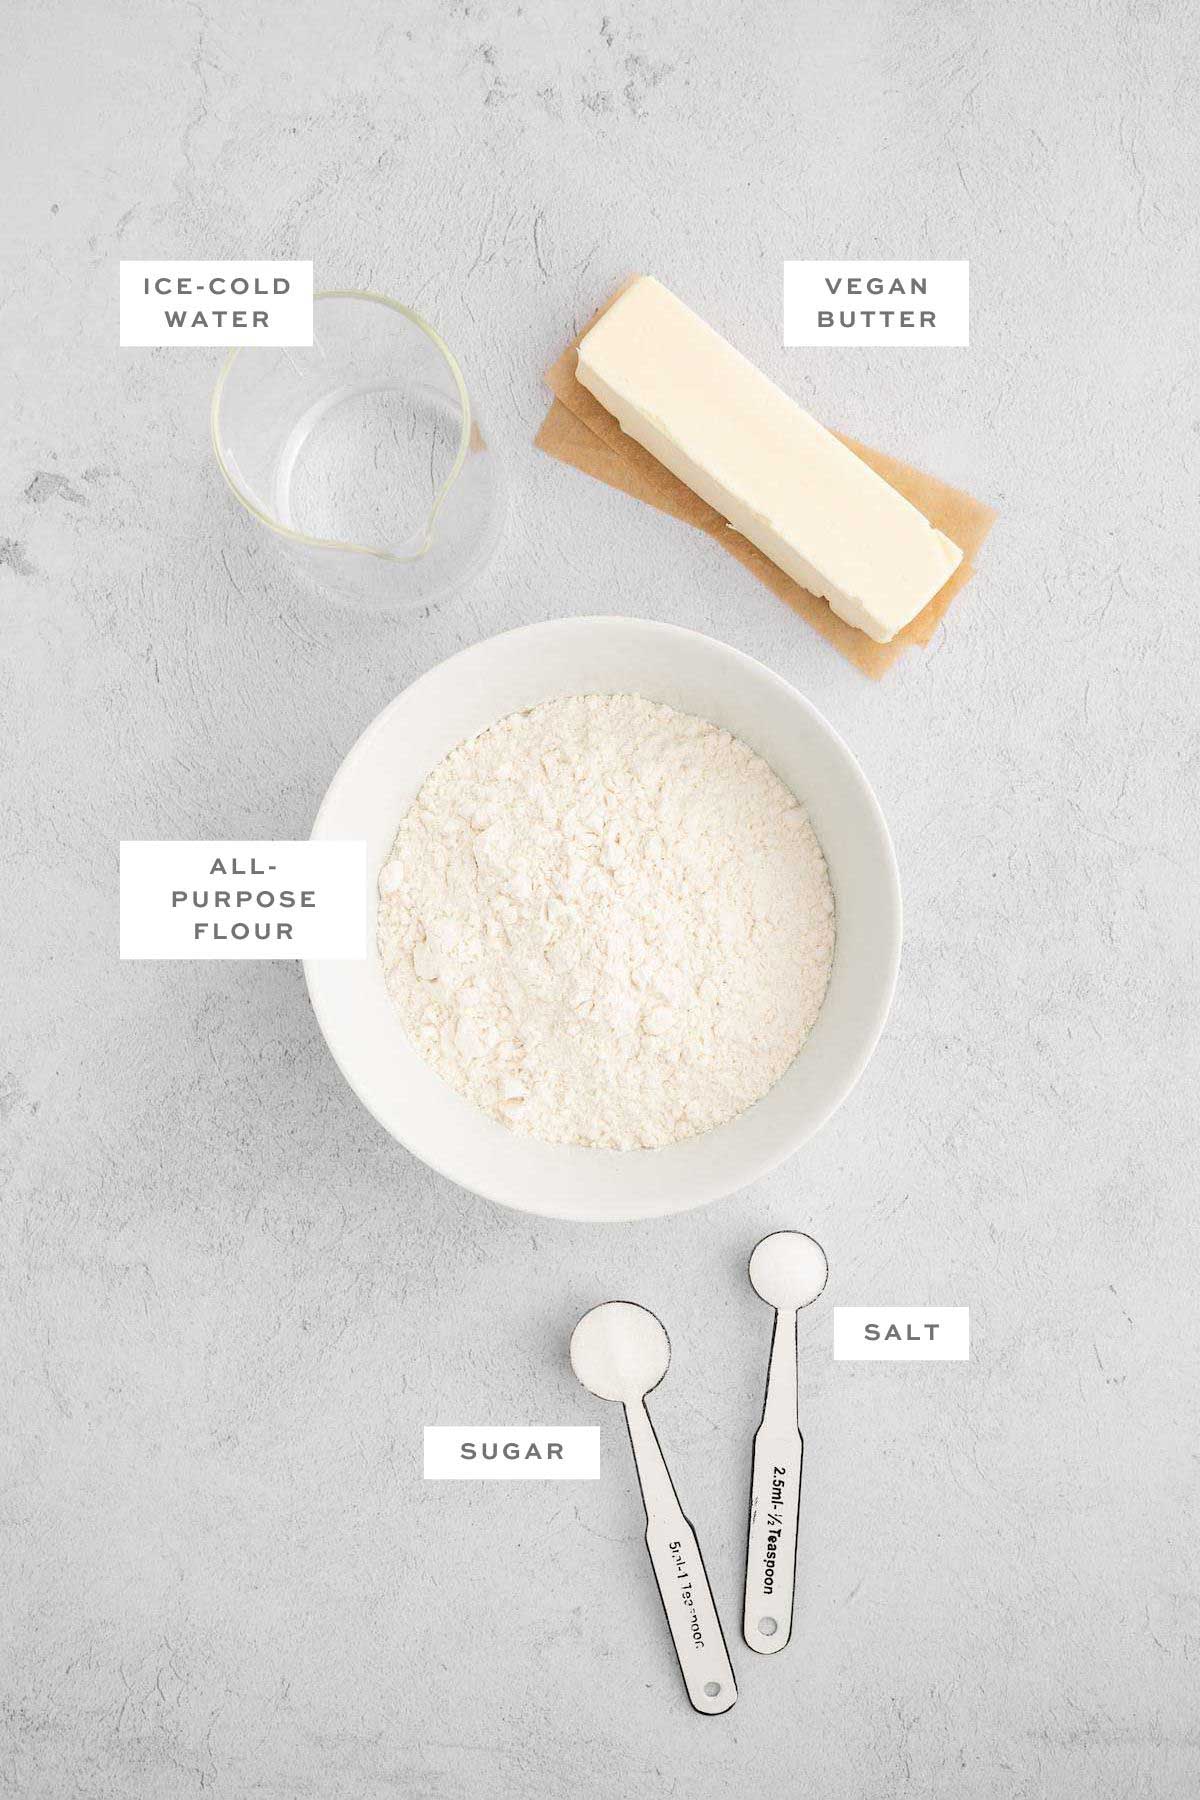
- All-Purpose Flour: Opt for a high-quality all-purpose flour to ensure the right texture and structure for your vegan pie crust. Consider using unbleached flour for a more natural and robust flavor.
- Salt: The addition of salt enhances the overall flavor of the crust, providing a subtle balance to complement both sweet and savory fillings.
- Granulated Sugar: While optional, adding a touch of granulated sugar introduces a hint of sweetness to the crust, enhancing its color and providing a subtle contrast to savory or tart fillings.
- Vegan Butter or Vegetable Shortening: For a buttery, flaky crust, choose a high-quality vegan butter. Alternatively, vegetable shortening can be used for a slightly chewier texture. Whichever you choose, ensure that the butter or shortening is well-chilled and cubed for optimal results.
- Ice-Cold Water: Maintaining the ingredients at a low temperature is crucial for achieving a flaky texture. Add ice to your water 5-10 minutes before using to allow the water enough time to cool down.
Vegan Pie Crust Step-by-Step Process
New to making pie crust, or more of a visual learner? Here is the step-by-step process with photos to guide you. For exact measurements, reference the recipe card at the bottom of this post.
Step 1: Before you start, ensure your vegan shortening or vegan butter is well-chilled. Consider cutting it into small cubes and placing it in the freezer for a few minutes. Additionally, make sure your water is ice-cold by adding ice and letting it cool for 5-10 minutes before use.
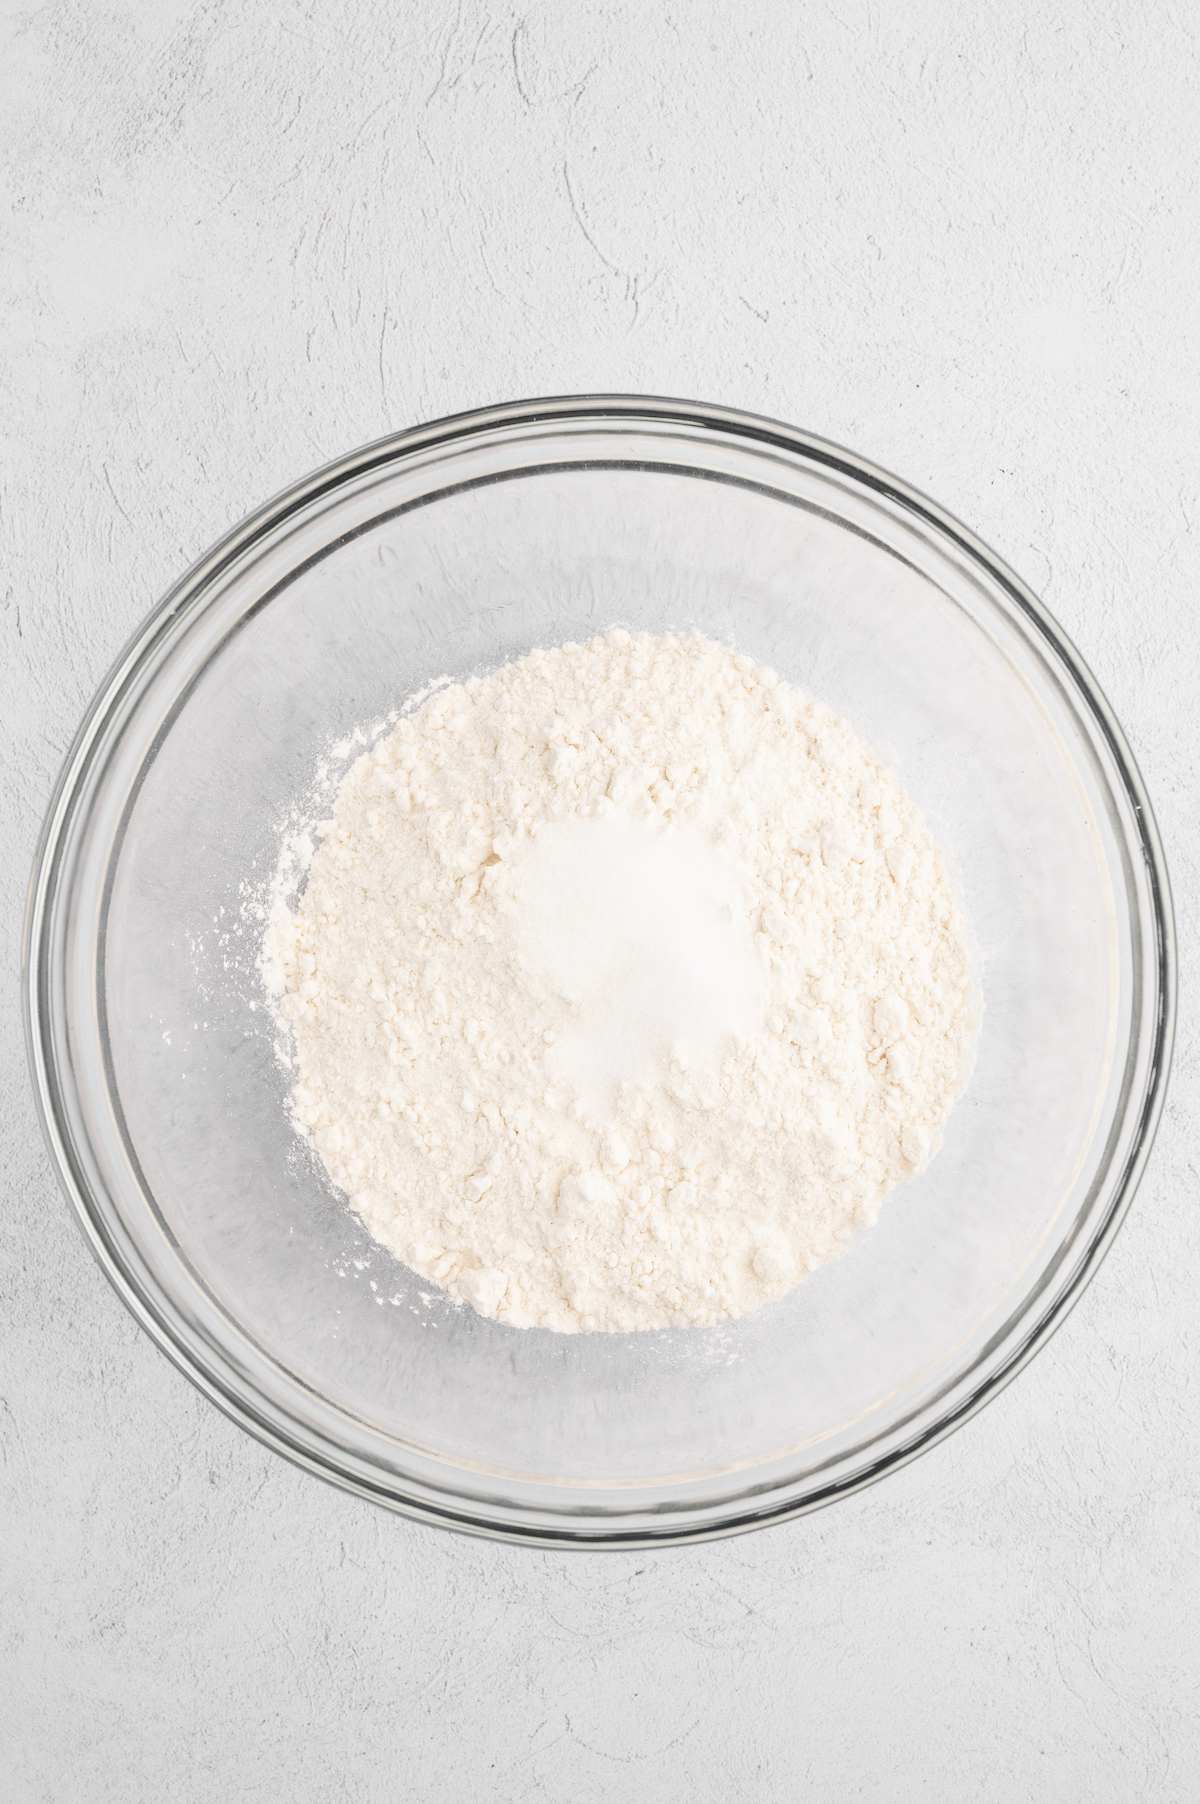
Step 2: In a mixing bowl, combine the all-purpose flour, salt, and sugar (if using), whisking these dry ingredients together thoroughly.
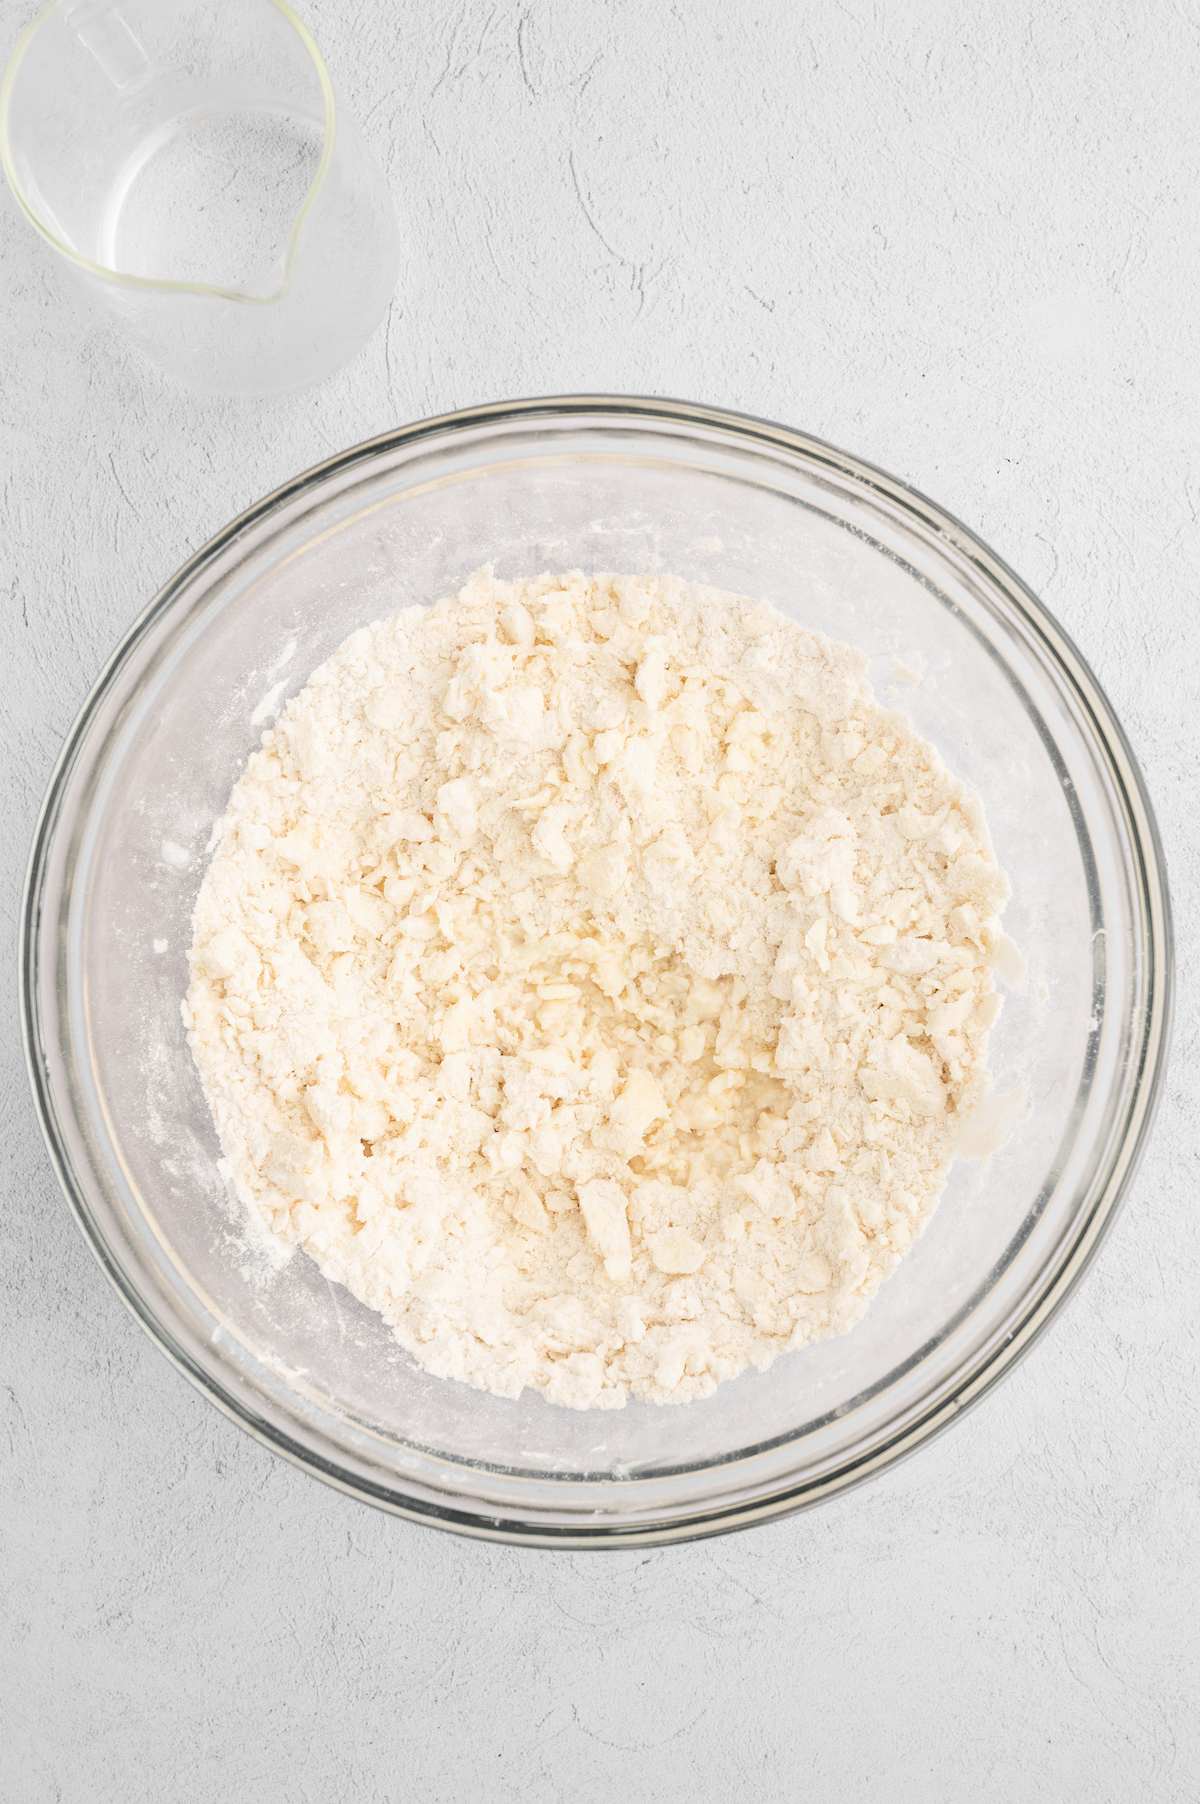
Step 3: Incorporate the cold vegan butter or shortening into the dry mixture using a pastry cutter or two forks. Blend until the mixture resembles coarse crumbs, with small pea-sized pieces of fat distributed throughout the dough.

Step 4: Gradually add the ice-cold water to the mixture, starting with about 2 tablespoons and increasing slowly. Be cautious not to overwork the dough; it should be just moist enough to hold together.
Step 5: Turn the dough out onto a clean, floured surface, gently knead it into a ball, and flatten it into a disc shape. Wrap the dough in plastic wrap and refrigerate it for at least 10-20 minutes. This chilling period allows the fats to solidify, resulting in a flaky crust.

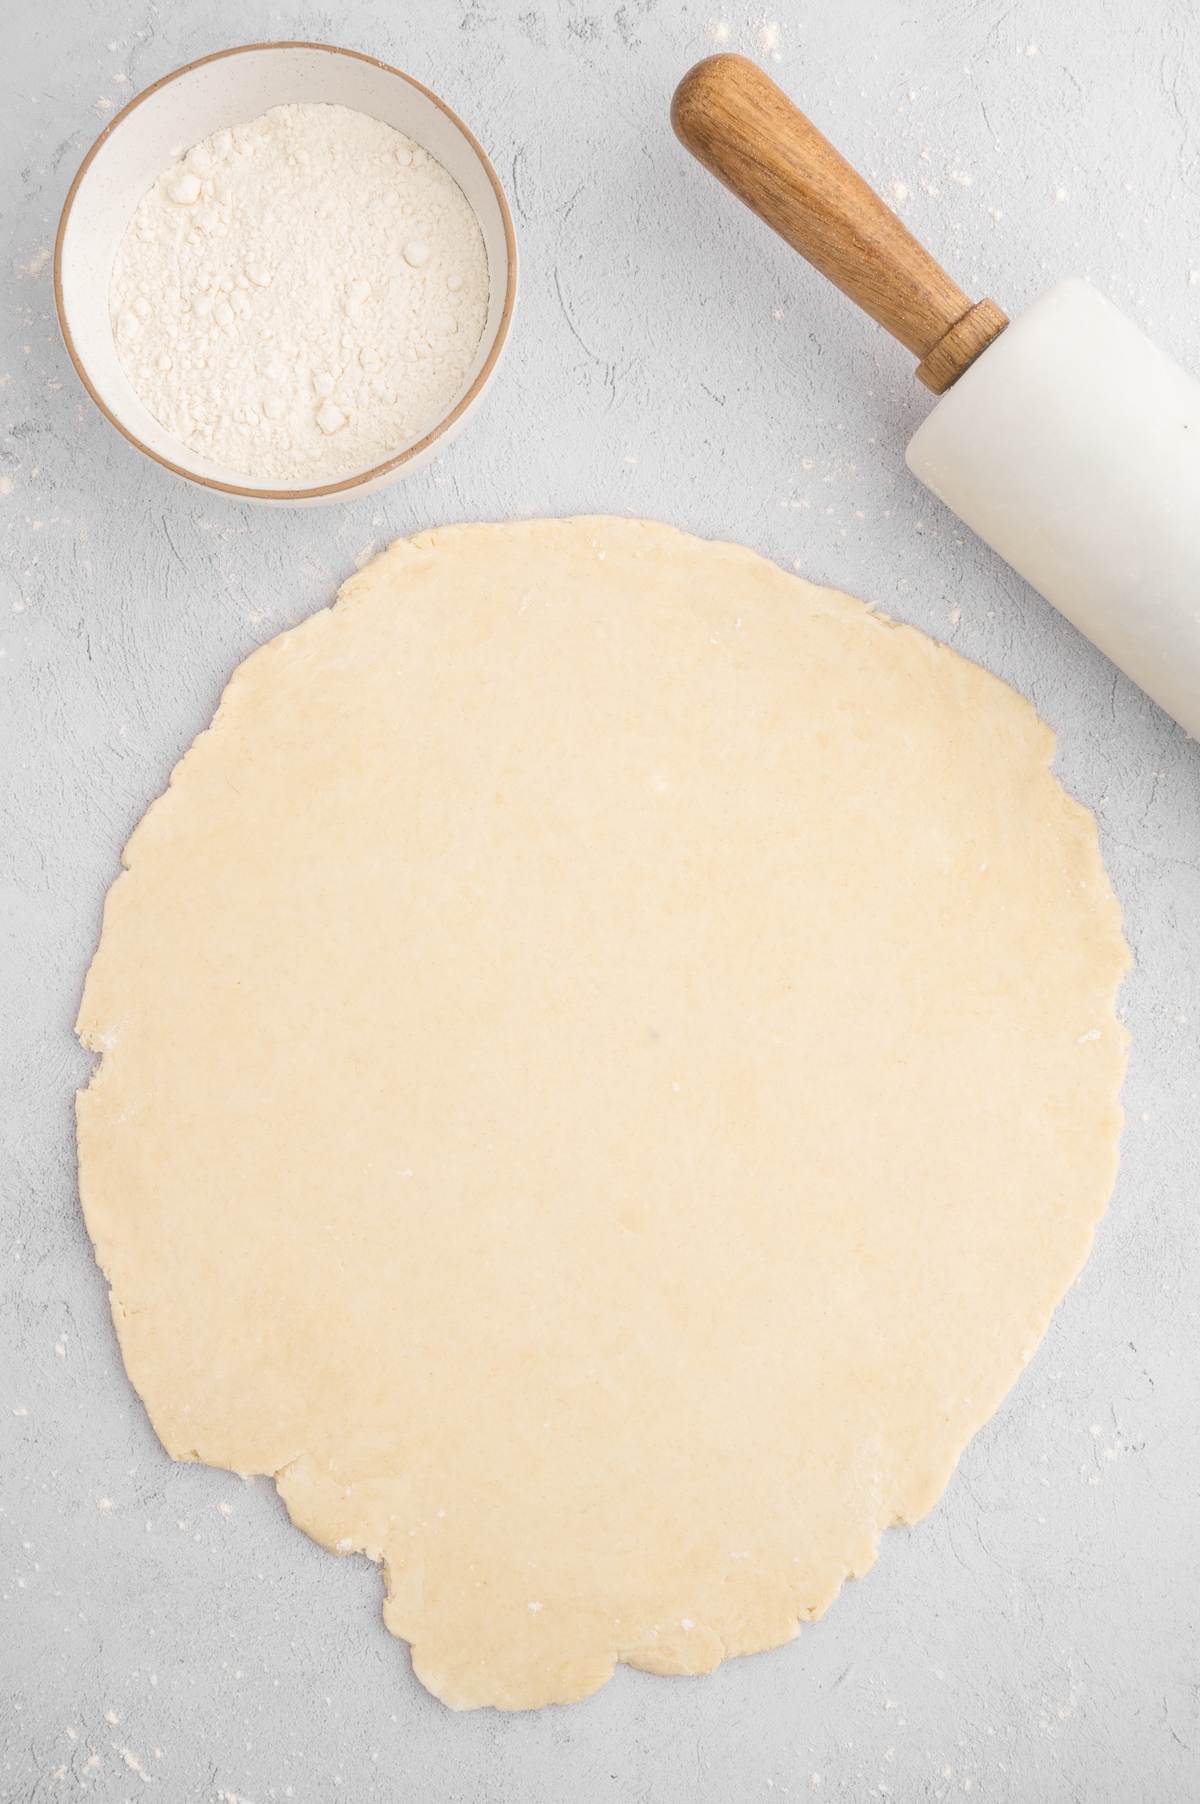
Step 6: After chilling, roll out the dough on a floured surface into a circle slightly larger than your pie pan (about 12 inches in diameter). Roll from the center, rotating the dough to prevent excessive stretching.
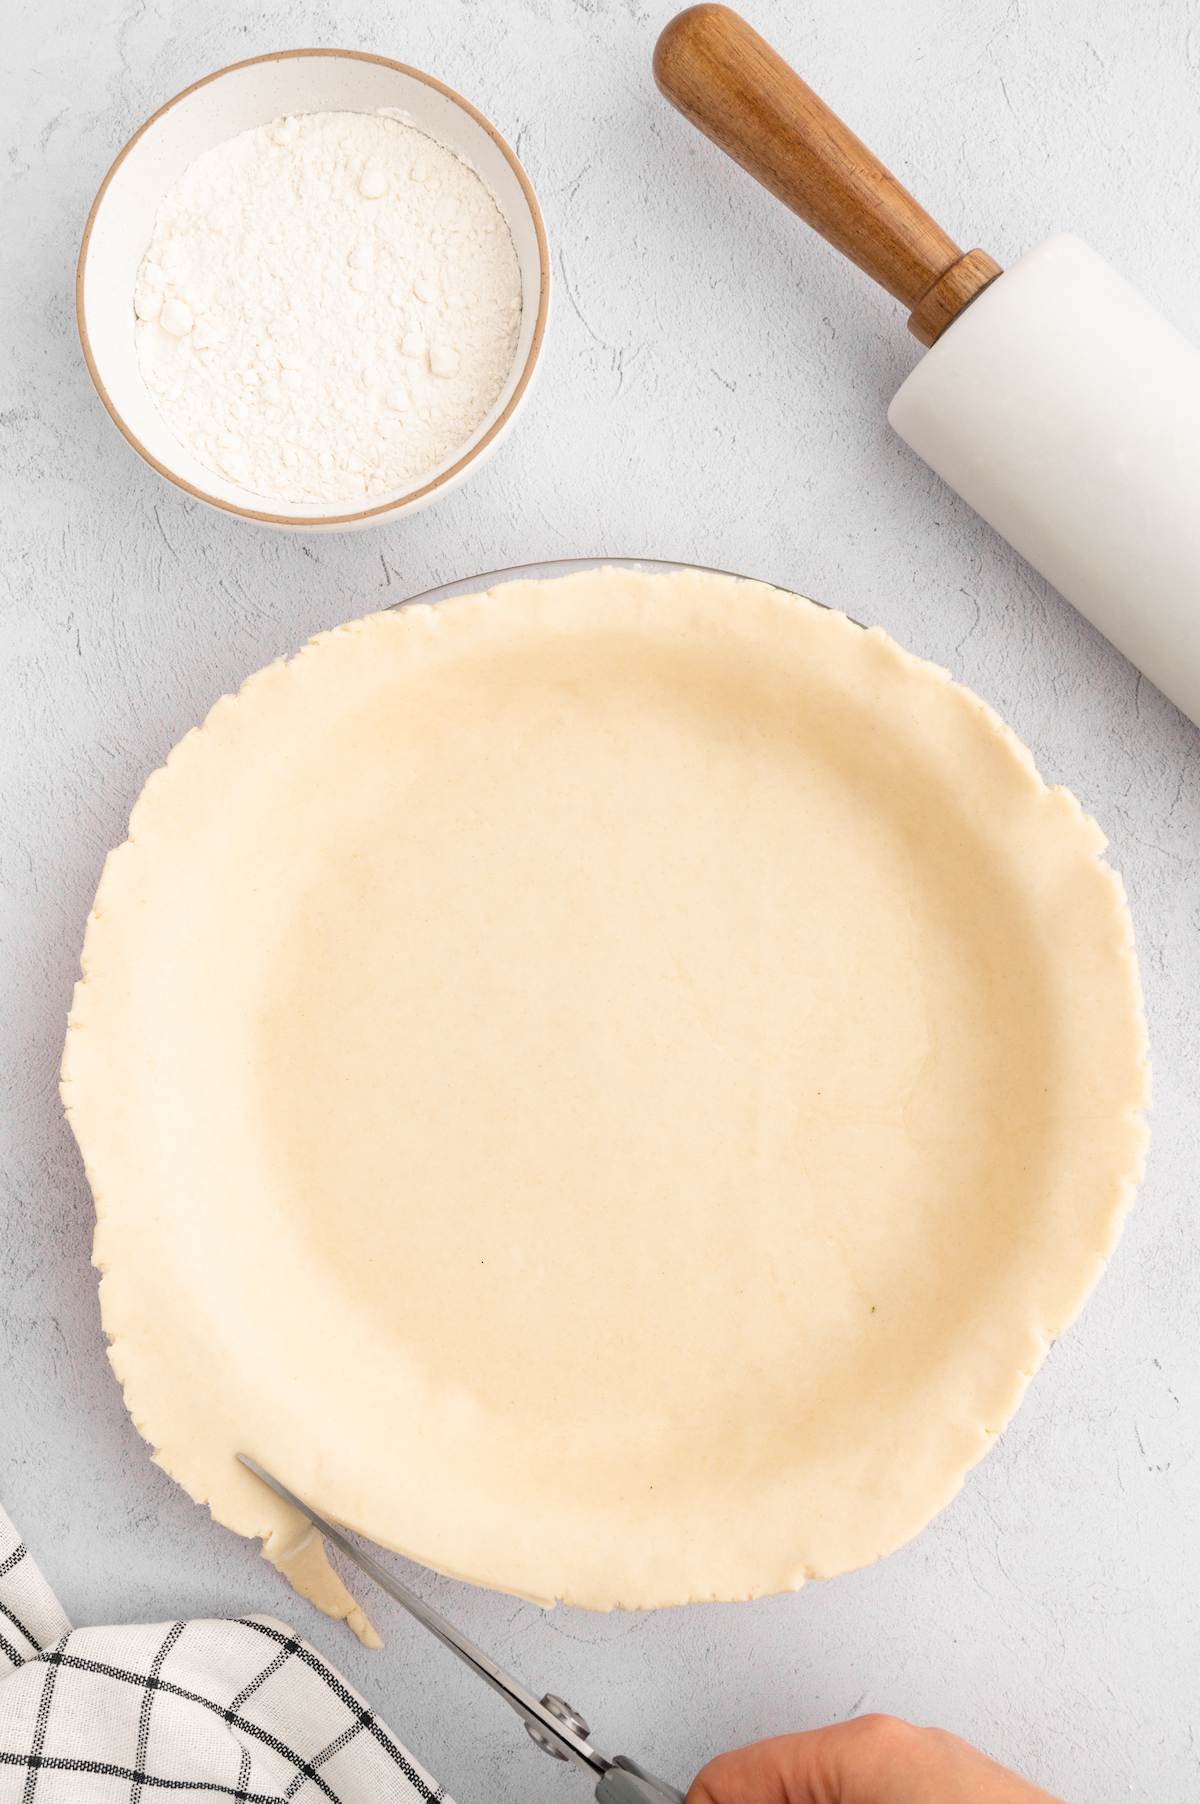
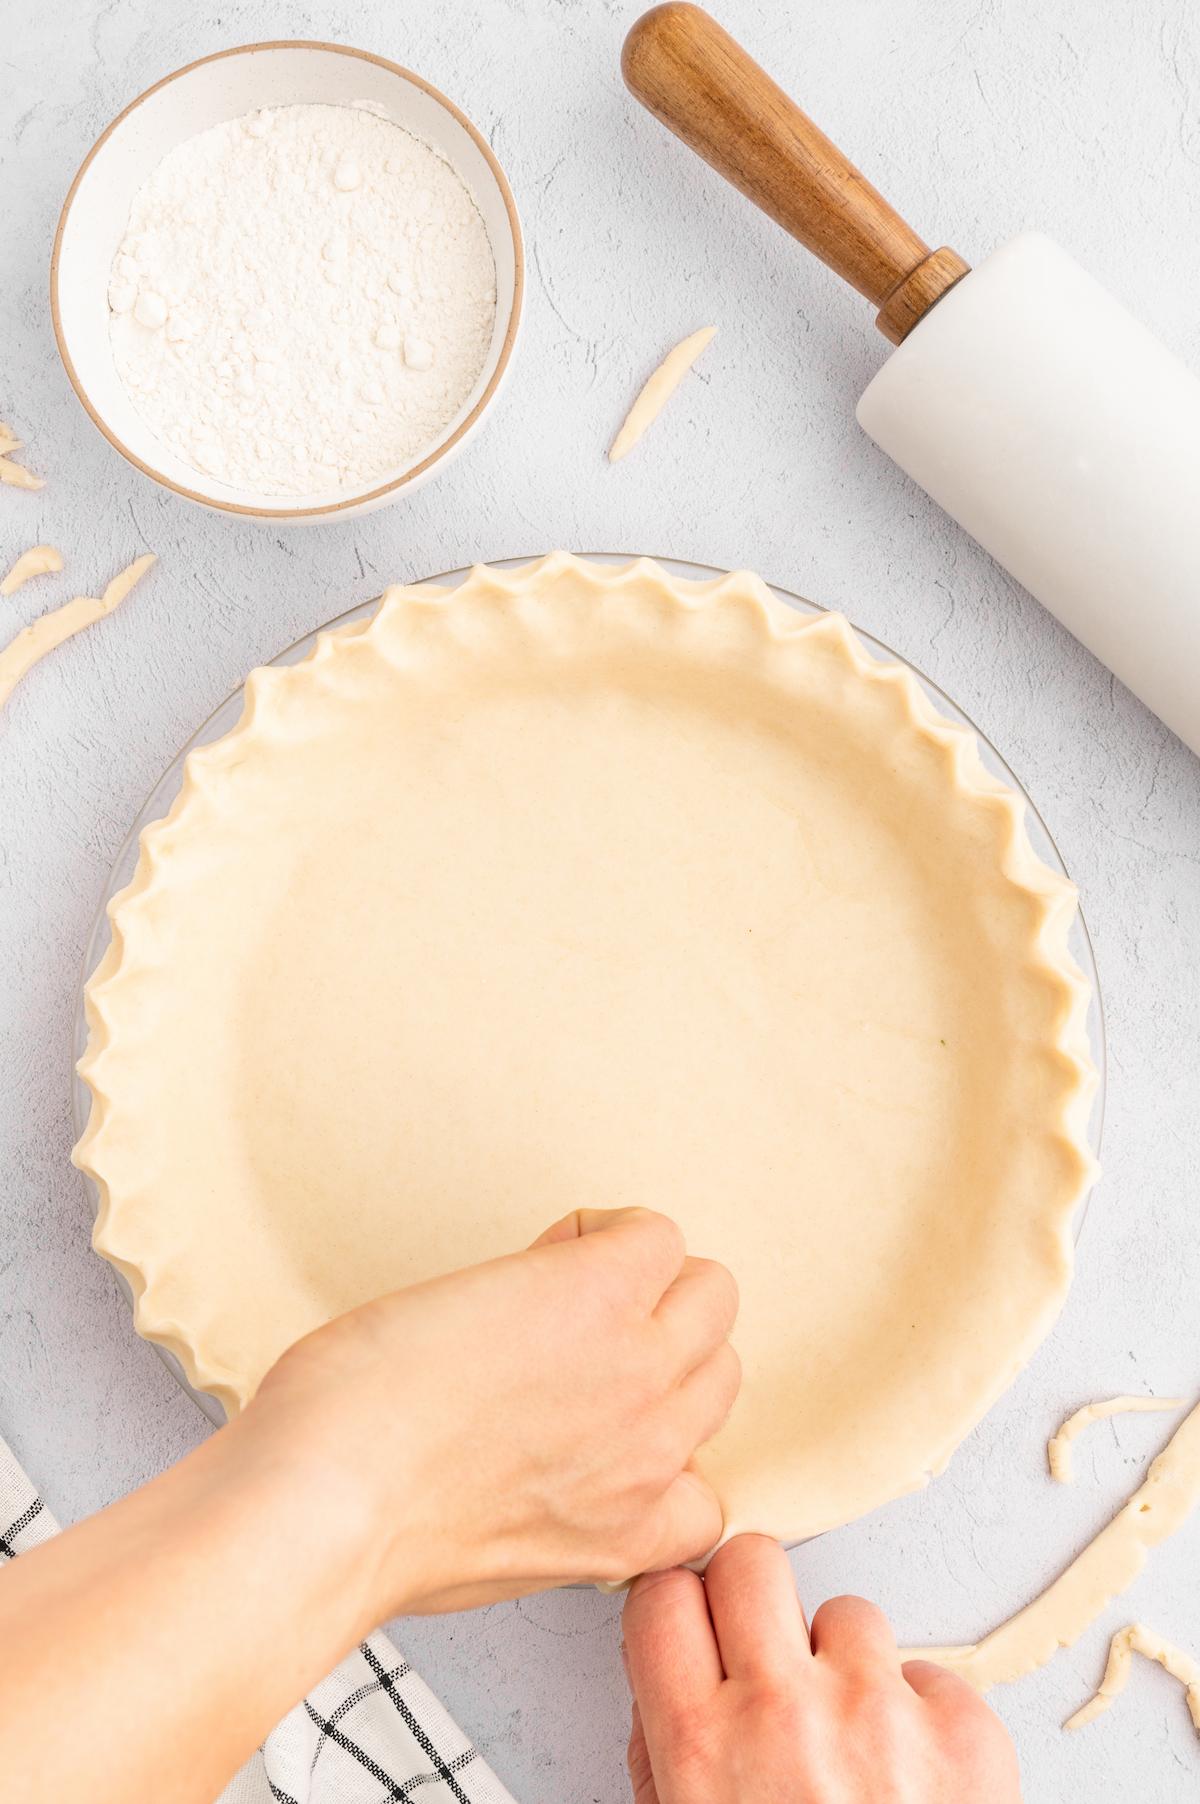
Step 7: Carefully place the rolled-out dough into your pie pan, pressing it gently into the bottom and sides. Trim any excess dough hanging over the edge and flute or crimp the edges as desired for a finished look.
Step 8: Refrigerate the shaped pie crust for another 10-20 minutes before baking to allow the dough to rest and prevent shrinkage during baking.
Your vegan pie crust is now ready to use! You can either pre-bake it, also known as blind baking, when the filling requires less time in the oven than the crust. Or you can fully bake the crust if you’re making a no-bake pie that has a cold filling.
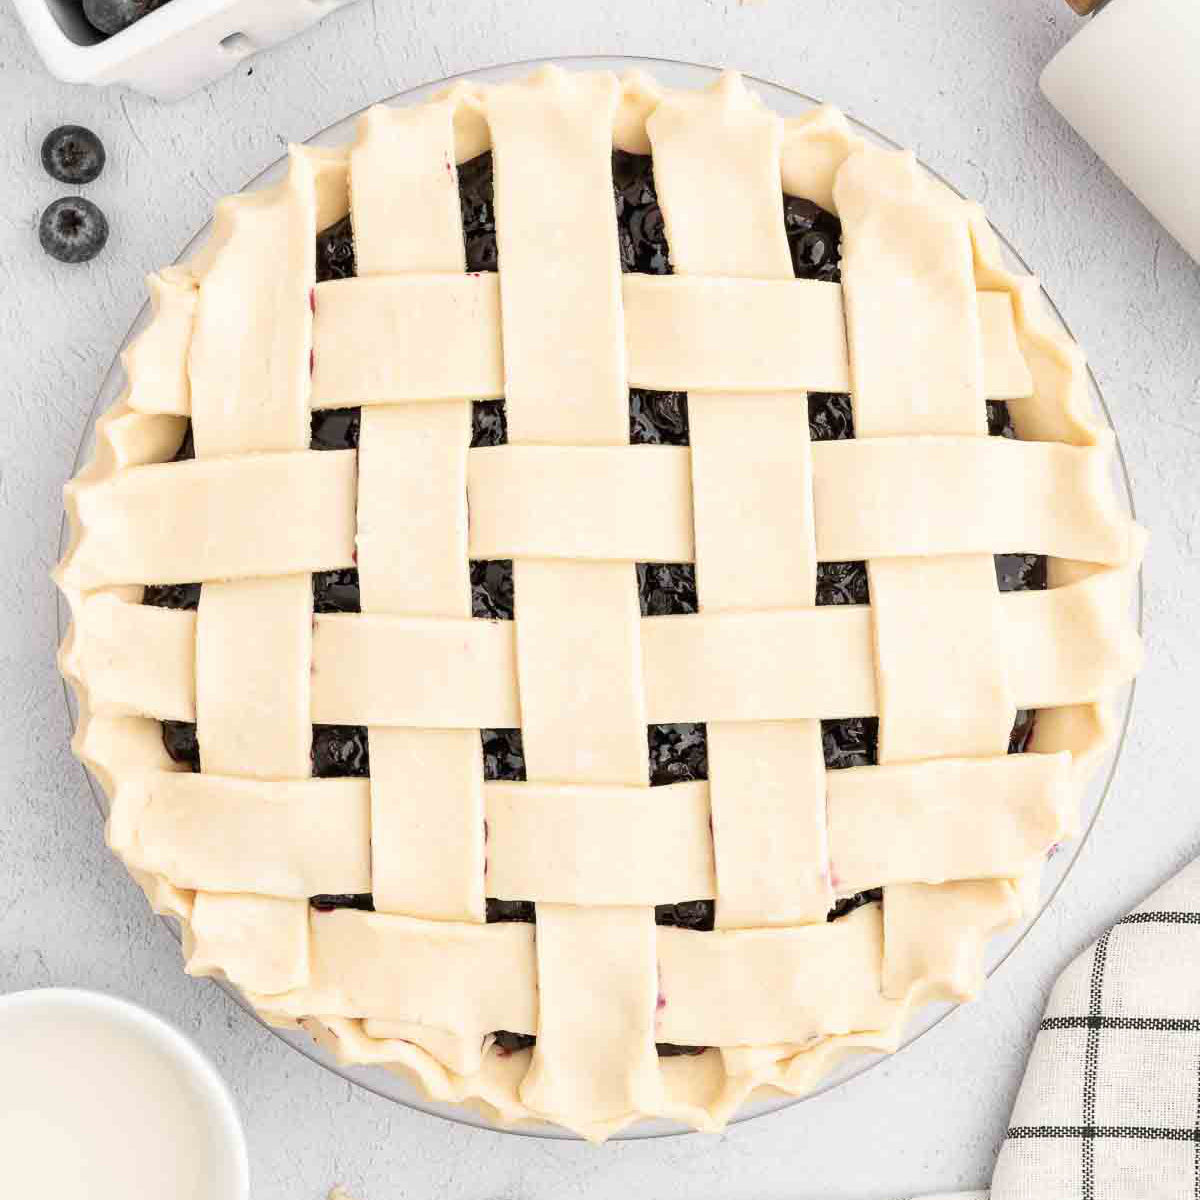
Double The Crust
Need enough crust dough to make the top and bottom of a pie? Simply double the recipe!
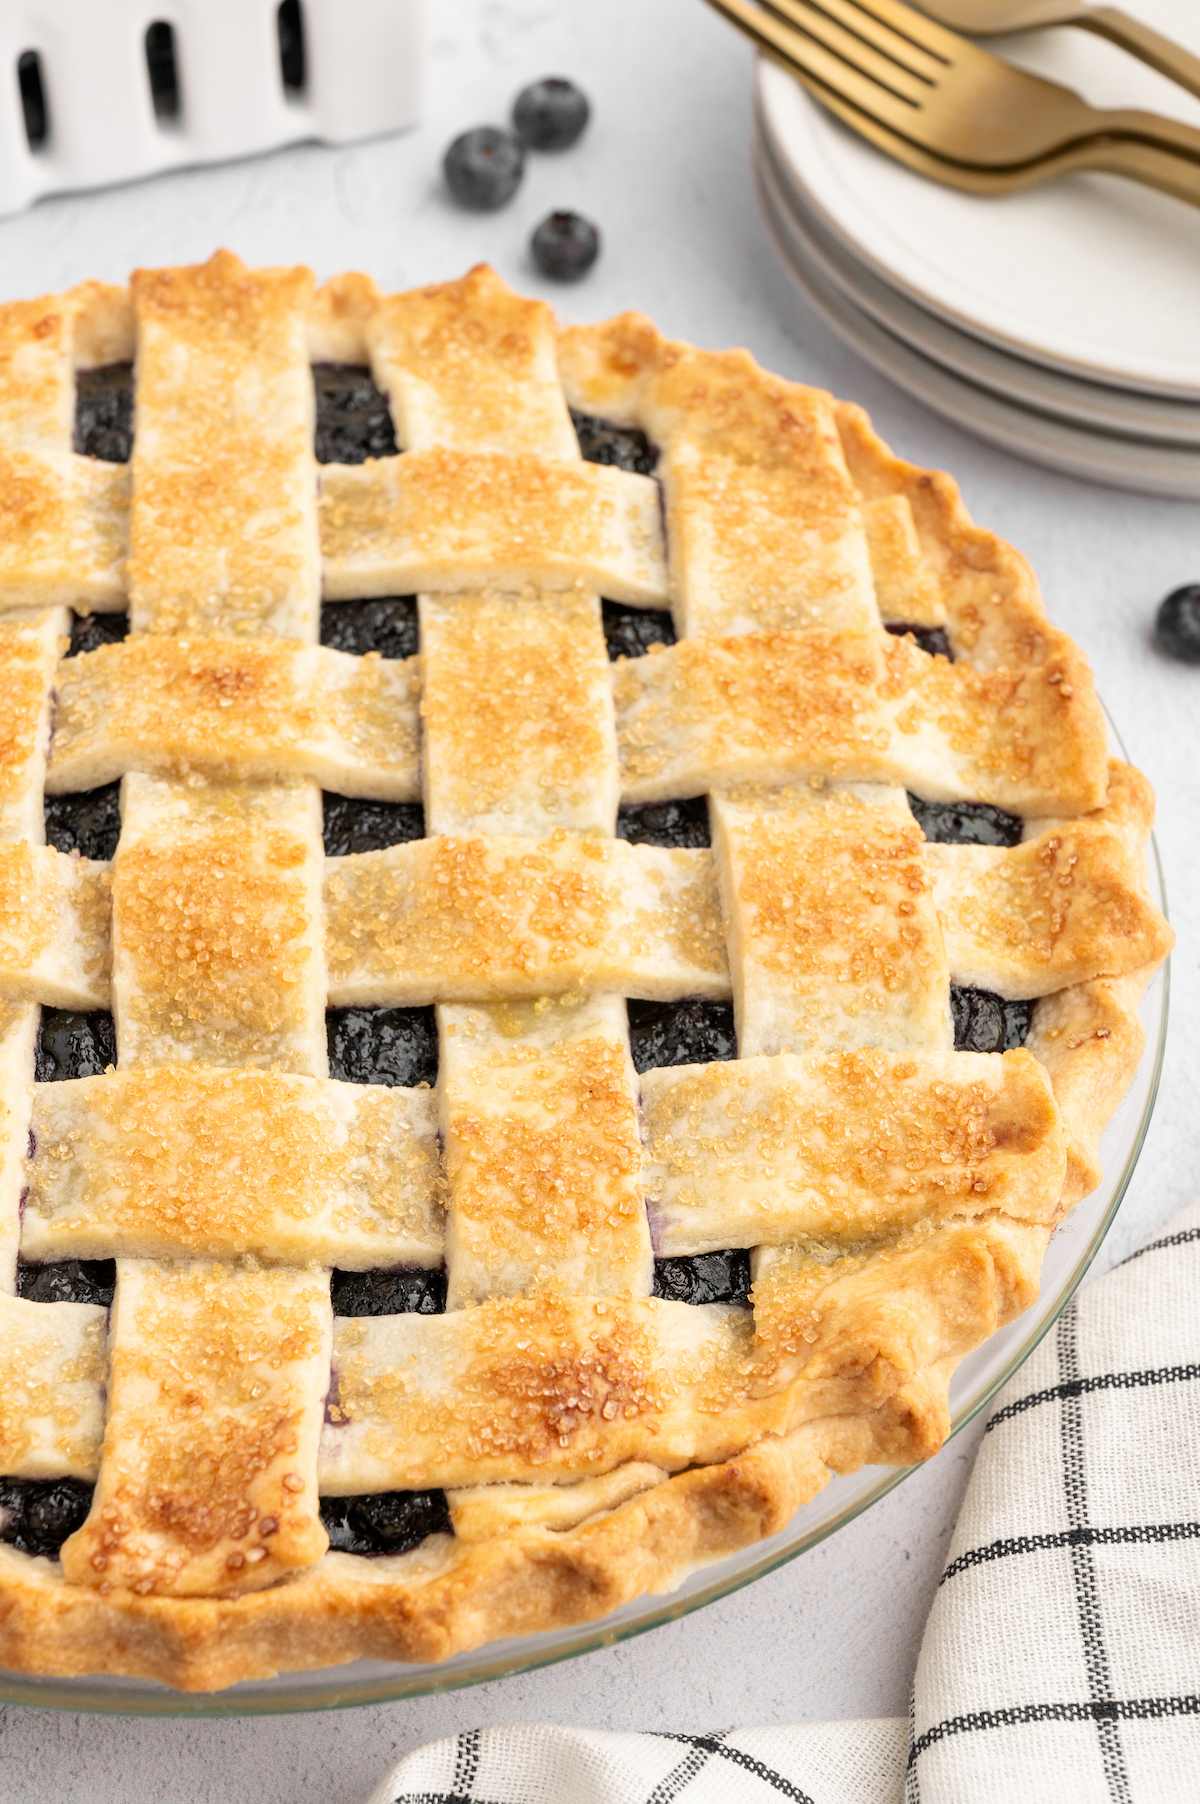
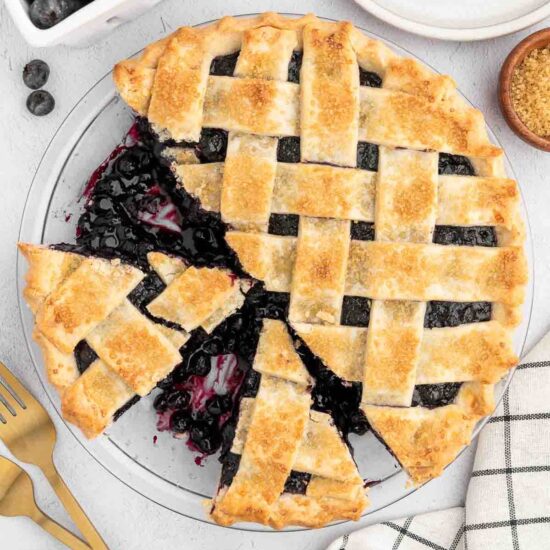
This is great for fruit pies like this vegan blueberry pie when you want to make a lattice pattern on top.
FAQs
Vegan butter is widely available and often mimics the flavor and texture of dairy better really well. Vegetable shortening also works well. In a pinch, coconut oil can be used, but it may impart a slight coconut flavor.
Overmixing develops too much gluten, making the crust tough. Mix only until the dough comes together. Using warm ingredients can also melt the fat prematurely, preventing flakiness. Try to keep ingredients cold.
Yes, you can freeze unbaked pie crust dough. Wrap it tightly in plastic wrap or place it in an airtight container and freeze for up to 3 months. Thaw in the refrigerator overnight before using.
More Delicious Vegan Pie Recipes to Try


Hungry for more? Subscribe to the World of Vegan weekly newsletter and join our community of over 1 million plant-passionate peeps on Instagram (@Vegan), Facebook, Pinterest, and YouTube!

Easy Vegan Pie Crust (5 Ingredients)
Equipment
- Rolling Pin
- Pastry Cutter
- 9” Pie Pan
Ingredients
- 1 ½ cups all-purpose flour
- ½ teaspoon salt
- 1 teaspoon granulated sugar, optional (adds color to the crust)
- ½ cup vegan butter, or vegetable shortening, cubed
- ¼ cup ice cold water
Instructions
- Before you begin, make sure your vegan shortening or vegan butter is cold. You can even cut it into small cubes and place it in the freezer for a few minutes. Also, ensure your water is ice-cold. Add ice to your water and allow it to cool down for 5-10 minutes before using.
- In a mixing bowl, combine the all-purpose flour, salt, and sugar (if using). Whisk these dry ingredients together thoroughly.
- Add the cold vegan butter or shortening to the dry ingredients. Use a pastry cutter or two forks to blend it into the flour mixture. Continue until the mixture resembles coarse crumbs. You should have small pea-sized pieces of fat throughout the dough.
- Gradually add the ice-cold water to the mixture. Start with about 2 tablespoons of water and mix gently. Add more water, a tablespoon at a time, until the dough begins to come together. Be careful not to overwork the dough; it should be just moist enough to hold together.
- Turn the dough out onto a clean, floured surface. Gently knead it a few times until it comes together into a ball. Flatten it into a disc shape.
- Wrap the dough in plastic wrap and refrigerate it for at least 10-20 minutes. Chilling the dough allows the fats to solidify again, making the crust flaky.
- After chilling, remove the dough from the refrigerator. On a floured surface, roll out the dough into a circle slightly larger than your pie pan (about 12 inches in diameter). Roll out from the center, rotating the dough a quarter turn after every few rolls to prevent stretching the dough too much in one direction. Specks of butter in the pie dough are expected and help to make the flaky layers.
- Carefully lift the rolled-out dough and place it into your pie pan. Gently press it into the bottom and sides of the pan, trimming any excess dough hanging over the edge. You can flute or crimp the edges of the crust with your fingers or a fork as desired to create a finished look.
- Place the shaped pie crust in the refrigerator for another 10-20 minutes before baking. This allows the dough to rest which helps prevent shrinkage during baking.
- Prebake (Optional): Depending on your pie recipe, you may need to prebake the crust. If your pie recipe requires a prebaked crust, prick the bottom and sides of the crust with a fork then line it with aluminum foil or parchment paper and fill with pie weights, rice, or dried beans. Bake it in a preheated oven at 375°F for about 14-15 minutes for partially baked crust. If your recipe calls for a fully baked crust, carefully remove the aluminum foil and pie weights and return the pie crust to the oven to allow the bottom of the crust to cook for another 14-15 minutes. For a no-bake pie filling, allow the crust to cool to room temperature before adding your filling.
Notes
- Keep your work surface, rolling pin, and hands lightly floured to prevent sticking. Especially when making the vegan butter pie crust, since it tends to result in a stickier dough than shortening.
- Smooth out the edges as you roll to prevent cracking.
- Use your rolling pin to transfer the pie crust to the pie pan by rolling the pie crust onto the rolling pin then gently laying it over your pie pan.
- Crinkling up the parchment paper before using allows it to form to the pie crust better when using it to hold pie weights for pre baking.
Nutrition
You may also like...


Enter to Win Our Monthly Giveaway!
New winner every month! Drop your name below for a chance to win hundreds of dollars of vegan prizes from our brand partners. You’ll also receive our weekly e-newsletter with plant-based recipes galore!
Leave a Comment