


Vegan Cheez-Its: Best Store-Bought and Homemade Cheese Crackers

Craving that crunchy, cheesy bite of Cheez-Its but want a vegan option? You’re in for a fun surprise. Vegan Cheez-Its bring all that crispy, savory goodness you love, with plenty of tasty options to try. You can grab a store-bought version or make your own at home with a super simple method.
Either way, going plant-based doesn’t mean missing out on flavor or fun. You still get that satisfying crunch—just with a feel-good twist. With this single-ingredient recipe, how can you go wrong?
If you love savory snack recipes like this, don’t miss out on these almond and flax crackers and potato skin chips recipes!
Why You’ll Love These Vegan Cheezy Crackers
Cheez Its, those iconic little squares of cheesy goodness, have long been a snack-time favorite for many. Now, they’re easy to make and enjoy from your very own kitchen (or local grocery store)!
- Super Simple Ingredients. You only need one slice of vegan cheese and a little salt. That’s it. It doesn’t get much easier than that.
- Quick to Make. These come together fast with almost no prep. Perfect when you want a crunchy snack right now.
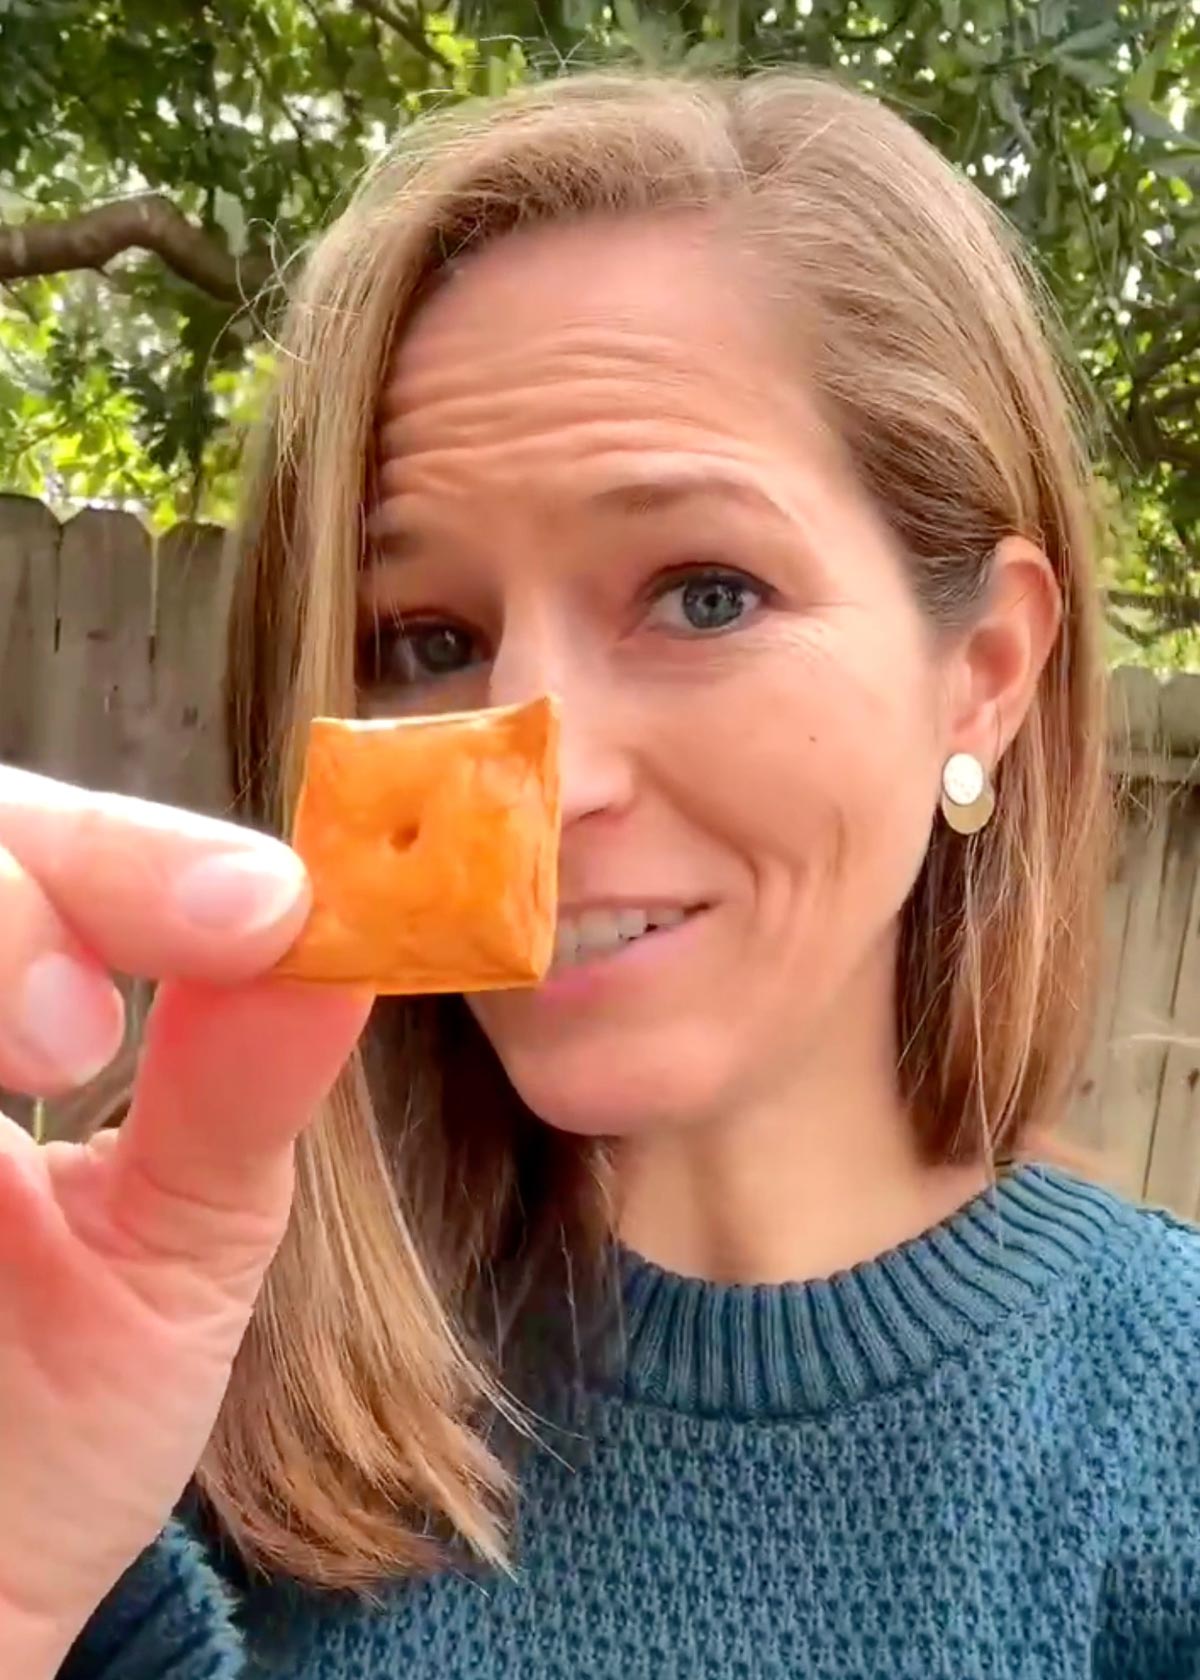
- Crispy and Crunchy. They bake up nice and crisp with that classic cracker snap. Every bite is super satisfying.
- Big Cheesy Flavor. Even with just one ingredient, you still get a bold, cheesy taste. It’s simple but seriously tasty.
- Fun Little Kitchen Project. It’s a fun and easy recipe to try, even if you’re new to cooking. Great for experimenting and customizing.
How to Make One-Ingredient Vegan Cheez-Its
For those who prefer a hands-on approach, making your own vegan Cheez Its at home is easier than you might think! With just a few simple ingredients and a bit of baking magic, you can whip up a batch of these cheesy delights in no time.
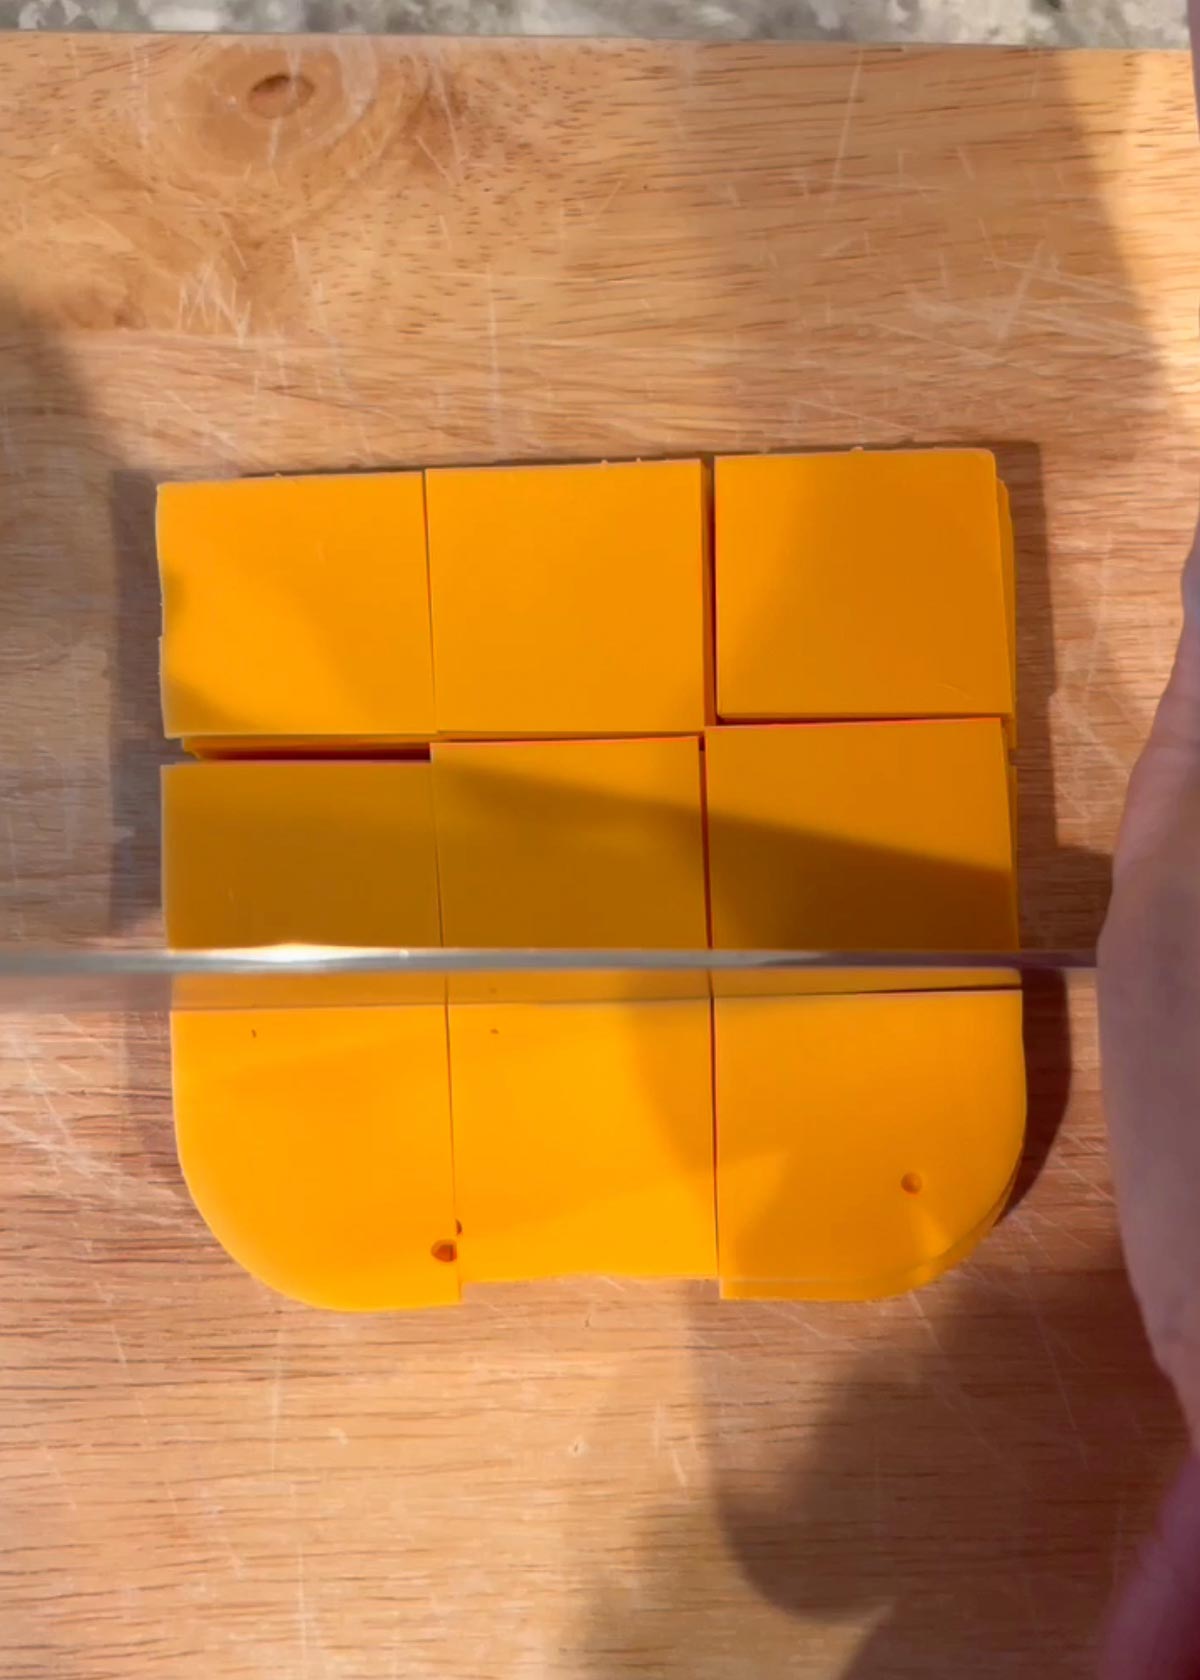
Step 1: Cut Cheese Into Squares – Lay the slices of cheese on top of one another, and use a large knife to slice orange vegan cheese slices into nine one-inch-by-one-inch squares.
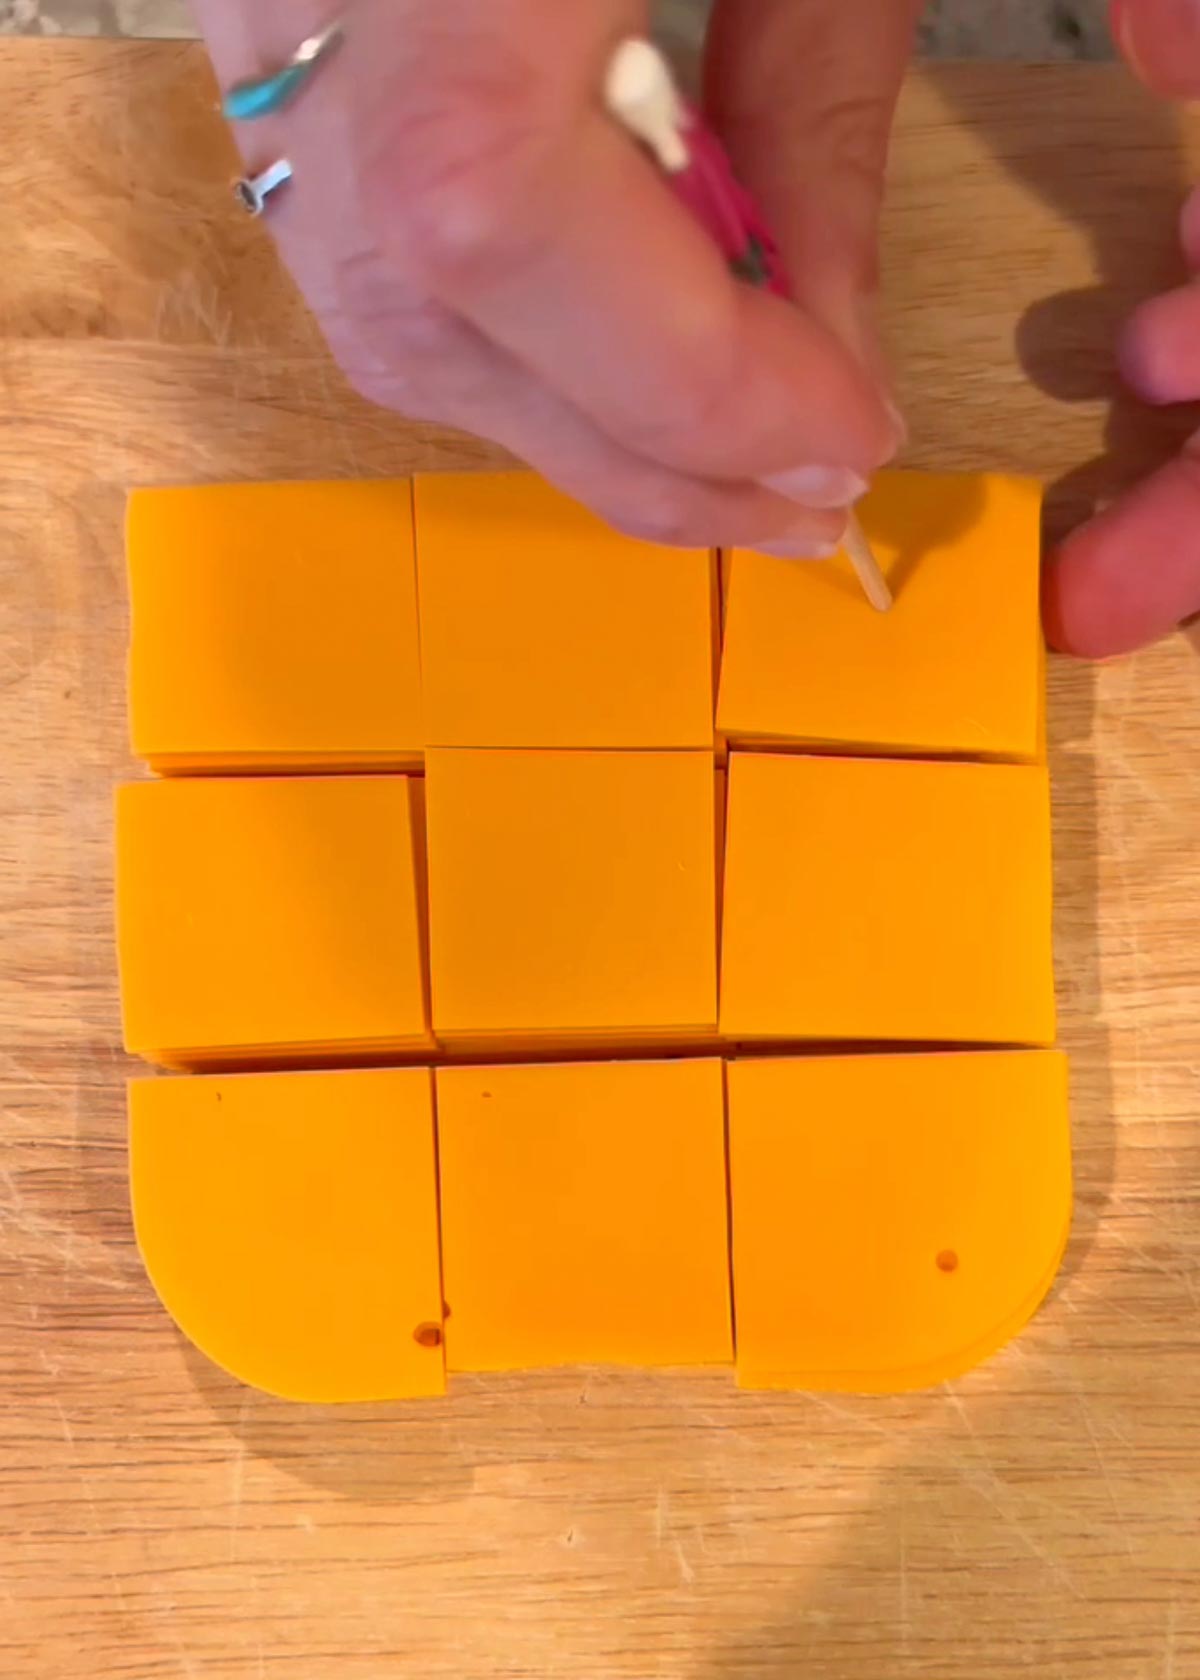
Step 2: Create Classic Shape – Poke holes into each square of cheese using a toothpick, drink umbrella, or any small round tool. For efficiency, you can stack the cheese squares and punch holes through several at once. Twirl the toothpick around so you’ve got a solid hole, as if it’s too small it may close up while baking.
Note: this step is purely aesthetic. It helps create the traditional Cheez-It look, but you can skip this step if you’re in a hurry and they will taste just as delicious.
Step 3: Arrange and Season – Lay the cheese squares on a baking sheet, leaving space between each. You can fit approximately 35 crackers per half-sheet. If desired, sprinkle with salt (this is optional).

Step 5: Bake and Enjoy – Place the cheese squares in the preheated oven and bake at 325°F for about 25 minutes, watching closely near the end to pull them out when they are crispy but not burnt. If they start to brown at all, pull them out! Allow to cool and come to room temperature before enjoying. They will continue to harden as they cool.
Serving Tips and Suggestions
These helpful tips and serving suggestions make it easy to enjoy your vegan Cheez-Its in fun and tasty ways. From simple flavor boosts to creative snack ideas, there’s something here to make every crunchy bite even better.
- Sprinkle on Some Spice – Add a pinch of smoked paprika, chili powder, cayenne, or even garlic before baking. It gives your crackers a fun little kick.
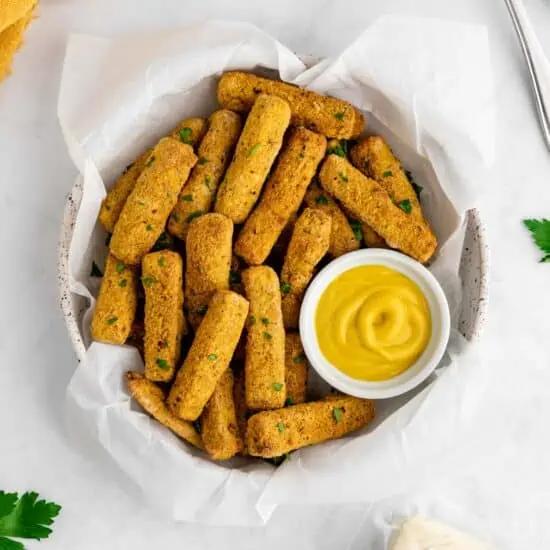
- Dip Into Something Tasty – Serve your Cheez-Its with marinara sauce, hummus, or a creamy vegan dip. It turns a simple snack into something extra fun.
- Toss Into Soup – Use them like crunchy croutons on top of tomato soup or veggie soup. They add great texture and flavor.
- Mix Into a Snack Bowl – Combine them with popcorn, pretzels, and nuts (like these candied pecans) for a homemade snack mix. It’s perfect for movie night.
- Try Sweet and Salty – Add a tiny drizzle of maple syrup or a sprinkle of sugar after baking. It creates a fun sweet-and-salty combo.
Vegan Alternatives: Crunch Without Compromise
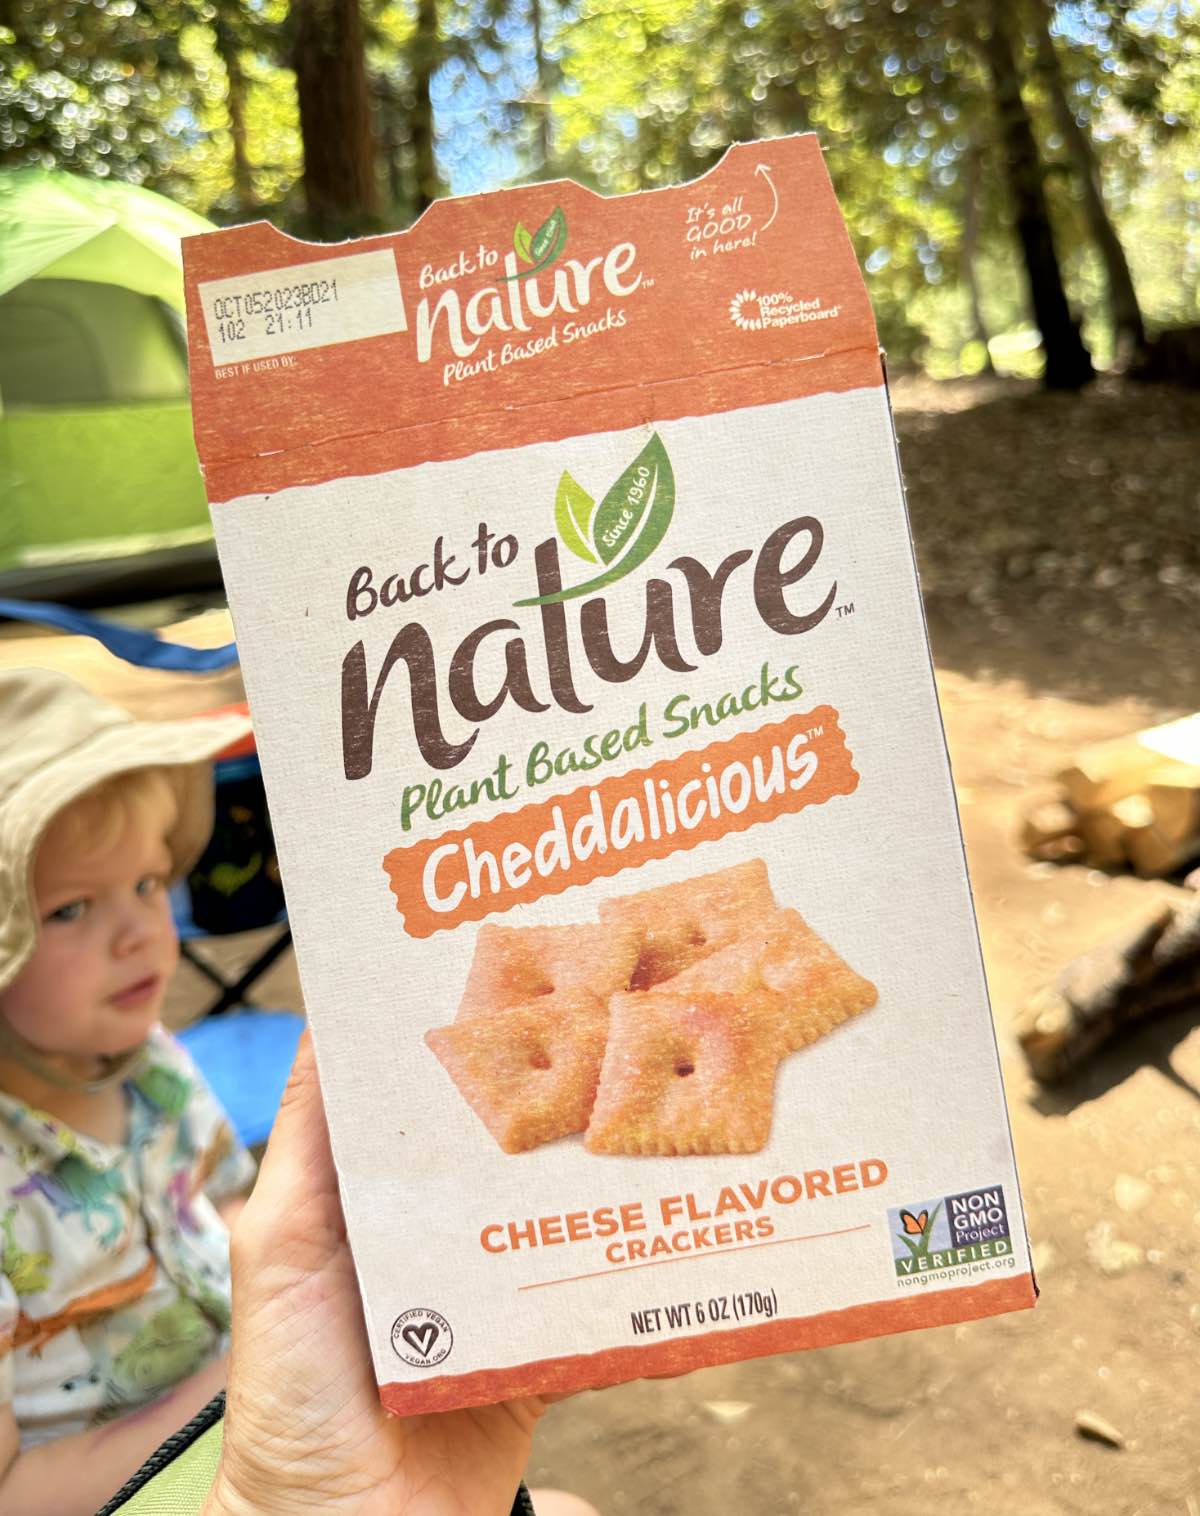
One great store-bought option is Back to Nature, which produces a vegan cheese-style cracker that’s remarkably similar in taste and texture to the original. With these cruelty-free crackers, you can indulge in that familiar cheesy flavor without any animal products involved.
Other popular vegan cheese cracker brands include:
FAQs
Homemade vegan cheese crackers typically last about 5-7 days when stored properly. Keep them in an airtight container at room temperature to maintain their crispiness. They have the best texture and taste when eaten immediately.
If you want to extend their shelf life, you can store them in the fridge for up to 2 weeks or freeze them for up to 3 months. Just make sure to let them return to room temperature before serving for the best texture!
Yes! All dairy-free cheese is made primarily with some sort of fruit, nut, or plant oil as a base, along with setting agents. Depending on which brand you choose, the crackers may have different flavors or a slightly different texture. But, generally, this recipe should work for all commercially made cheese slices.

Listen while you cook! Tune into my podcast, The Plant Powered People Podcast, while you’re cooking, folding laundry, or taking a bath. It may just change your life!

Vegan Cheez-Its
Ingredients
- 4 slices plant-based cheese slices, orange-colored Cheddar or American style
- 1 sprinkle salt, optional
Instructions
- Preheat the oven to 325°F. Line a baking sheet with parchment paper.
- Cut each cheese slice into 9 squares and use a toothpick to drill a hole in the center of each square for the classic Cheez-It look.
- Arrange the squares on the lined baking sheet and sprinkle with salt if desired.
- Bake for about 25 minutes, or until the crackers are crispy but not burned. Remove from the oven and allow to cool fully before enjoying.
Video
Notes
- Storing Instructions: These crackers typically last about 5-7 days when stored properly. Keep them in an airtight container at room temperature to maintain their crispiness. They have the best texture and taste when eaten immediately.
- Freezing Tips: If you want to extend their shelf life, you can store them in the fridge for up to 2 weeks or freeze them for up to 3 months. Just make sure to let them return to room temperature before serving for the best texture!
Nutrition
You may also like...
")


Enter to Win Our Monthly Giveaway!
New winner every month! Drop your name below for a chance to win hundreds of dollars of vegan prizes from our brand partners. You’ll also receive our weekly e-newsletter with plant-based recipes galore!
Leave a Comment
Yum! What brand of cheese did you use?
We used Violife cheese slices 🙂
These are the best snacks! Love them!
This recipe blows my mind! Whoa! So easy and delicious
This is so crazy easy…who knew? Delicious!
Right? These are my new favorite quick snack!
I love the Back to Nature ones too! I tried them for the first time recently and fell in love. I’m saving this recipe to try next — looks so easy and delicious!