


How To Start Seeds Indoors

Starting seeds indoors in your own home can be so much fun! If you’ve ever felt the thrill of seeing a little tiny green shoot sprouting up from the soil, you know what it’s like. Helping out Mother Nature is wonderful for body, mind, and spirit! Take it from us, learning how to start seeds from scratch is a joy you’ll always cherish.
If you’ve been feeling the urge to plant but have no idea how to begin, this is the guide for you. Don’t worry about being a complete newbie. These directions and tips will be simple, straightforward, and not at all overwhelming.
Ready to start sorting through adorable seed packets and getting your hands dirty? Let’s get growing!
Why Start Your Own Seeds at Home?
Starting seeds from scratch at home is fun and saves money. You can try different plants and control how they grow. It’s a really rewarding way to really personalize your home garden. Here are just a few reasons why we love starting seeds at home:
- Save Money: Starting from seeds is cheaper than buying grown plants, even seedlings.
- More Choices: Seeds offer a wider variety of plants to grow, including unique ones.
- Control Your Garden: You can control the environment when starting seeds indoors, which helps plants grow better.
- Learn and Enjoy: It’s fun! Watching seeds grow also teaches you about plants and seriously feels good. Plus, it’s a fantastic activity to share with kids.
- Timing is Yours: You can start seeds early indoors and customize how you grow them.
Starting With Seeds (Easy To Grow)
Ready to kickstart your gardening journey? Let’s discover the best, easy-to-start seeds—perfect for beginners and seasoned gardeners alike! From hassle-free herbs to vibrant flowers, these simple-to-grow seeds are sure to start your lifelong love of gardening.
Herbs
- basil
- chamomile
- dill
- lemon balm
- sage
Veggies
- beans
- broccoli
- cucumber
- lettuce
- peppers
- spinach
- tomatoes
Flowers
- cosmos
- calendula
- marigold
- morning glory
- nasturtium
- sunflower
- zinnia

How to Choose the Right Seeds
Choosing the perfect seeds for your home garden is all about finding the ones that suit you best. Simply follow these guidelines and you’ll be on your way to sprout city! The most important on the list is growing seeds that you’ll love…the rest can be figured out later on.
- Match Your Climate: Pick seeds that love the weather where you live, so they’ll thrive in your backyard. This zone finder is very helpful!
- Fit Your Space: Consider how much room and care you can give your plants before choosing seeds. Some need more TLC than others!
- Know Their Needs: Every plant has its preferences—make sure you can provide the right amount of sunlight, water, and soil type for your chosen seeds.
- Plant What You Love: Grow plant seeds that you will enjoy eating or admiring. Your garden should reflect your tastes and make you smile! Start with a list of 10-20 possibilities and then, after checking the zone and difficulty, reduce it to 2-5 final choices.

Best Seed Brands (Available Online)
The success of your gardening endeavors often begins with the quality of the seeds you select. With an abundance of options available online, choosing the right seed brand can feel overwhelming. Fear not, for we’ve curated a selection of the best seed brands renowned for their reliability, diversity, and commitment to excellence. From heirloom varieties to modern hybrids, these brands offer a treasure trove of seeds to ignite your gardening passion and ensure a bountiful harvest.
- Botanical Interests (Top pick!)
- Baker Creek Heirloom Seeds (RareSeeds.com)
- Burpee
- Gurney’s
- Harris Seeds
- Irish Eyes
- Johnny’s Selected Seeds
- Seed Savers
- Wayside Gardens
Explore our top picks and set forth on your gardening journey with confidence, knowing that you’ve chosen seeds from the finest purveyors in the industry.
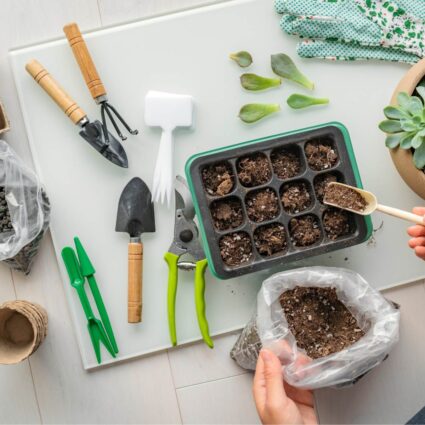
Seed Starting Supplies
To make your own DIY seed starting kit, you’ll only need a few simple supplies:
- Paper Towels – Unbleached is better for the environment, but use whatever you have on hand.
- Selected Seeds – Your seeds of choice! We recommend starting with a few different types of seeds and trying to germinate between 3-5 seeds from each type.
- Plastic Bag – The little seeds need encouragement with warmth and humidity to break out of their shell. A plastic covering like a ziplock bag helps to create the best growing environment at this stage.
- Small Spray Bottle – This helps to keep the seedings moist without overwatering. If you don’t have a misting bottle at home, check out your local dollar store. They almost always have inexpensive empty bottles that work well for this purpose.
- Seed Starting Soil – You can easily find this type of soil at any hardware or gardening store, or even online. Back to the Roots, Jiffy, Espoma, or Burpee are great options.
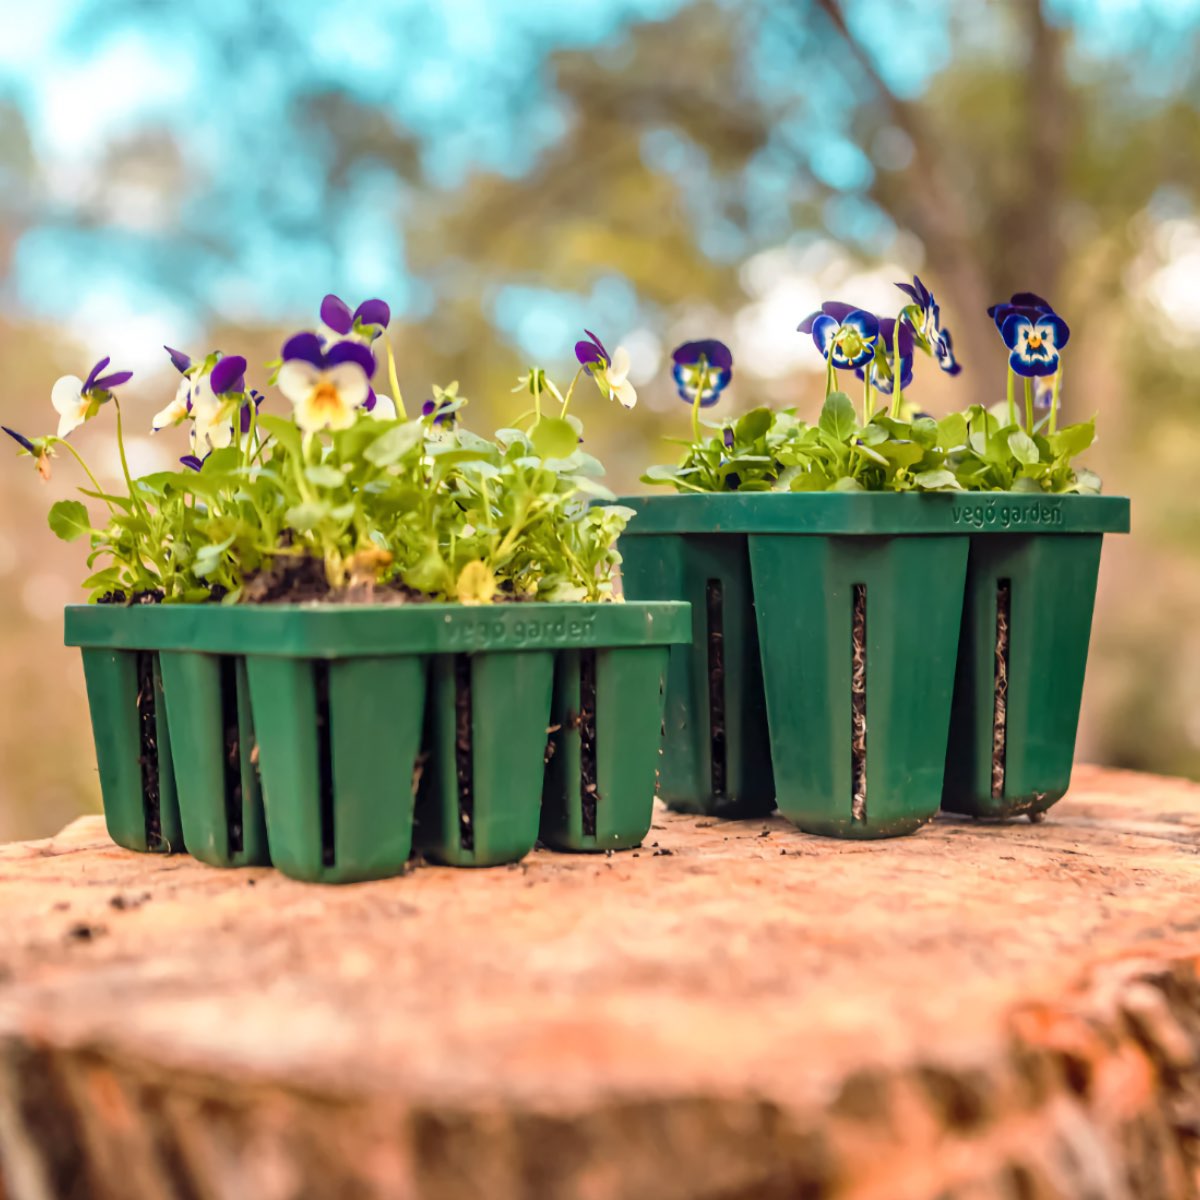
- Seed Trays or Plastic or Biodegradable Containers – Seeds trays like these from Vego Garden make seed starting easy. But you can all use what you already have at home! If you have any clean, leftover vegan yogurt containers, this is the time to use them. They make the perfect size containers for growing seedlings once your seeds have sprouted. You can also use cardboard tubes from toilet paper rolls, paper coffee cups, newspaper, and more! Even better, poke a few holes into the bottom for better drainage.
How to Germinate Your Seeds
Before you begin the germinating process, keep in mind that starting too many seeds at once can soon feel overwhelming. Especially if you’re new to this process. You can always start more later in the season. Try to stick with just a few—even though it’s so hard to restrain yourself when the gardening excitement starts. But, this time, trust us!
- Get Your Seeds Ready: Place your seeds between damp paper towels—it’s like tucking them in for a cozy nap. Make sure the towels are moist but not dripping wet.
- Give Them a Home in a Bag: Pop the paper towels with the seeds into a plastic bag, leaving some air inside. Seal the bag to create a nice, humid space for the seeds to sprout. After a day or two, you can leave the bag half open to bring in a little air circulation.
- Find a Warm Spot and Wait: Put the bag in a warm, dark spot, like on top of the fridge—perfect for seed-sprouting magic. Check on your seeds daily to keep the paper towels damp. If the paper towel seems to be drying out, use your spray bottle to mist water into the bag until things seem moist again.
- Be Patient: The seed packet will give you information on how long it may take for your seed to sprout. A great tip is to write the germinating date on the outside of the bag so you won’t be tempted to give up on your seed too early. Once they’ve sprouted, it’s time to plant them in soil and watch them grow!
How to Transfer Your Sprouted Seeds to Pots
Once the seeds sprout a tiny root or two, it’s time to move them from the paper towel set-up to at temporary home in a seedling pot. Since each of your seeds will probably have a different sprouting time, it’s handy to set up a “gardening station” with seedling pots, soil, and a spray bottle ready-at-hand. Here’s what to do:
- Prepare the Pot: Fill a plastic yogurt cup or small container of choice (see above for suggestions) 2/3 of the way with seed starting soil. Add enough water to moisten the soil, but not so much that it gets drenched. Mix it around a bit. It should still be firm enough to poke your finger into the soil in order to leave a small indentation for adding the sprouted seed.
- Remove the Sprout: Very carefully remove the sprouted seed from between the layers of paper towel, being careful not to rip off the new baby roots. Tweezers may help with this.
- Little Sprout Has a New Home: Add the sprout (root side down) into the indentation and gently cover the roots with more soil. Press around the base of the sprout (just above the covered roots) so that the sprouted seed will be upright and have a little space to wave its head above the soil.
- Save A Sunny Spot: Move your potted seedling to a warm, sunny place and check on it daily. When the soil looks a little dry, give your baby plant a few mists of water until it looks damp again. Be mindful not to let your seedlings dry out or water them too much. They’re very fragile at this stage.
Note: If you would like to upgrade this beginner system, you can also use seed starting trays, a heating mat under the seedlings, and grow lights hanging above them. This is helpful if you’re in a place where there is not a lot of sun or warmth. See the Helpful Tools section for more information.
When To Move Your Seedlings to New Pots
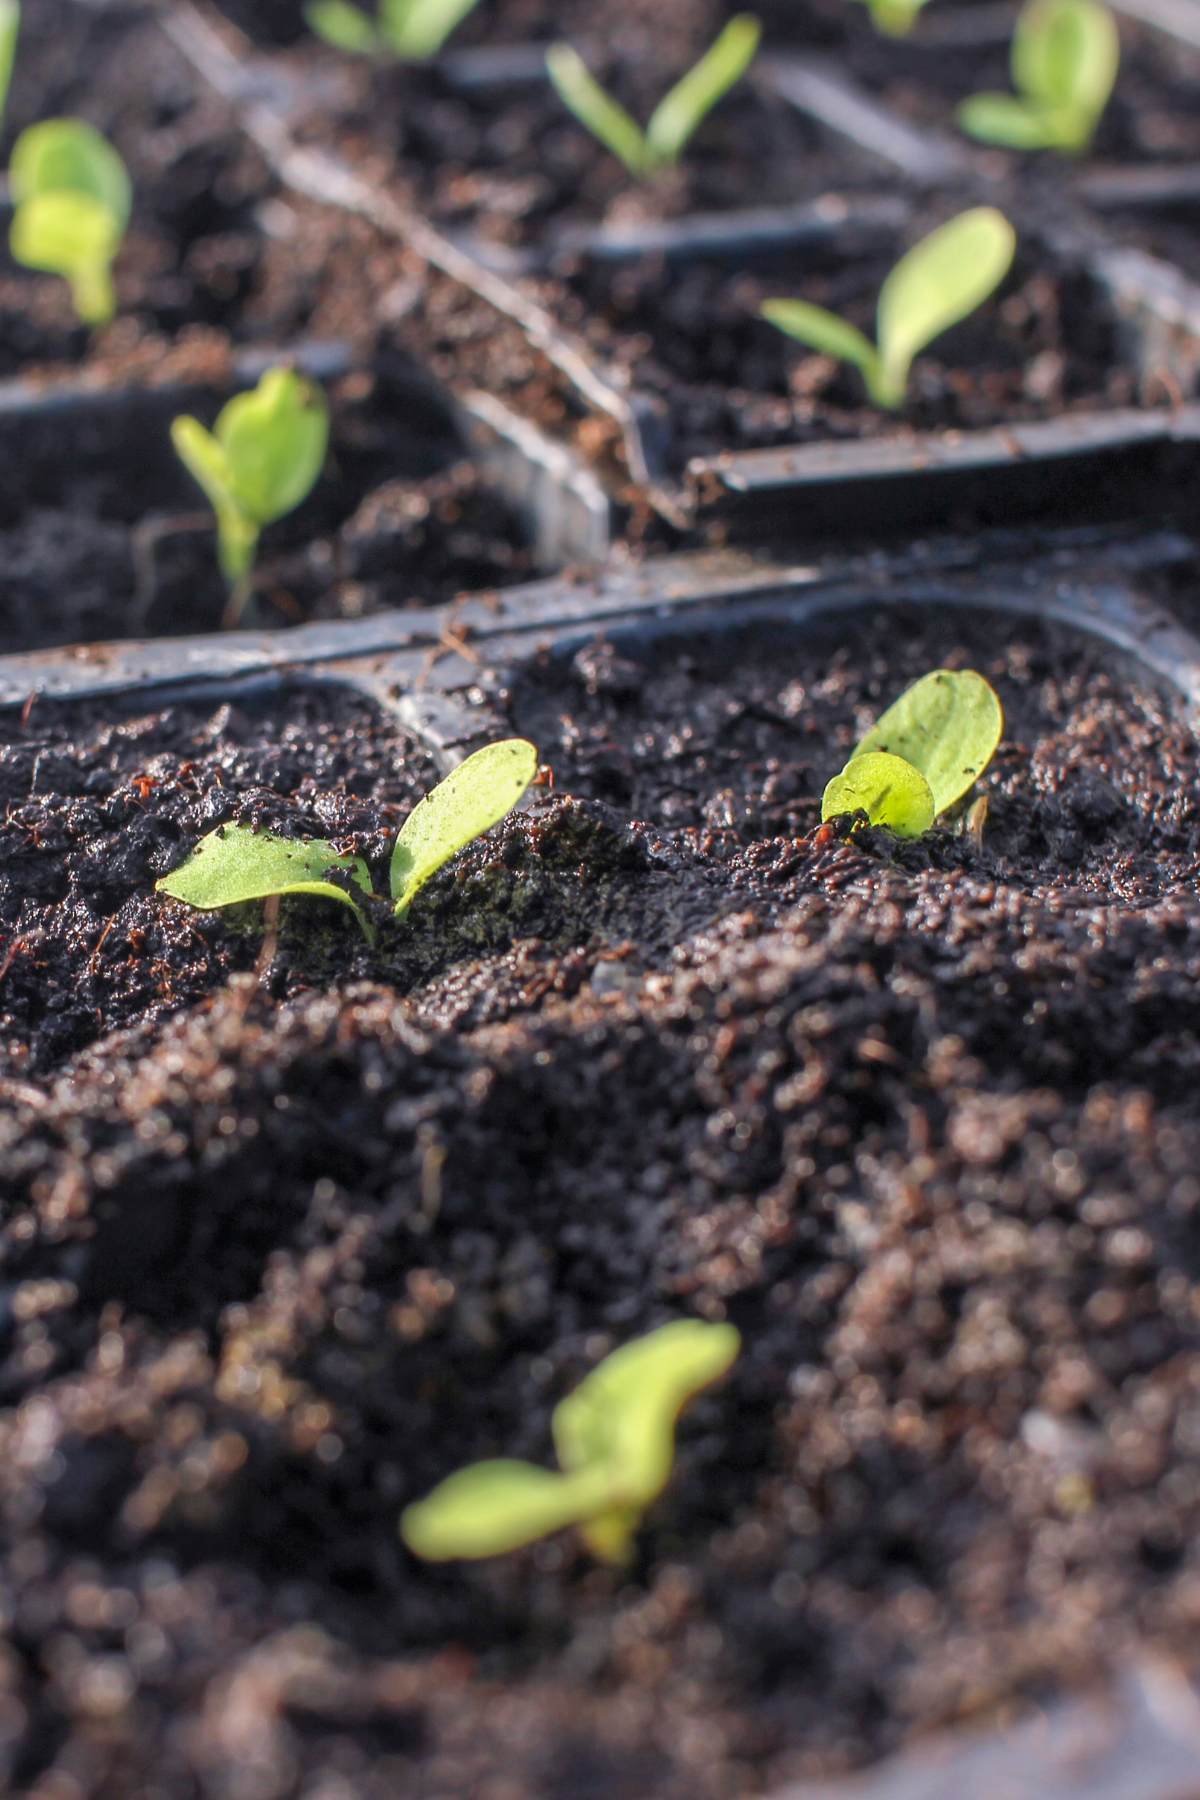
Once your seeds have sprouted their first set of true leaves and their roots are peeking out of their current home, it’s time to transplant them into a bigger space to stretch out. This growth spurt usually happens around 2-4 weeks after the seeds first sprout, but it can vary depending on the plant. It’s like giving them a little plant moving day!
- Get the New Home Ready: Give your seedlings a cozy new home by filling a clean pot (a little bit bigger than their original seeding pot) with some damp garden soil. Leave a little space at the top for the seedlings and their baby roots.
- Gently Move Them In: Carefully take each seedling out of its old home, being super careful with those delicate roots. Put each one in its new home and cover the roots with soil.
- Give Them a Warm Welcome: After this upgraded move, give your seedlings a little drink to help them settle in. Put them somewhere warm and bright, but not in direct sunlight just yet. Keep the soil moist, and they’ll start to feel right at home in no time!
Helpful Outdoor Planting Tips for Seed Starting Indoors
It’ll be difficult to do, but don’t rush to bring your little baby plants outside. Give them enough time to grow indoors before adding them to your garden. You’ll know when your seedlings are ready for the great outdoors when they have strong stems, have their second set of leaves, and they have snug roots filling their containers.
- Ease Them into the Outdoors: Treat your seedlings like sun-loving introverts—introduce them to outdoor life slowly. Start with 30 minutes and add an hour per day for a week. Doing this helps your little plants to acclimate to the sun, wind, rain, and environment that is very different from being indoors. Your plants will have a higher rate of growing success.
- Time it Right: Just like planning a picnic, timing is everything. Wait until after the last frost in your area before planting your seedlings outside. Planting too early can give them a chilly reception they won’t appreciate!
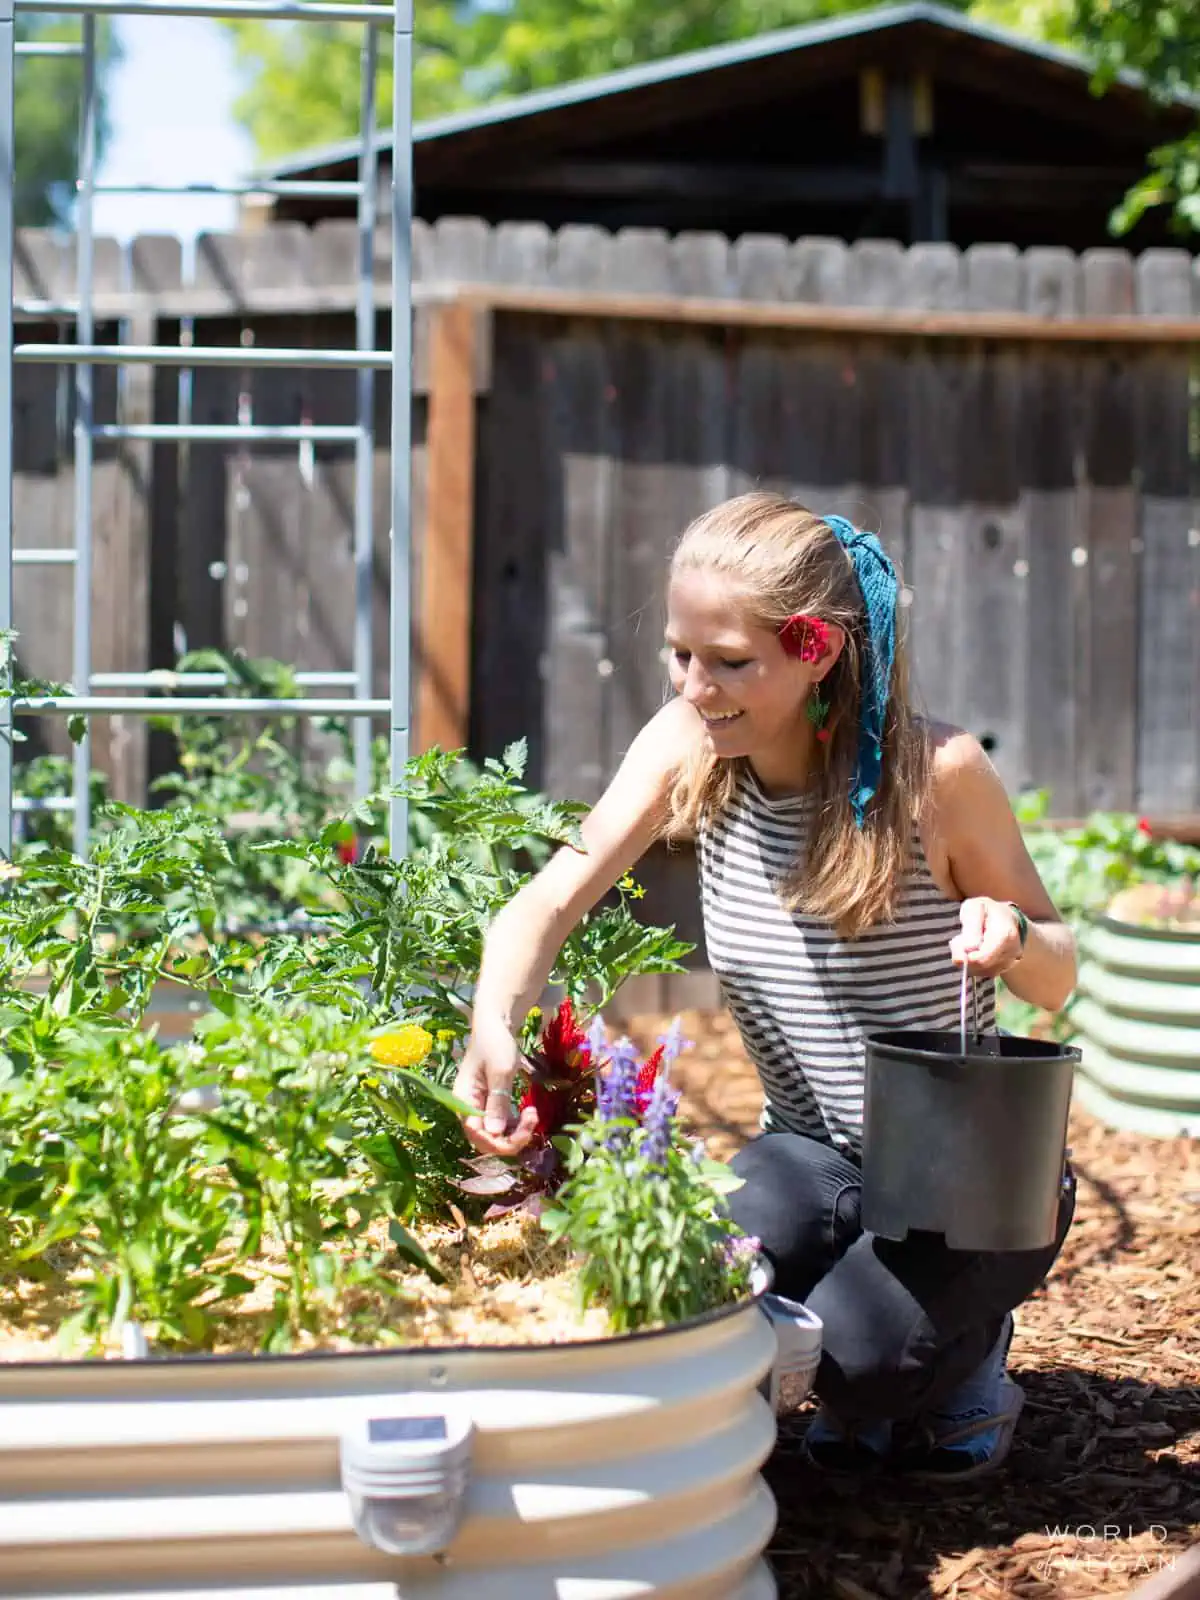
- Give Them a Good Start: Prepare a cozy, welcoming spot for your seedlings in your garden or raised beds. Loosen up the soil and mix in some high quality compost to give them a nutrient-rich foundation to grow in. It’s like giving them their own little garden spa treatment before they settle in!
- Optional: After a couple of weeks, you can begin to introduce a gentle vegan fertilizer to provide extra nourishment as they continue to grow. Brands like Down to Earth and Back to the Roots offer great options, but only use fertilizer if you notice signs of nutrient deficiency or slow growth.
Helpful Tools to Have
When you start feeling more confident about your seed starting skills, consider adding these items to your indoor seed starting setup. With these friendly tips and a few extra tools, you’ll be well on your way to a garden full of happiness and greenery!
- Seed Starting Trays: These trays are designed to hold individual seedlings and often come with a clear plastic cover to create a mini-greenhouse effect. You can use these instead of recycled plastic or biodegradable containers if you want to plant a larger number of seeds.
- Seed Starting Grow Lights: Especially useful in areas with limited natural light, grow lights provide the necessary spectrum of light for healthy seedling development.
- Heating Mat: Helps maintain the optimal temperature for seed germination, particularly for heat-loving plants.
- Watering Can with a Fine Rose: Allows for gentle watering without disturbing delicate seedlings.
- Plant Markers: Helps you keep track of the different types of seeds you’ve planted. A must! Think popsicle sticks, recycled plastic, stones or rocks, bamboo, heavy cardboard, old spoons or forks, or vegan wine corks!
- Homemade Seed Starting Mix: A lightweight, sterile growing medium that promotes seed germination and early seedling growth.
- Fan: Improves air circulation around seedlings, which can help prevent damping off and encourage sturdy growth.
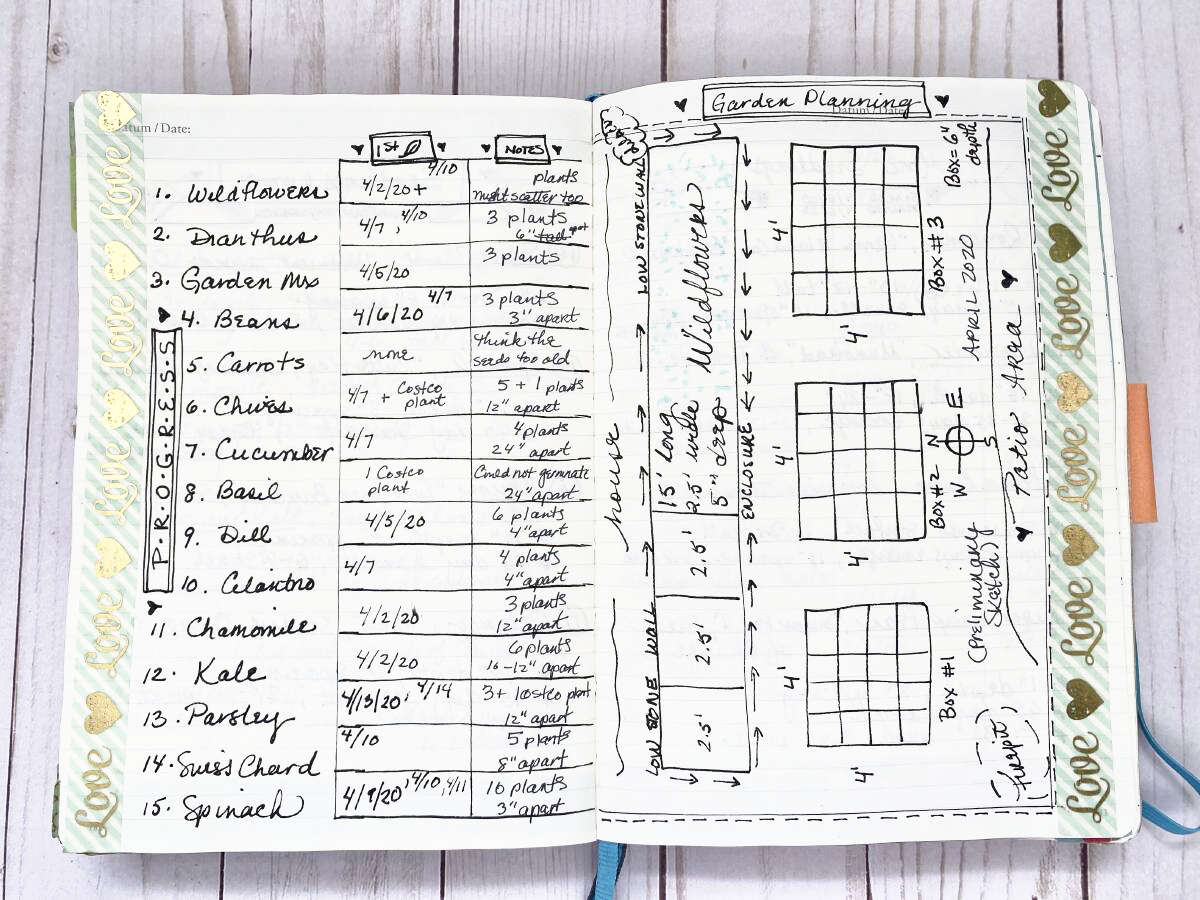
- Gardening Journal: Keeping a journal or simple notes of your process can be not only helpful for future planning, but it’s really fun to flip through. You can add (or even glue in) seed packets for future reference or just to add color to your notes. Stickers and washi tape make adorable decorations, too!

Send Away for Free Seed Catalogs
One of the most joyful parts of gardening is to browse through seed catalogs and circle things that you’re interested in. Choosing seeds from glossy catalogs is like Christmas-time! A few you may have to pay for, but it’s usually only a few dollars and the size and variety is almost always worth the money. Opening up your mailbox and seeing a colorful seed catalog will be the highlight of your day.
Of course, you can always search for suitable seeds online. But, it might not be quite as fun. Check out The Almanac’s list of free seed catalogs.
Some of our favorite print catalogs include:
- Baker Creek Heirloom Seeds
- Botanical Interests
- Burpee
- Gurney’s
- Harris Seeds
- Irish Eyes
- Johnny’s Selected Seeds
- Seed Savers
- Wayside Gardens
Starting seeds indoors is an exciting journey that lets you grow a garden from scratch. With a little soil, water, and sunshine, you can watch tiny seeds transform into thriving plants right before your eyes. Whether you’re new to gardening or a seasoned pro, starting seeds indoors is a fun and rewarding way to enjoy the magic of nature in your own home. So grab your pots, get your seeds, and start growing your own green oasis today!
You may also like...


Enter to Win Our Monthly Giveaway!
New winner every month! Drop your name below for a chance to win hundreds of dollars of vegan prizes from our brand partners. You’ll also receive our weekly e-newsletter with plant-based recipes galore!
Leave a Comment